
A NetBird exit node is just one of your peers that you have promoted to handle all internet-bound traffic for the rest of your network. Once you flip the switch, your laptop, phone, or any other peer routes its through that machine instead of your current IP address. The exit machine masquerades the traffic out of its own public IP, and the rest of the world sees you as that box.
This guide walks through two use-cases that cover most of what individual users want from an exit node: a homelab exit node that makes you "appear at home" while traveling, and a cheap cloud VPS that gives you a one-tap geo-shift the same way a consumer VPN (NordVPN, PIA, etc.) would, except you own the exit.
Prerequisites: You already have a NetBird account or are self-hosting with at least one peer connected (the laptop or phone you'll be testing from), and admin access to the dashboard. NetBird client v0.55.0 or later on the peer if you want to funnel traffic through.
Why Use an Exit Node?
Before the use-cases, here's a quick tour of the use cases people actually reach for an exit node to solve.
- Homelab "appear at home" while traveling. Route through a box on your home LAN so streaming, banking, and home services see your home IP no matter where you actually are.
- Geographic and region-locked access via a VPS. Spin up a cheap cloud box in another country, point your traffic at it, and you are now apparently in that country.
- Static egress IP for third-party allowlists. Stripe webhooks, partner SFTPs, banking APIs, and vendor IP allowlists are much easier when every request leaves from one known IP.
- Compliance and audit. Force remote workers' traffic through corporate egress so DLP, web filtering, and SIEM logging apply uniformly to everyone, not just the people in the office.
- Untrusted-network protection. Hotel, airport, and conference Wi-Fi networks are noisy and hostile. Tunneling everything out through a peer you trust is a clean way to ignore the local network entirely.
- Bypassing CGNAT on cellular. Many mobile carriers hide you behind CGNAT , so you do not have a stable public identity. Exit through a peer with a public IP to regain that stable public identity.
- Cloud egress consolidation. Make one known egress IP available across multiple cloud regions or accounts, instead of every workload leaving from whatever IP its provider assigns. This is about consistent managed egress.
- Privacy from the local network operator. Your ISP, a guest Wi-Fi operator, or a campus network can see a lot. Tunneling out of their network gives that visibility back to you and protects you from local network leaks.
The two use cases below are the most relatable for individual users, but the same building blocks scale up to the business cases above. Once you have one exit node configured, adding a second one for a different use case is mostly a matter of repeating the same dashboard steps with different distribution groups.
A Few Things to Know Before You Start
Read these once. They cause most of the "why isn't this working" moments.
- IPv4 only today. IPv6 traffic is intentionally blocked when an exit node is active to prevent leaks. If your client has dual-stack connectivity, IPv6 will not silently bypass the tunnel.
- Latency tradeoff. Every packet round-trips through the exit node. A homelab exit on the other side of a long flight, or a VPS in another country, will add the round-trip latency of that hop to everything. Your home connection's upload speed becomes your effective download speed too.
- DNS leaks are the most common gotcha. Without telling NetBird to take over DNS, your device keeps using the local network's resolver. That defeats the geo-shift, leaks the hostnames you visit to whatever Wi-Fi you are on, and breaks split-horizon for things behind your home network. The fix is to set the match domain on a NetBird nameserver to . More on that below.
- The minimum required policy is Users → Routing Peer over ICMP. If this policy is missing, the route silently does not apply on the client. The route shows up in the dashboard, the peer is online, and nothing actually flows. See Configuring Exit Nodes for the exact text.
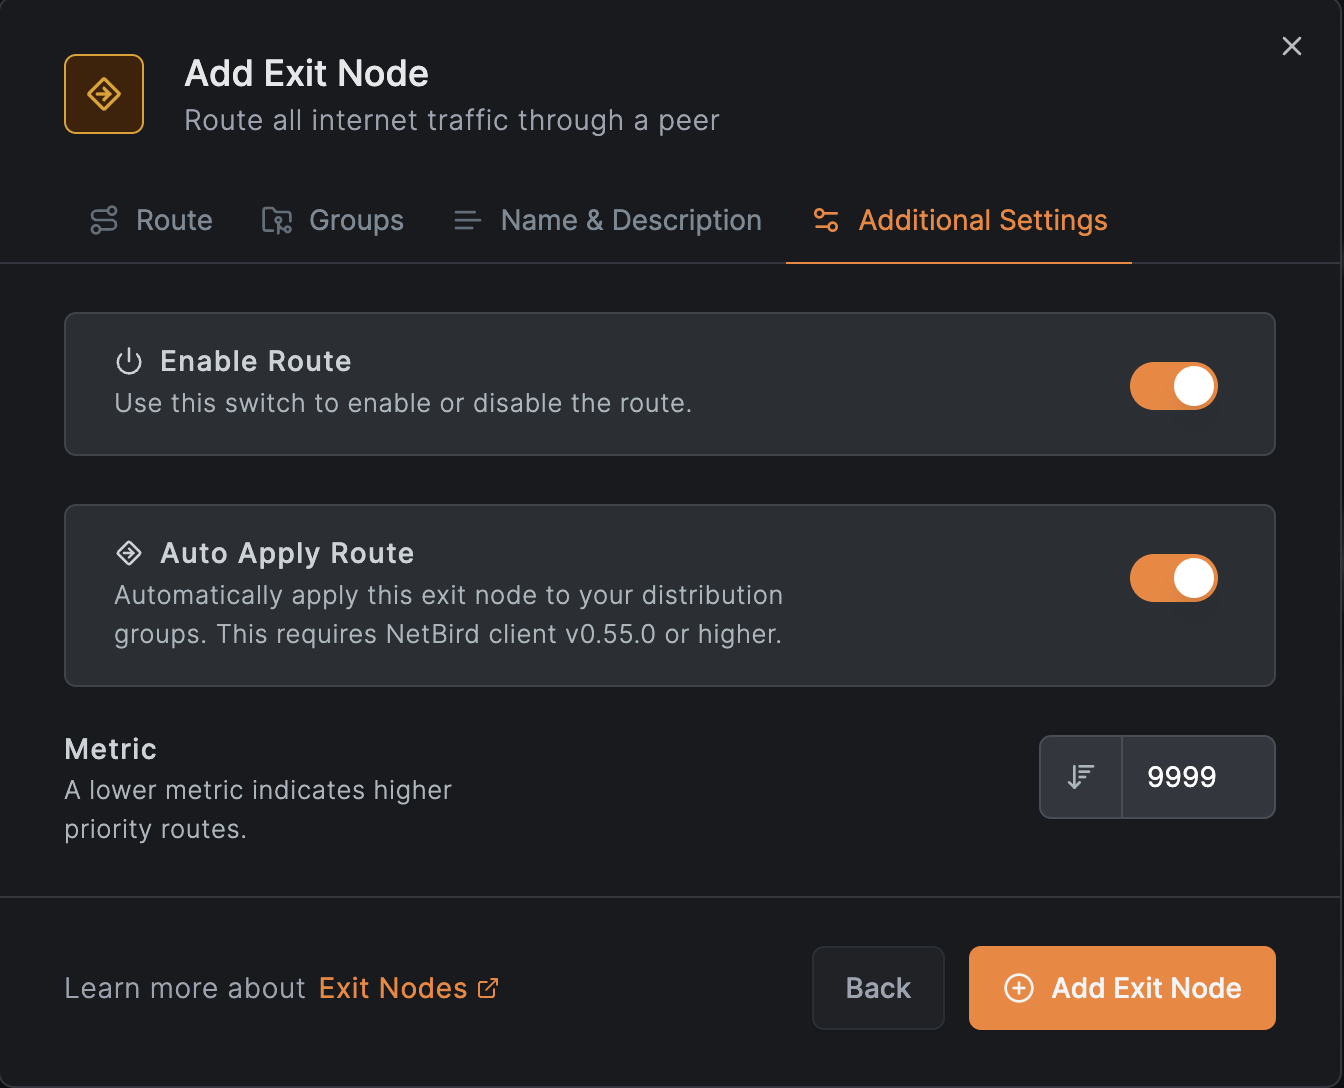
- Auto Apply vs manual. When Auto Apply is on, every distributed peer starts using the exit node automatically. When it is off, the exit shows up on the client but the user has to flip it on. Pick Auto Apply for an "always-on home exit" feel, leave it off for a "tap to switch country" feel.
- Client override always wins on that device. If you select or deselect an exit node from the NetBird tray on your laptop, that choice beats whatever the dashboard says for that one device. Useful when you want one machine to behave differently from the rest.
Use Case 1: Homelab "Appear at Home"
The setup: any always-on Linux machine on your home LAN. Raspberry Pi, NUC, an old ThinkPad in a closet, an LXC on Proxmox, an Ubuntu VM, all fine. The job of this peer is to be your front door when you are not home.
1. Install NetBird on the Routing Peer
SSH into the home machine and install NetBird with the official script:
If you would rather use APT or DNF directly, the Linux installation docs have the package repos.
For a headless box that should reconnect on reboot, the easiest way to enroll is with a setup key. In the dashboard, go to Setup Keys, create a new one (reusable is fine if you plan to reflash this machine), and on the Pi run:
That registers the peer and brings the tunnel up in one step, no browser dance. Setup keys are documented in Use setup keys to run automated deployments .
Confirm it joined:
You should see a NetBird IP and a Connected state.
2. Promote It to an Exit Node
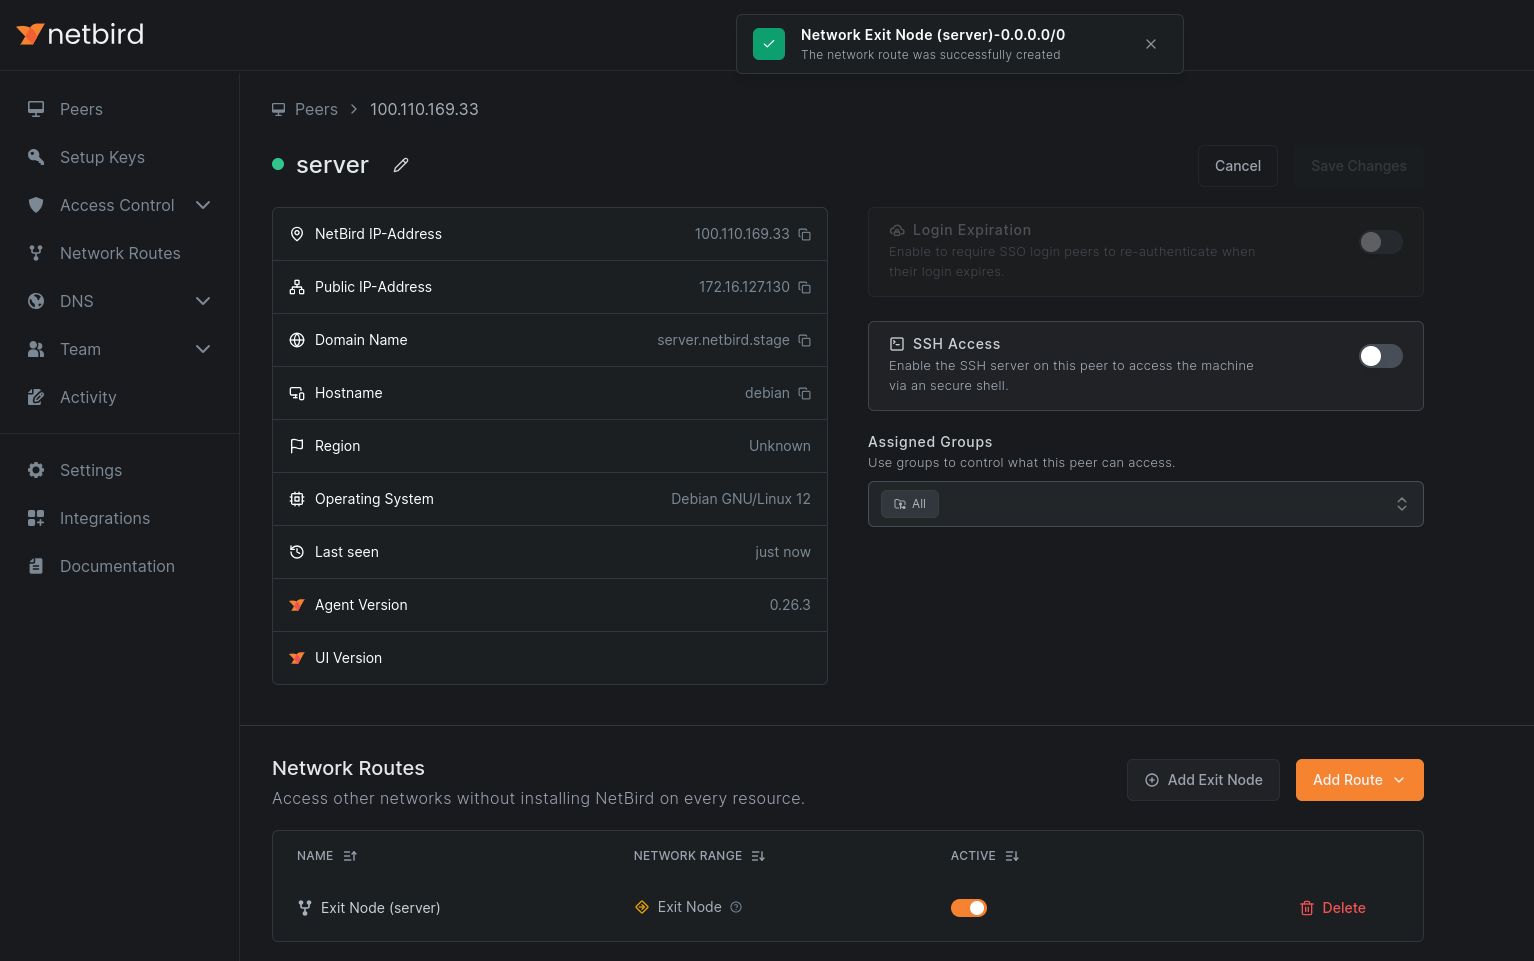
In the NetBird dashboard , open the Peers tab.
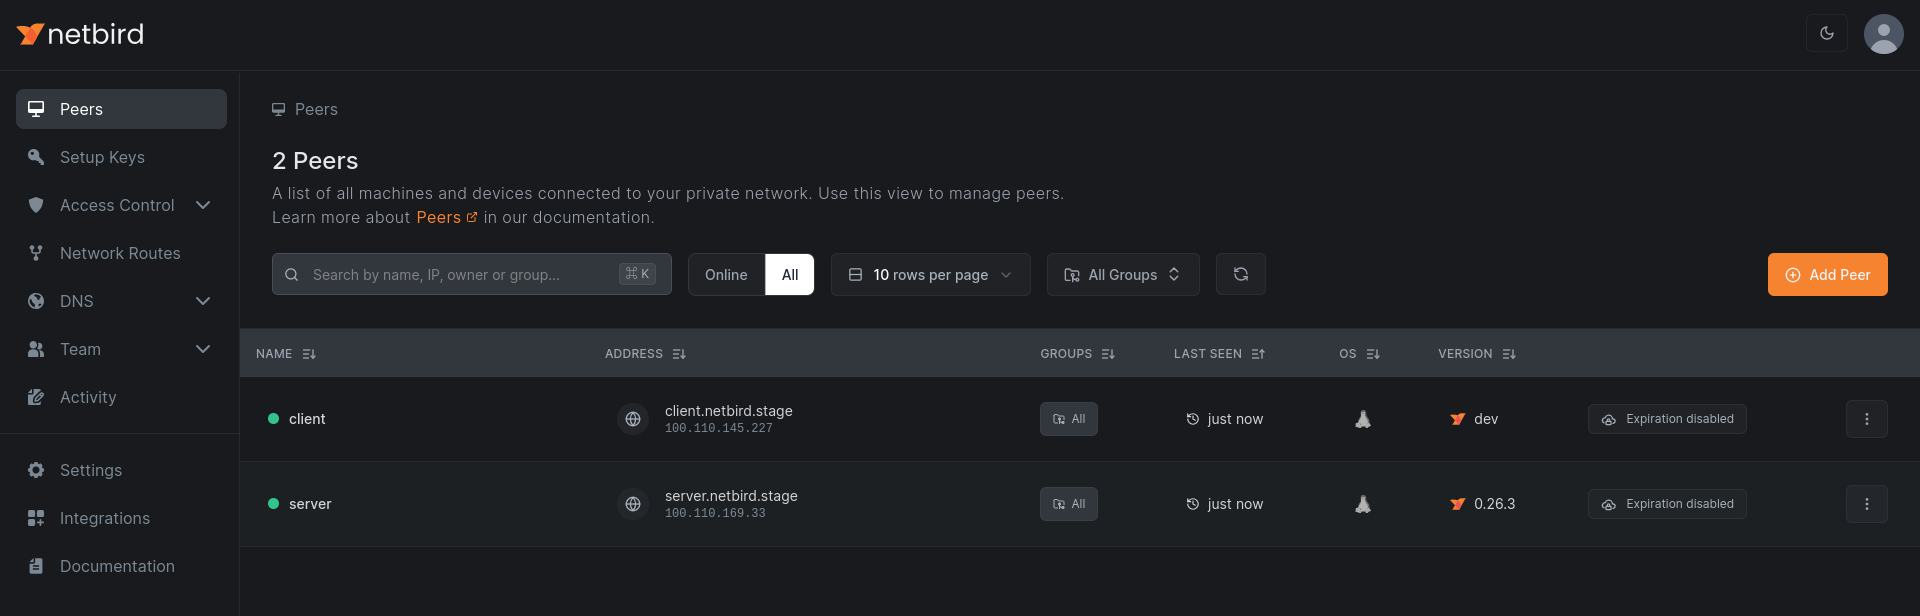
Click into your home routing peer.
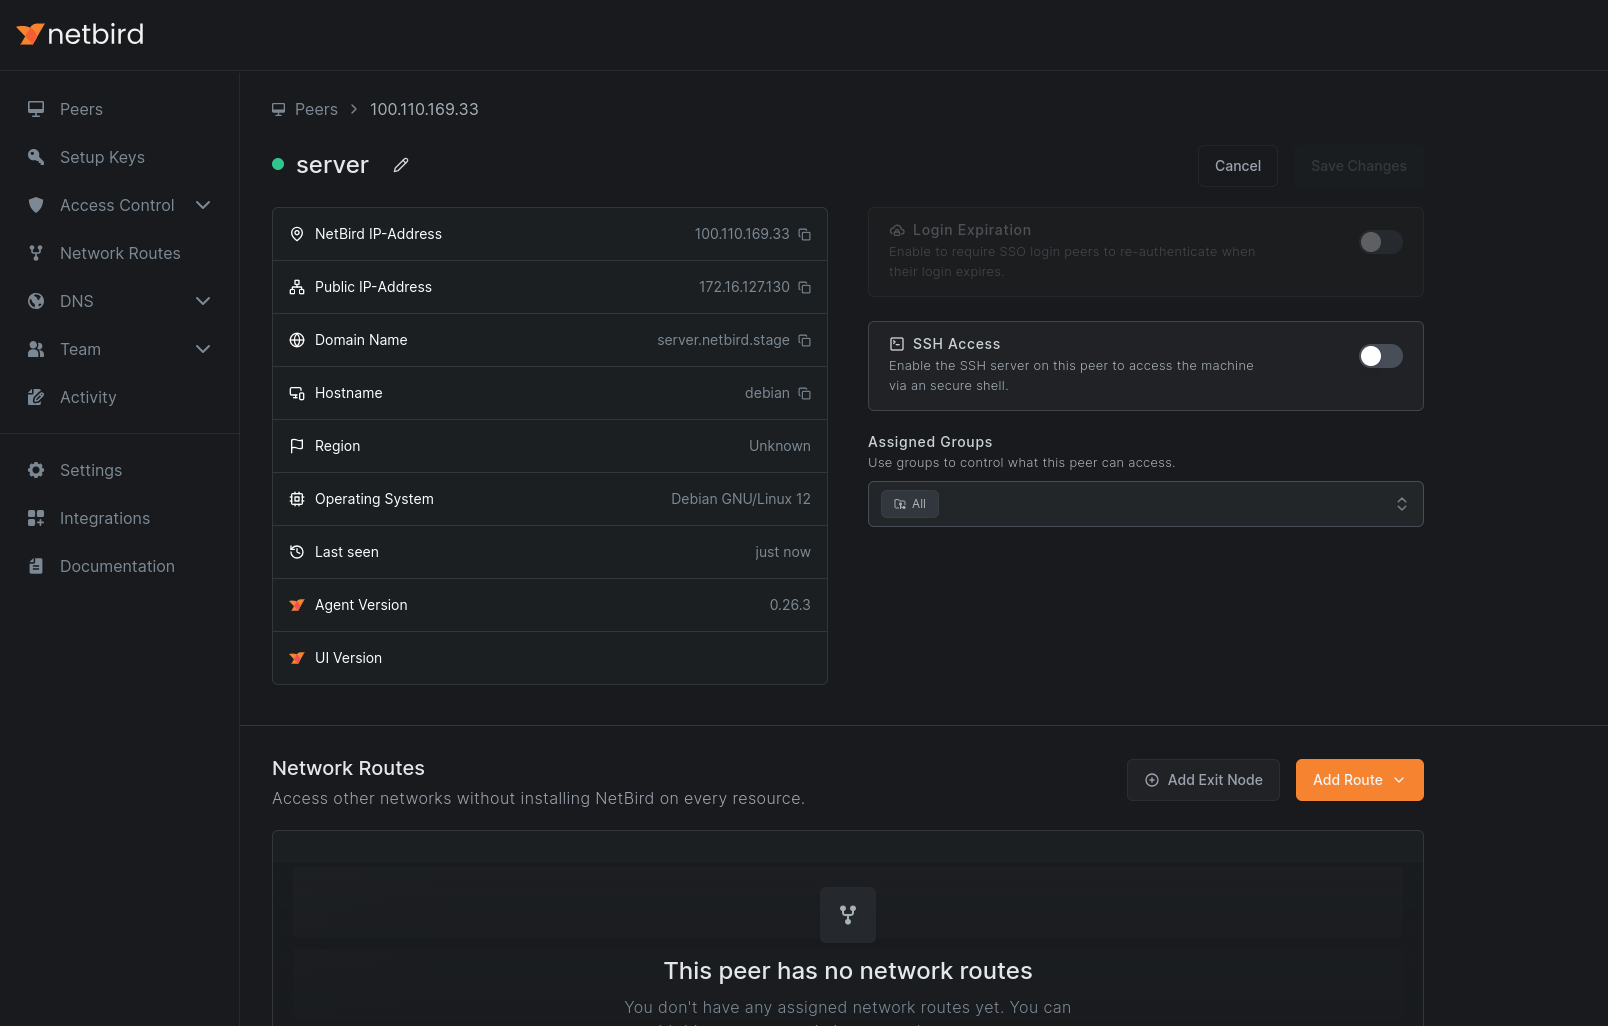
Click Add Exit Node. In the dialog, pick the distribution groups that should route through this exit. All is fine for "every device of mine routes through home." If you only want your phone and laptop, put them in a group like and pick that.
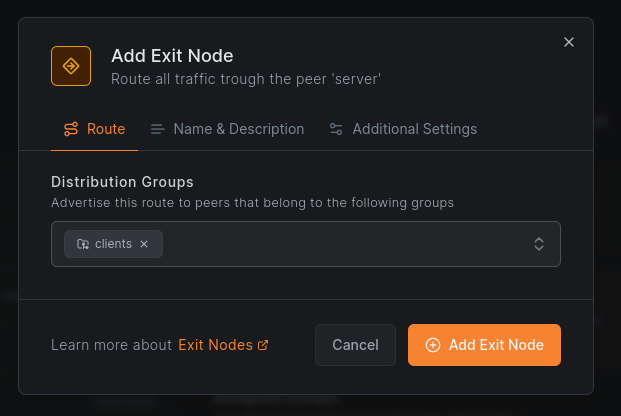
For an "always appear at home" setup, leave Auto Apply enabled. Distributed peers will start using the exit node automatically.
Save. Masquerading is on by default, which is what you want. The home peer NATs your laptop's traffic out of its own LAN IP, and to the rest of the internet you simply look like a normal device on your home network.
The peer view should now show the routing peer flagged as an exit node.
3. Add the Required Access Policy
Open Access Control > Policies and confirm there is a policy with your distribution group as the source and the routing peer's group as the destination, allowing at least ICMP. Without this, the route silently does not apply on the client. This is the single biggest "why is this not working" cause, so do not skip it.
4. Configure DNS to Avoid Leaks
By default, your laptop will keep using whatever DNS the local Wi-Fi handed it, even with the tunnel up. That is a leak. To force DNS through the exit node:
- In the dashboard, go to DNS > Nameservers.
- Add a nameserver pointing at a resolver you want to use. A public one like is fine if you don't run your own. If you have something like AdGuard Home or Pi-hole at home, use that, see the AdGuard Home tutorial for that pattern.
- Set Match Domains to (or, in dashboard wording, leave it as a primary nameserver applied to all peers). This is what tells the NetBird client on your laptop to send every DNS query through NetBird instead of falling back to the local resolver.
- Distribute it to the same groups you distributed the exit node route to.
DNS in NetBird in general is covered in DNS in NetBird .
Android caveat: disable Private DNS under Settings → Network & Internet → Private DNS. Android otherwise bypasses VPN DNS entirely.
5. Verify It Is Working
From your laptop, on a network that is not your home network, with NetBird connected:
That should return your home connection's public IP, not the coffee shop's. Cross-check it against what you get with NetBird disconnected.
For a more diagnostic view:
Look for the route showing up under Networks, attached to your home routing peer, with a Selected status. If you do not see it Selected, the most common cause is the missing ICMP policy from step 3.
A DNS sanity check:
The IP returned should be associated with your home ISP, not the local network's resolver. Several "DNS leak test" sites work the same way in a browser if you prefer.
6. Switching It On and Off from the Client
On the laptop or phone, the NetBird tray icon (or the mobile app) has an exit node selector. You can pick a different exit node, or "no exit," and that choice overrides the dashboard for that one device. Handy when you want to flip back to local traffic on a fast Wi-Fi without disconnecting the tunnel.
That covers the first use case. You now have a working "appear at home" setup.
Use Case 2: VPS for Region-Locked Access
Same mechanics, different machine. Spin up a $5 box in whatever country you want to apparently live in. Hetzner, DigitalOcean, Vultr, OVH, Linode, all work. The smallest tier is fine. Pick Ubuntu or Debian, give it a public IPv4, and SSH in.
This is the part of NetBird that ends up doing roughly what consumer VPNs like NordVPN, Mullvad, or PIA sell. Functionally, you are routing your internet traffic through a server in another country and emerging there. The difference, covered in the comparison further down, is that you own the box.
1. Install and Enroll the VPS
Same install, same setup-key flow as the first use case. For the VPS, I usually create a setup key with auto-grouping (e.g. group ) so the machine lands in a known group on first boot. That makes the dashboard step easier, and lets you script the enrollment from cloud-init or a Terraform block. See setup keys .
Confirm it is online:
2. Add It as a Second Exit Node
Back in the dashboard, in Peers, click the VPS, and add it as an exit node the same way you did for the home box. A few choices to make differently this time:
- Distribution groups. Use a different group than the home exit, or the same one. If you put both exits in the same distribution group with Auto Apply on for both, NetBird treats them as a highly available route and the client picks one based on metric and connection type. That is great for redundancy, but probably not what you want here, since you usually want to consciously choose between "appear at home" and "appear in Frankfurt."
- Auto Apply. Turn this off for the VPS exit. With Auto Apply off, the VPS exit shows up in the client as a switchable option without taking over automatically. You flip to it when you want to be in that country, and flip back when you don't.
Save the route, and add the same Users → Routing Peer ICMP policy if it does not already cover this peer.
3. DNS Reminder
Same DNS gotcha as the first use case, but the leak is more visible here. If your traffic exits in Frankfurt but your DNS still resolves through the local Wi-Fi in Toronto, geo-aware sites will see a US/Canada-shaped DNS pattern and either confuse themselves or fail to deliver the geo-blocked content. Your NetBird primary nameserver with match domain from the first use case already covers this if you applied it to the same groups. If you used a different group for the VPS, distribute the nameserver to that group too.
4. Verify
On your laptop, in the NetBird tray, pick the VPS as the exit node. Then:
That should now return the VPS's public IP, in the VPS's country.
Confirm the route is selected and pointing at the VPS peer.
A geo check for good measure: load any "what is my IP" site in a browser and check the city, or run:
The country and city fields should match where you put the VPS, not where you actually are.
5. Flipping Between Exits
This is the payoff. From the NetBird tray on the laptop or the mobile app, you now have:
- No exit (use the local network normally)
- Home exit (appear at home, Auto Apply default)
- VPS exit (appear in $country, on demand)
Pick whichever fits the moment. The client choice overrides whatever the dashboard says for that device, so flipping costs nothing and applies instantly.
Honest Comparison to Consumer VPNs
If you are looking at this and thinking "isn't this just NordVPN with extra steps," the honest answer is: kind of, with real tradeoffs in both directions.
What you get with a NetBird exit node that you do not get from a consumer VPN: you own the box. You can SSH in and see exactly what is running on it, who else is using it (nobody), and what is being logged (whatever you configure, which can be nothing). You do not share an egress IP with thousands of strangers, which means CAPTCHAs, "are you a robot" walls, and IP bans from sites that have given up on shared VPN ranges mostly disappear. You also get full control over which devices route through which exit and which traffic gets routed at all, all the way down to per-device overrides.
What consumer VPNs have that you do not: dozens of countries, sometimes hundreds of cities, all one tap away. Mullvad gives you about 40 countries today. NordVPN markets 60+. NetBird gives you the building blocks. You bring the boxes. If you genuinely want to flip between 50 country options for streaming, NetBird is not a 1:1 NordVPN replacement, and it is not pretending to be. If you want one or two reliable exits that you fully control and that double as your homelab gateway and your geo-shift, the math leans the other way and a $5 VPS plus a Pi at home covers it.
Wrapping Up
Same configuration scales out to the business cases at the top of this article. A static egress IP for partner allowlists is the same dashboard flow with a different group. Forcing remote-worker traffic through corporate egress for compliance is the same flow again with the company's existing groups as the distribution groups. Once the pattern clicks, you stop thinking about exit nodes as a "VPN replacement" and start thinking about them as one of the building blocks NetBird gives you for shaping where traffic comes out of your network.
If you want to go deeper, the exit nodes reference covers HA exits and edge cases, and the Network Routes overview is where to look when you want exit nodes that are also doing site routing at the same time.