
Self-hosting NetBird has always been straightforward. Our Quickstart script gets you a full control plane up and running in a few minutes, and plenty of you already run it that way.
Now there's an even simpler option if you're on Vultr. NetBird is available as a one-click app on the Vultr Marketplace , with all of our recommended defaults already baked in. You provide a domain and an email, set two DNS records, and the install script handles the rest. No terminal required to get a production-ready control plane up and running.
What you actually get
This isn't a stripped-down demo image. It runs a modified version of our Quickstart script with the recommended defaults already baked in, all as Docker containers on a single server:
- Traefik handling automatic TLS via Let's Encrypt. No manual certificate wrangling.
- The NetBird server, combining management, signal, relay, and STUN into one container.
- The NetBird dashboard with an embedded identity provider, so you can create your first admin and sign in without bolting on an external IdP first.
- NetBird Proxy enabled by default, so you can expose internal resources straight from the dashboard. More on that in the Reverse Proxy overview .
- CrowdSec wired into the proxy for community IP reputation and threat blocking. See CrowdSec IP Reputation .
Everything lives in on the instance, so if you want to peek under the hood, the and all the env files are right there.
Before you start
Pretty basic list here:
- A Vultr account.
- A public domain you can point at the instance, like .
- Access to your domain's DNS records.
Deploying it
Sign in to the Vultr portal and hit Deploy. From there:
- Pick a location close to most of your users.
- Choose Shared CPU since NetBird isn't CPU-hungry, then a plan with at least 2 GB of memory.
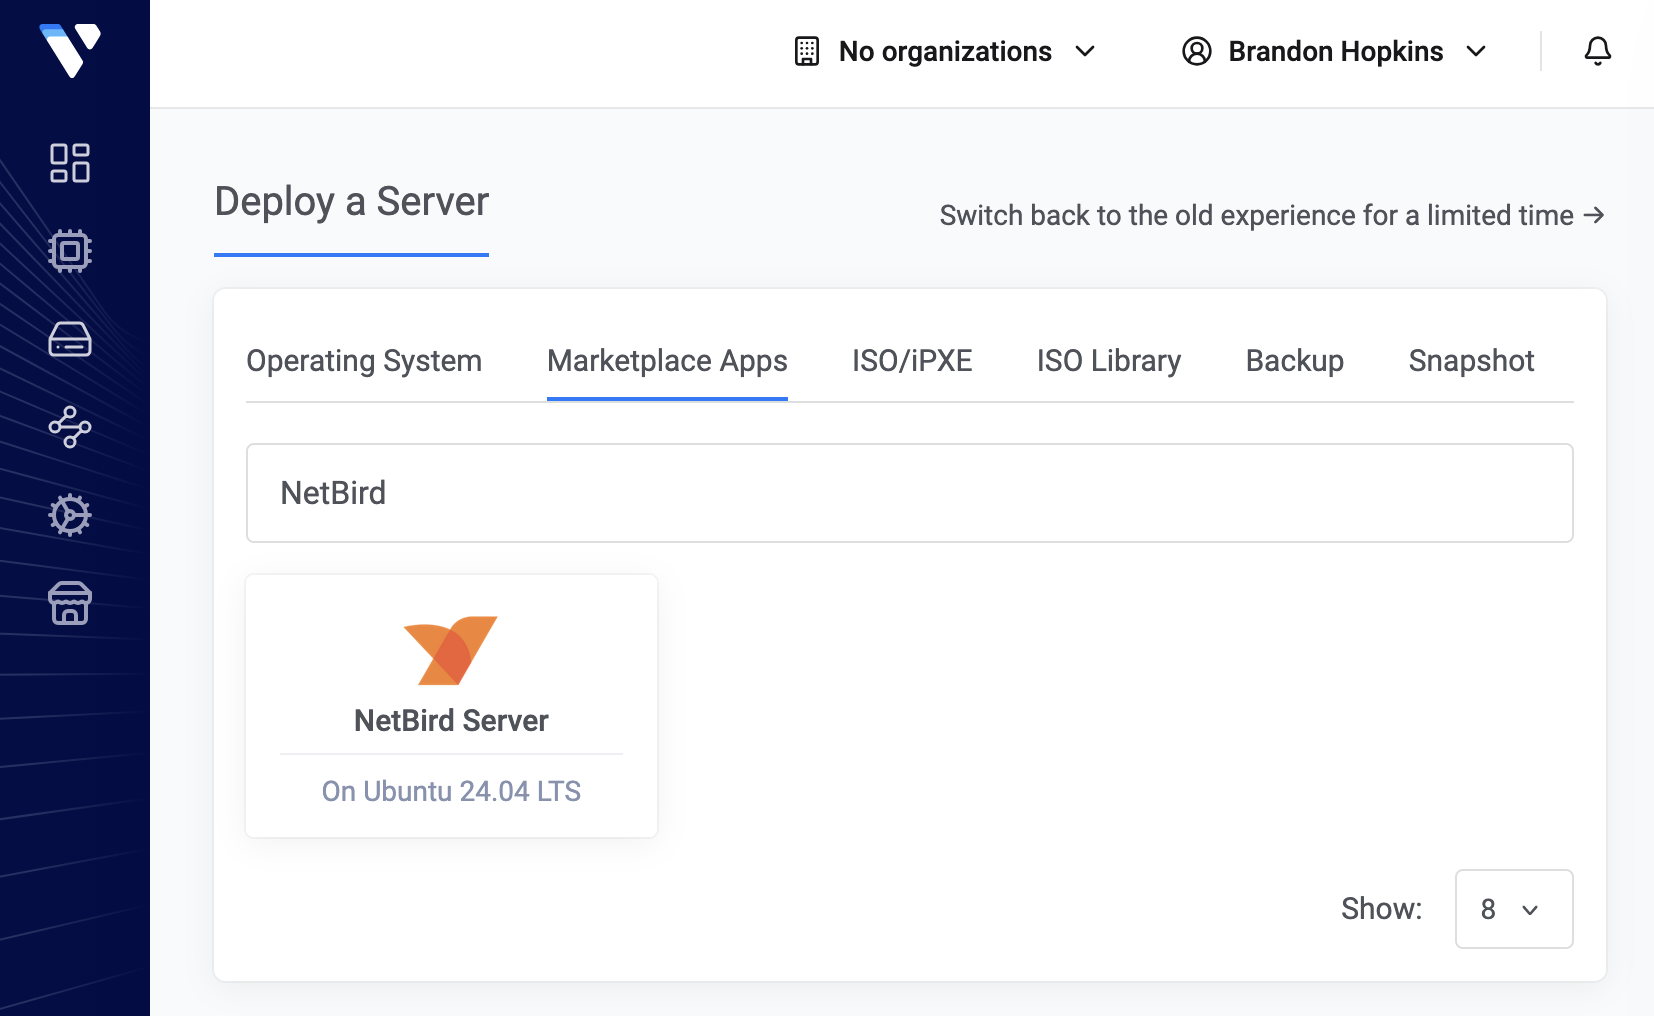
- Click Configure, open the Marketplace Apps tab, and search for NetBird.
- Fill in the two app fields: your email for Let's Encrypt notices and the domain the instance will live at.
- Set a hostname under Server settings and optionally enable IPv6 (supported in NetBird v0.71+), then Deploy.
One tip that saves you some waiting around: reserve an IP in Vultr under Products → Network → Reserved IPs before you deploy and attach it during setup. With the IP known ahead of time you can create your DNS records early so they've already propagated by first boot, and Let's Encrypt can issue certificates right away instead of waiting on DNS.
Set your two DNS records
After deploying, the install script waits for your domain to resolve before it continues, which is why TLS tends to just work on the first try. Grab the instance's public IPv4 from the Vultr dashboard and drop these two records in at your registrar:
| Type | Name | Content |
|---|---|---|
| A | ||
| CNAME |
The wildcard CNAME is what lets the NetBird Proxy issue certificates for the resources you expose later. Do note that if you're using Cloudflare, set both records to DNS only (uncheck the orange cloud), otherwise the proxy interferes with Let's Encrypt's challenge.
Once DNS resolves, the script finishes on its own and you'll see in the console.
Sign in
Open your domain in a browser and create your first local admin user. No external identity provider required to get going, it's built right in.
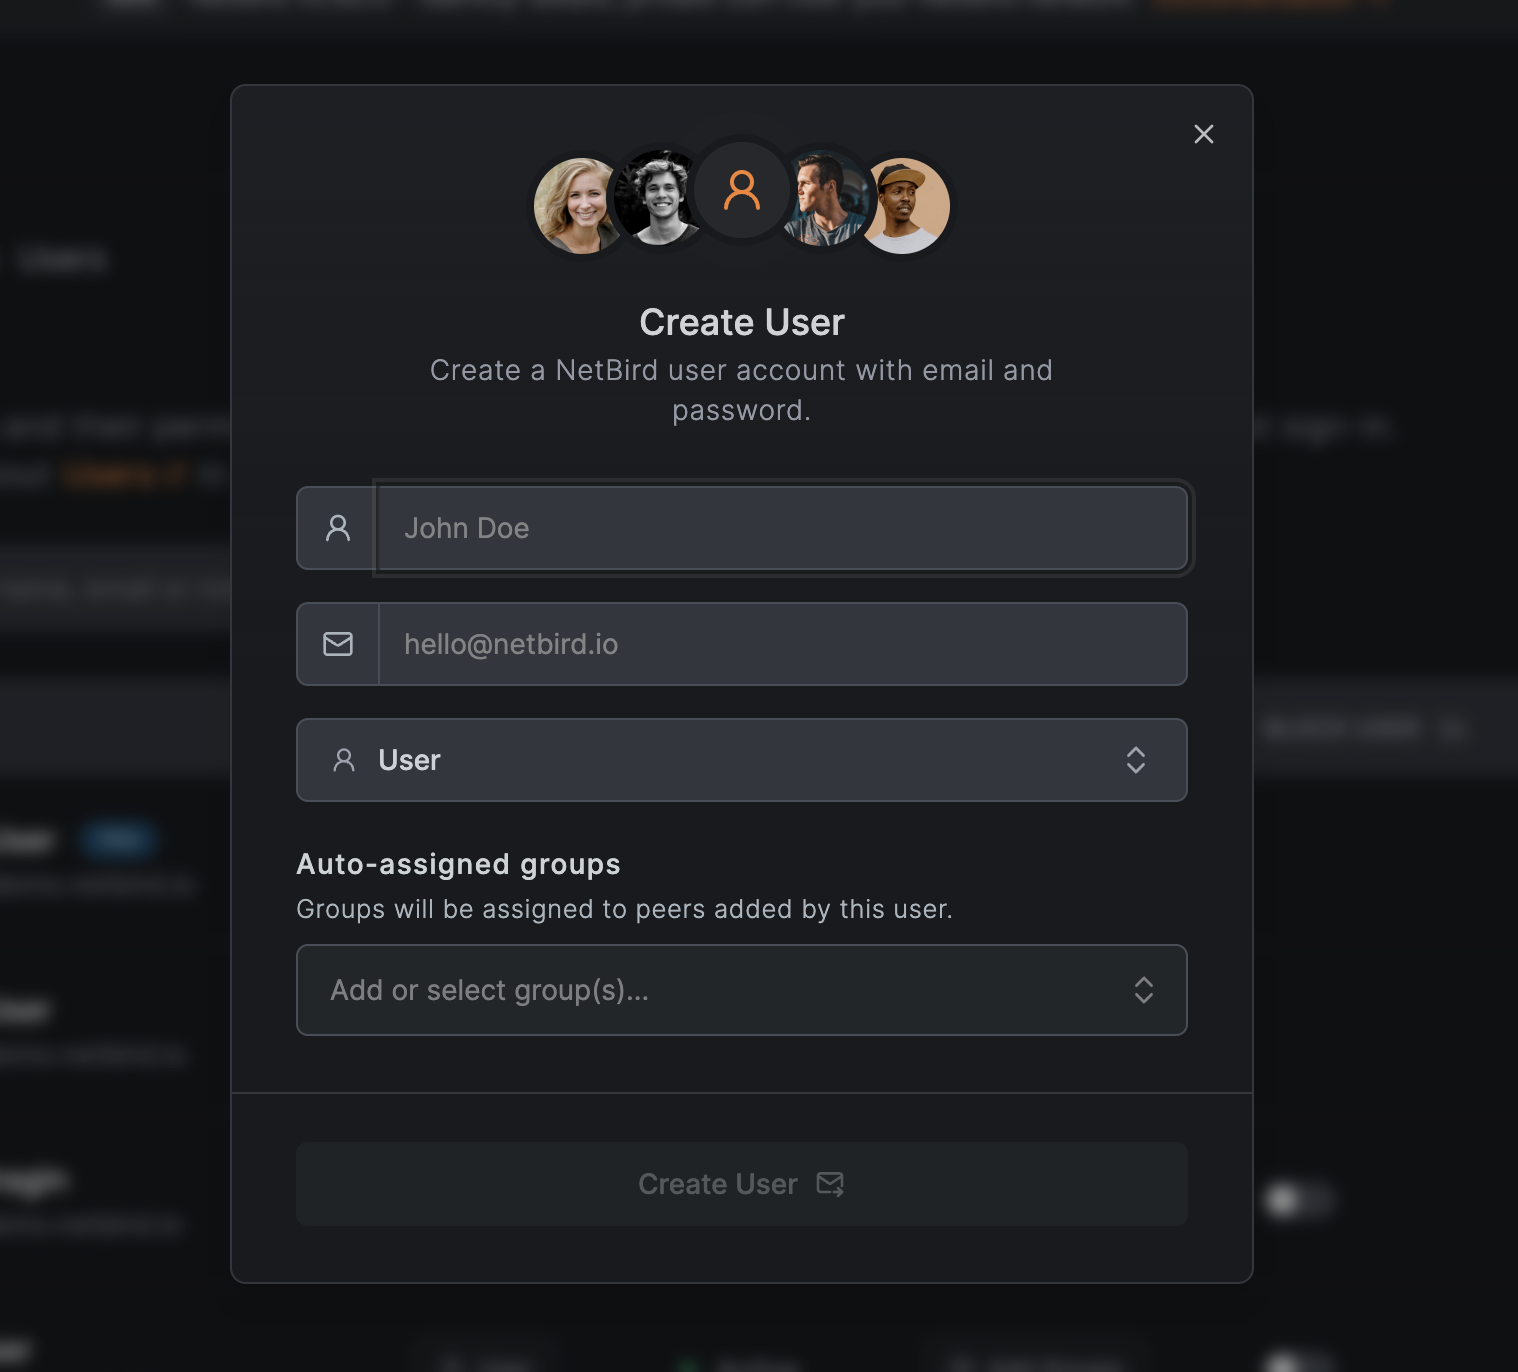
From there, follow the Get started with NetBird walkthrough to add your first peer, or skip straight to the dashboard if you've done this before. If you'd rather hook up Okta, Entra ID, or another provider down the line, the identity provider docs have you covered.
A quick word on hardening
The instance ships with a root password, so before you lean on it for anything real, lock it down. Create a non-root user with , set , switch to SSH keys, and set in . Restart SSH from a second session once you've confirmed key login works, just so you don't lock yourself out. Pretty standard stuff, but worth saying.
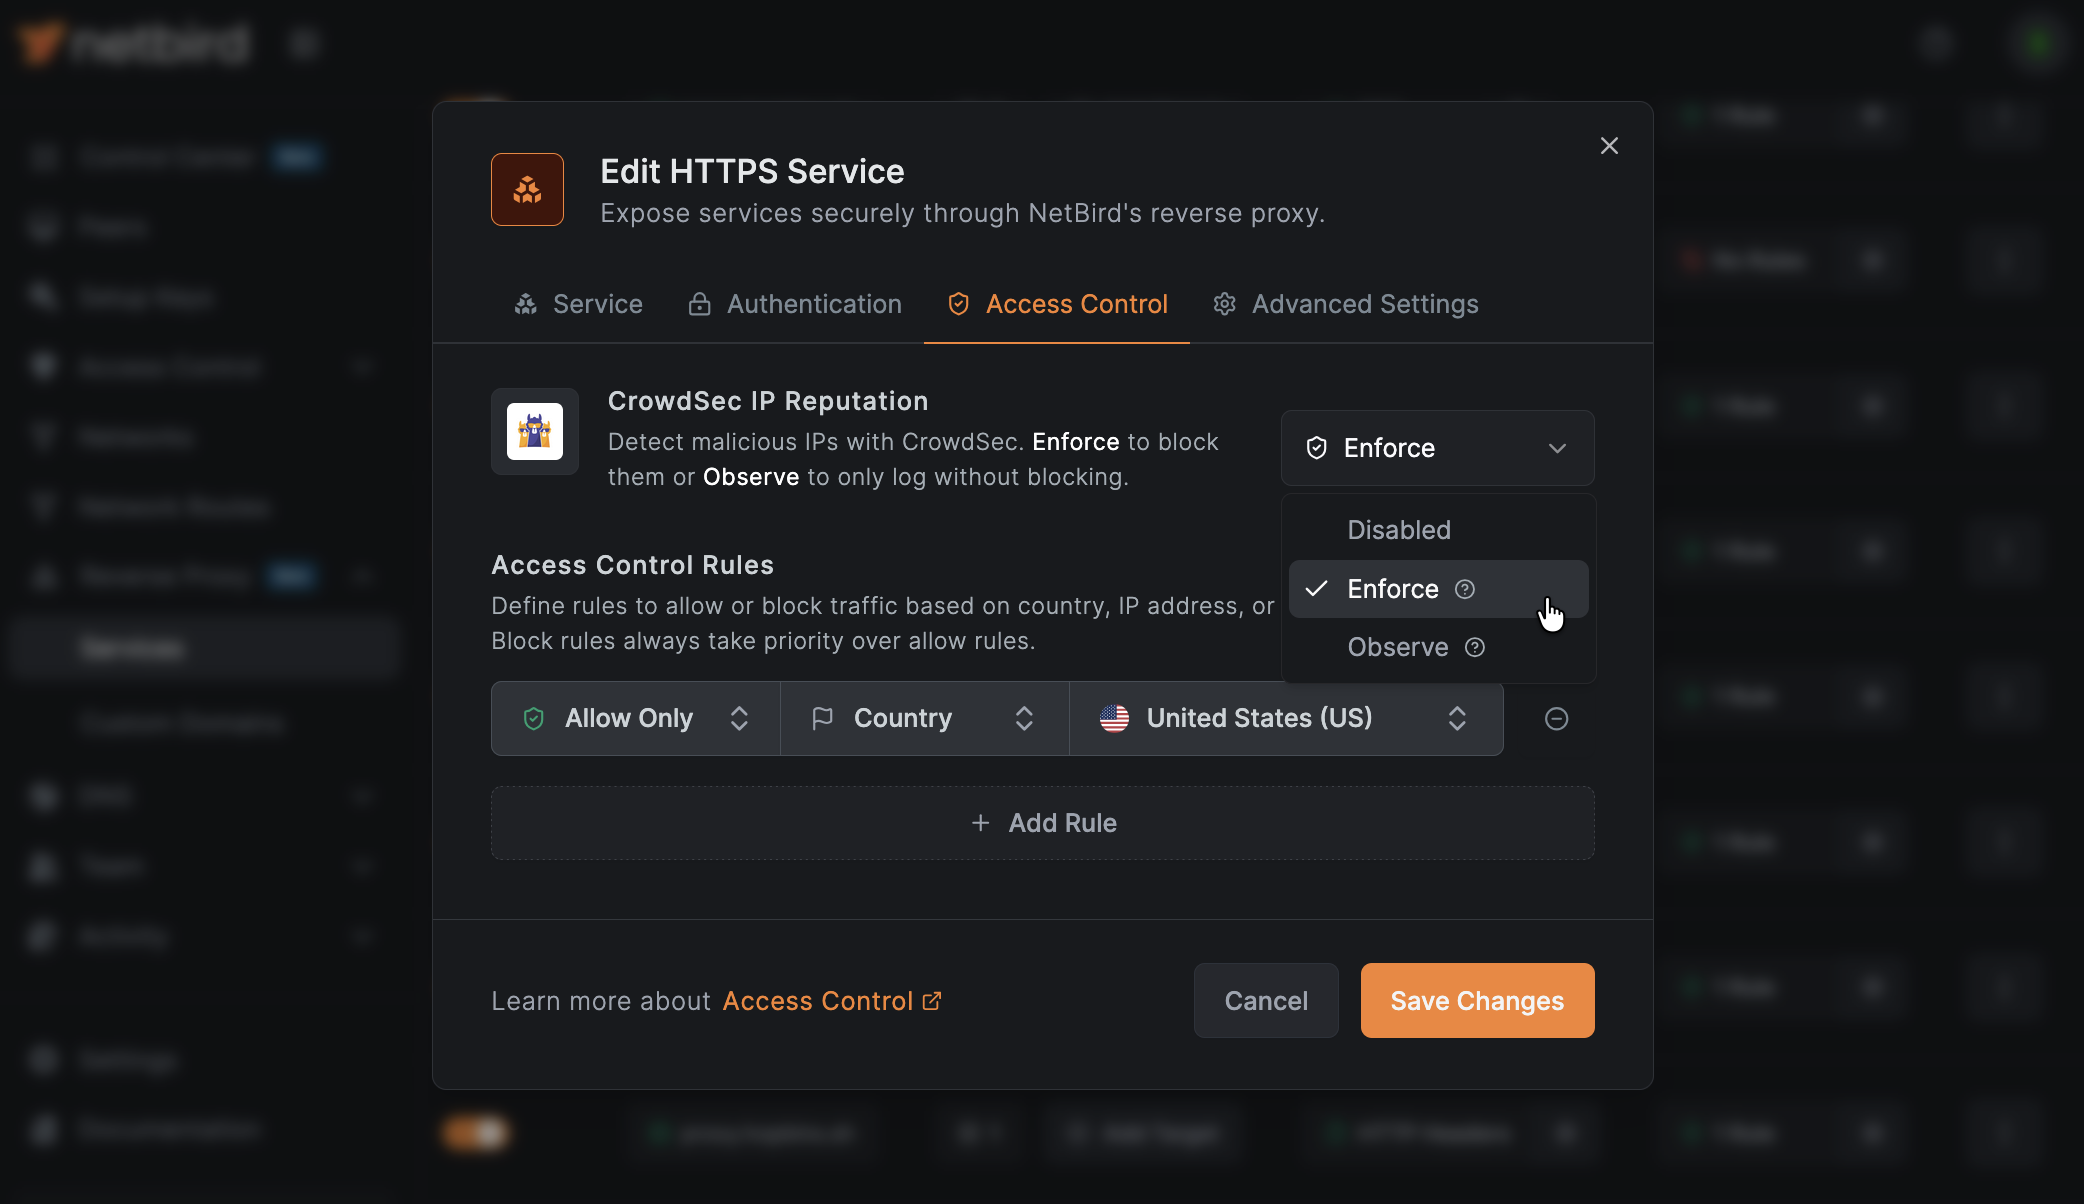
The CrowdSec piece is already running and linked to the proxy, so client IPs get checked against the community threat database out of the box. You can turn blocking on per-service from the dashboard under Access Control.
Keeping it updated
When the dashboard shows an Update available banner, updating is three commands:
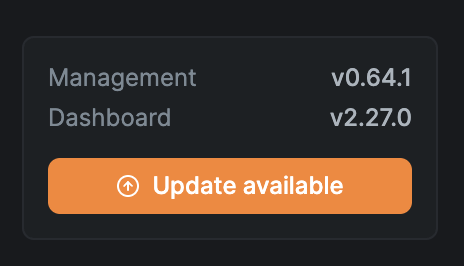
Refresh the dashboard and the banner clears. The full procedure, including migration notes and rollback steps, lives in the Upgrade guide .
Give it a shot
That's really all there is to it. If you've been meaning to spin up a self-hosted NetBird instance and kept putting it off, this is about as low-friction as it gets. Head over to the Vultr Marketplace and search for NetBird, and you're good to go.
For the full walkthrough and all the details, check out the Deploy NetBird on Vultr docs. Have a great one.