
TrueNAS is an awesome operating system that you can use to host your very own home server. It has a lot of different use cases, but the primary functionality is storage. In this guide, we're going to set that up and then securely connect to it from anywhere in the world using NetBird.
Hardware Considerations
TrueNAS works on just about anything. Intel, AMD, there is even a forked version for ARM . So chances are, if you have a computer laying around, you can install TrueNAS onto it, throw a couple drives in it, and you've got yourself a server.
For this guide, I'm actually installing it on a dedicated NAS enclosure where the hard drive bays are really easy to access, which is nice for this use case. But of course, an old desktop or mini PC works just fine too.
Here are some things you're going to want to keep in mind:
- A 64-bit CPU with at least 2 cores. 4 to 6 cores is recommended for home use, and most services on TrueNAS benefit more from higher clock speeds than a higher thread count
- 8 GB of RAM minimum. TrueNAS uses ZFS in the background, so the more RAM the better. ZFS uses it for caching (called the ARC), so 16 GB is a solid starting point and 32 GB or more is ideal if you plan to run apps or VMs
- An NVMe SSD to install the operating system on, separate from your storage drives. It's just going to be faster and work better. You want to avoid booting from USB sticks for long term use
- Two or more hard drives for your storage pool. These are the drives you'll actually use for your data, and with TrueNAS you can create pools and add some data redundancy.
ECC RAM is recommended by many in the ZFS community for data integrity, but it's not strictly required. Non-ECC memory works fine for most home setups.
Before you install, you're also going to want to check a few things in your BIOS:
- Disable Secure Boot so TrueNAS can boot properly
- Disable the Watchdog timer if your hardware has one. I know some UGreen NAS units have this, and it can cause unexpected reboots
- Enable CPU virtualization (Intel VT-x / AMD-V) if you want to use virtual machines in TrueNAS. You should go ahead and do this
- Set your boot priority to the USB drive you'll be installing from
Installing TrueNAS
Once you have all your hardware ready, you're going to need a USB drive. Download the TrueNAS Community Edition ISO from the official website, then flash it using a tool like balenaEtcher or Rufus if you're on Windows. Plug that into your computer and boot to it using one of the function keys. Escape, Delete, F2, F12... it's going to vary depending on your actual motherboard manufacturer.
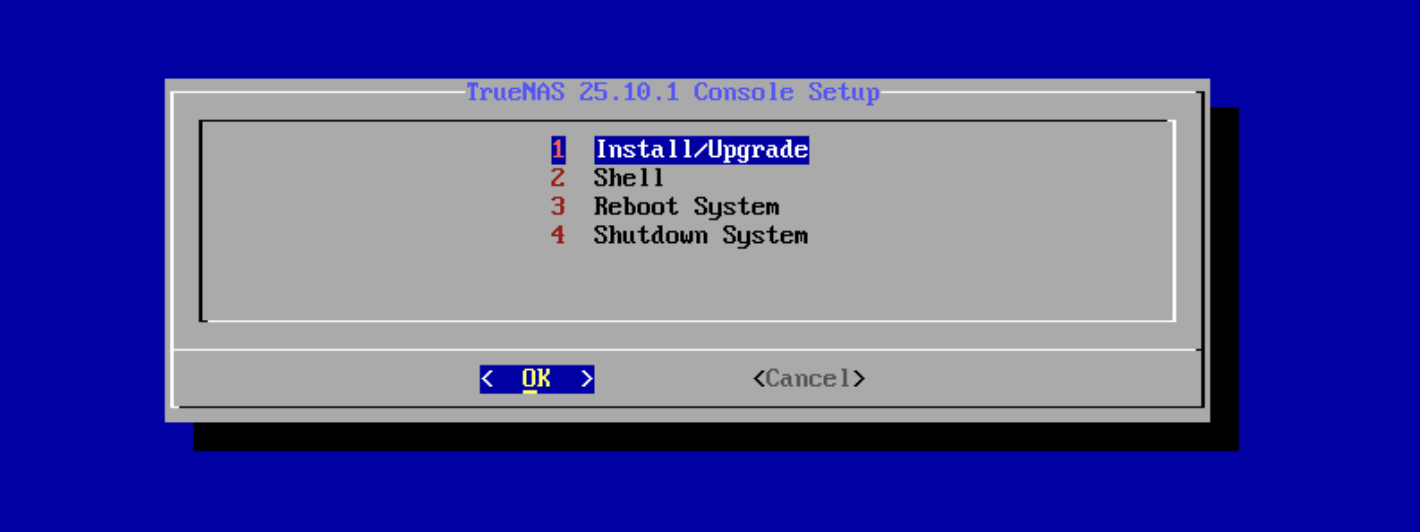
Once the installer loads, you'll see a console with a couple options. We're going to pick the one that says Install.
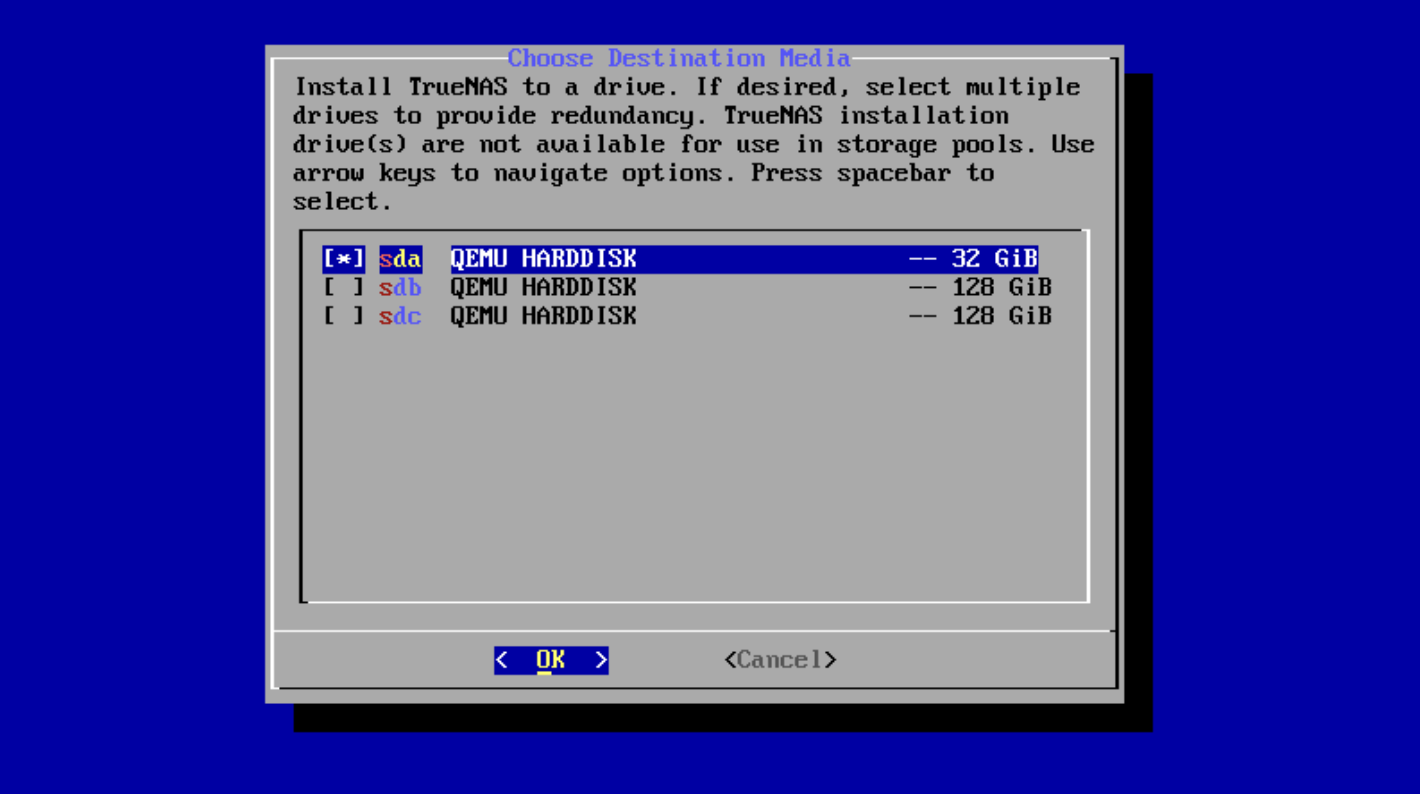
From there, we're going to pick the drive to actually install TrueNAS onto. You can see your other hard drives here, but we're going to pick the NVMe. Do not select your storage drives here, those get configured later.
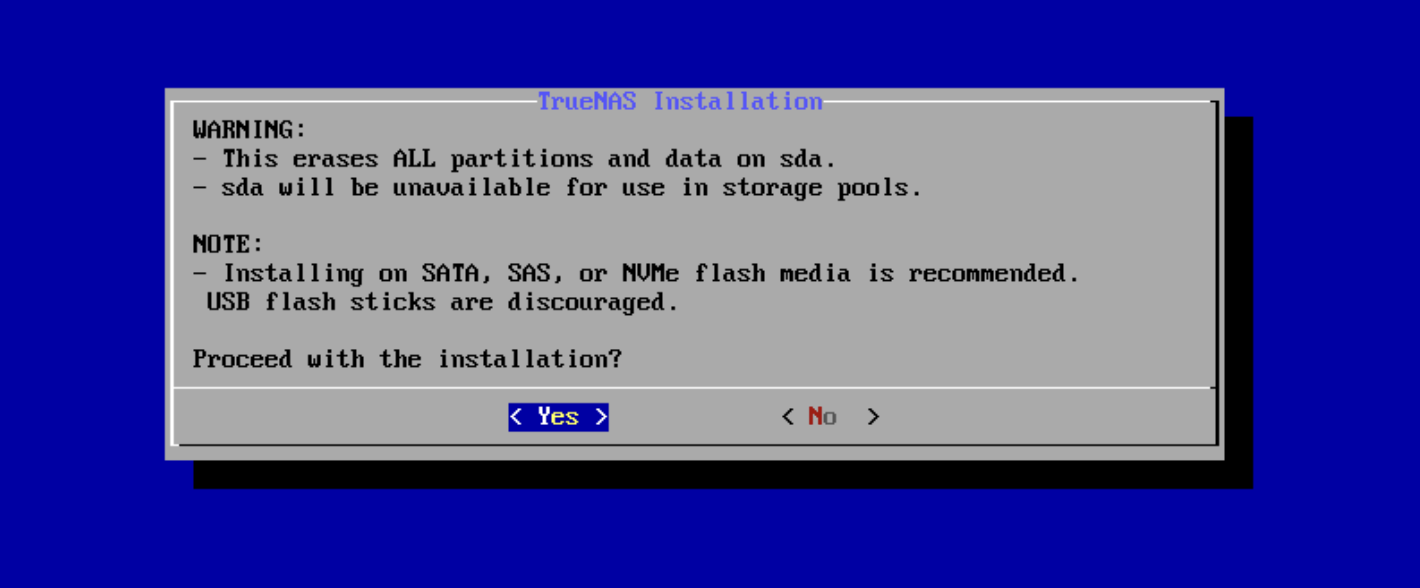
It's going to give you a little warning that it's going to delete all the data on the drive. So do make sure there's nothing important on it before you continue.
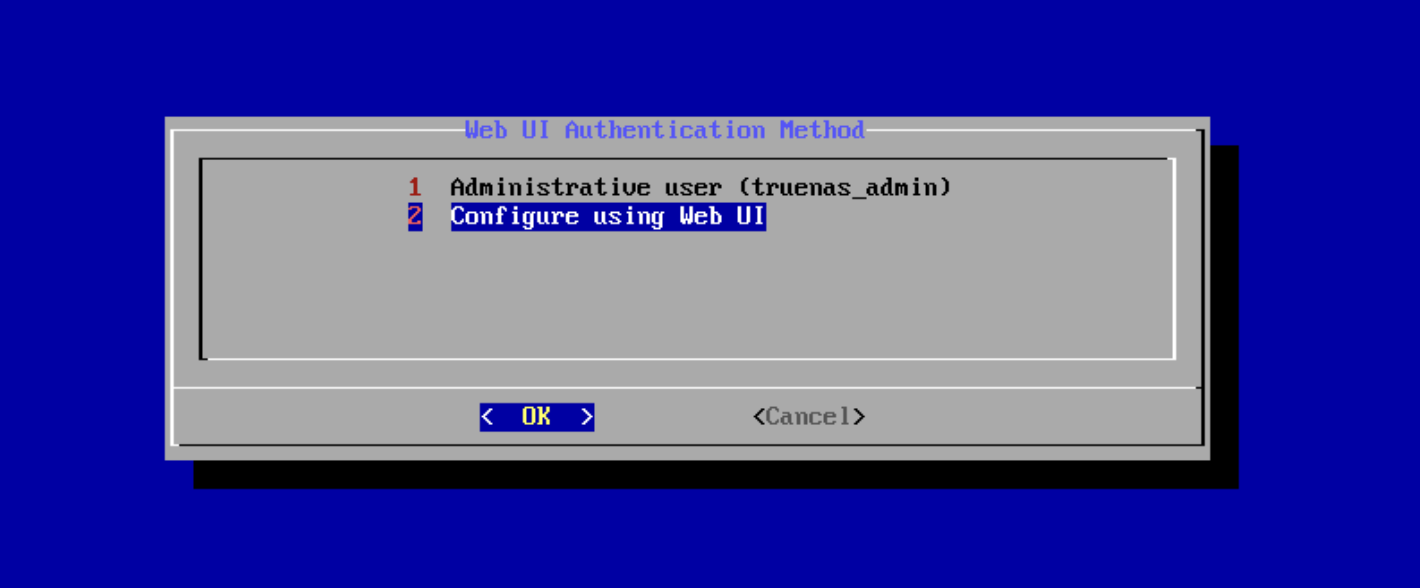
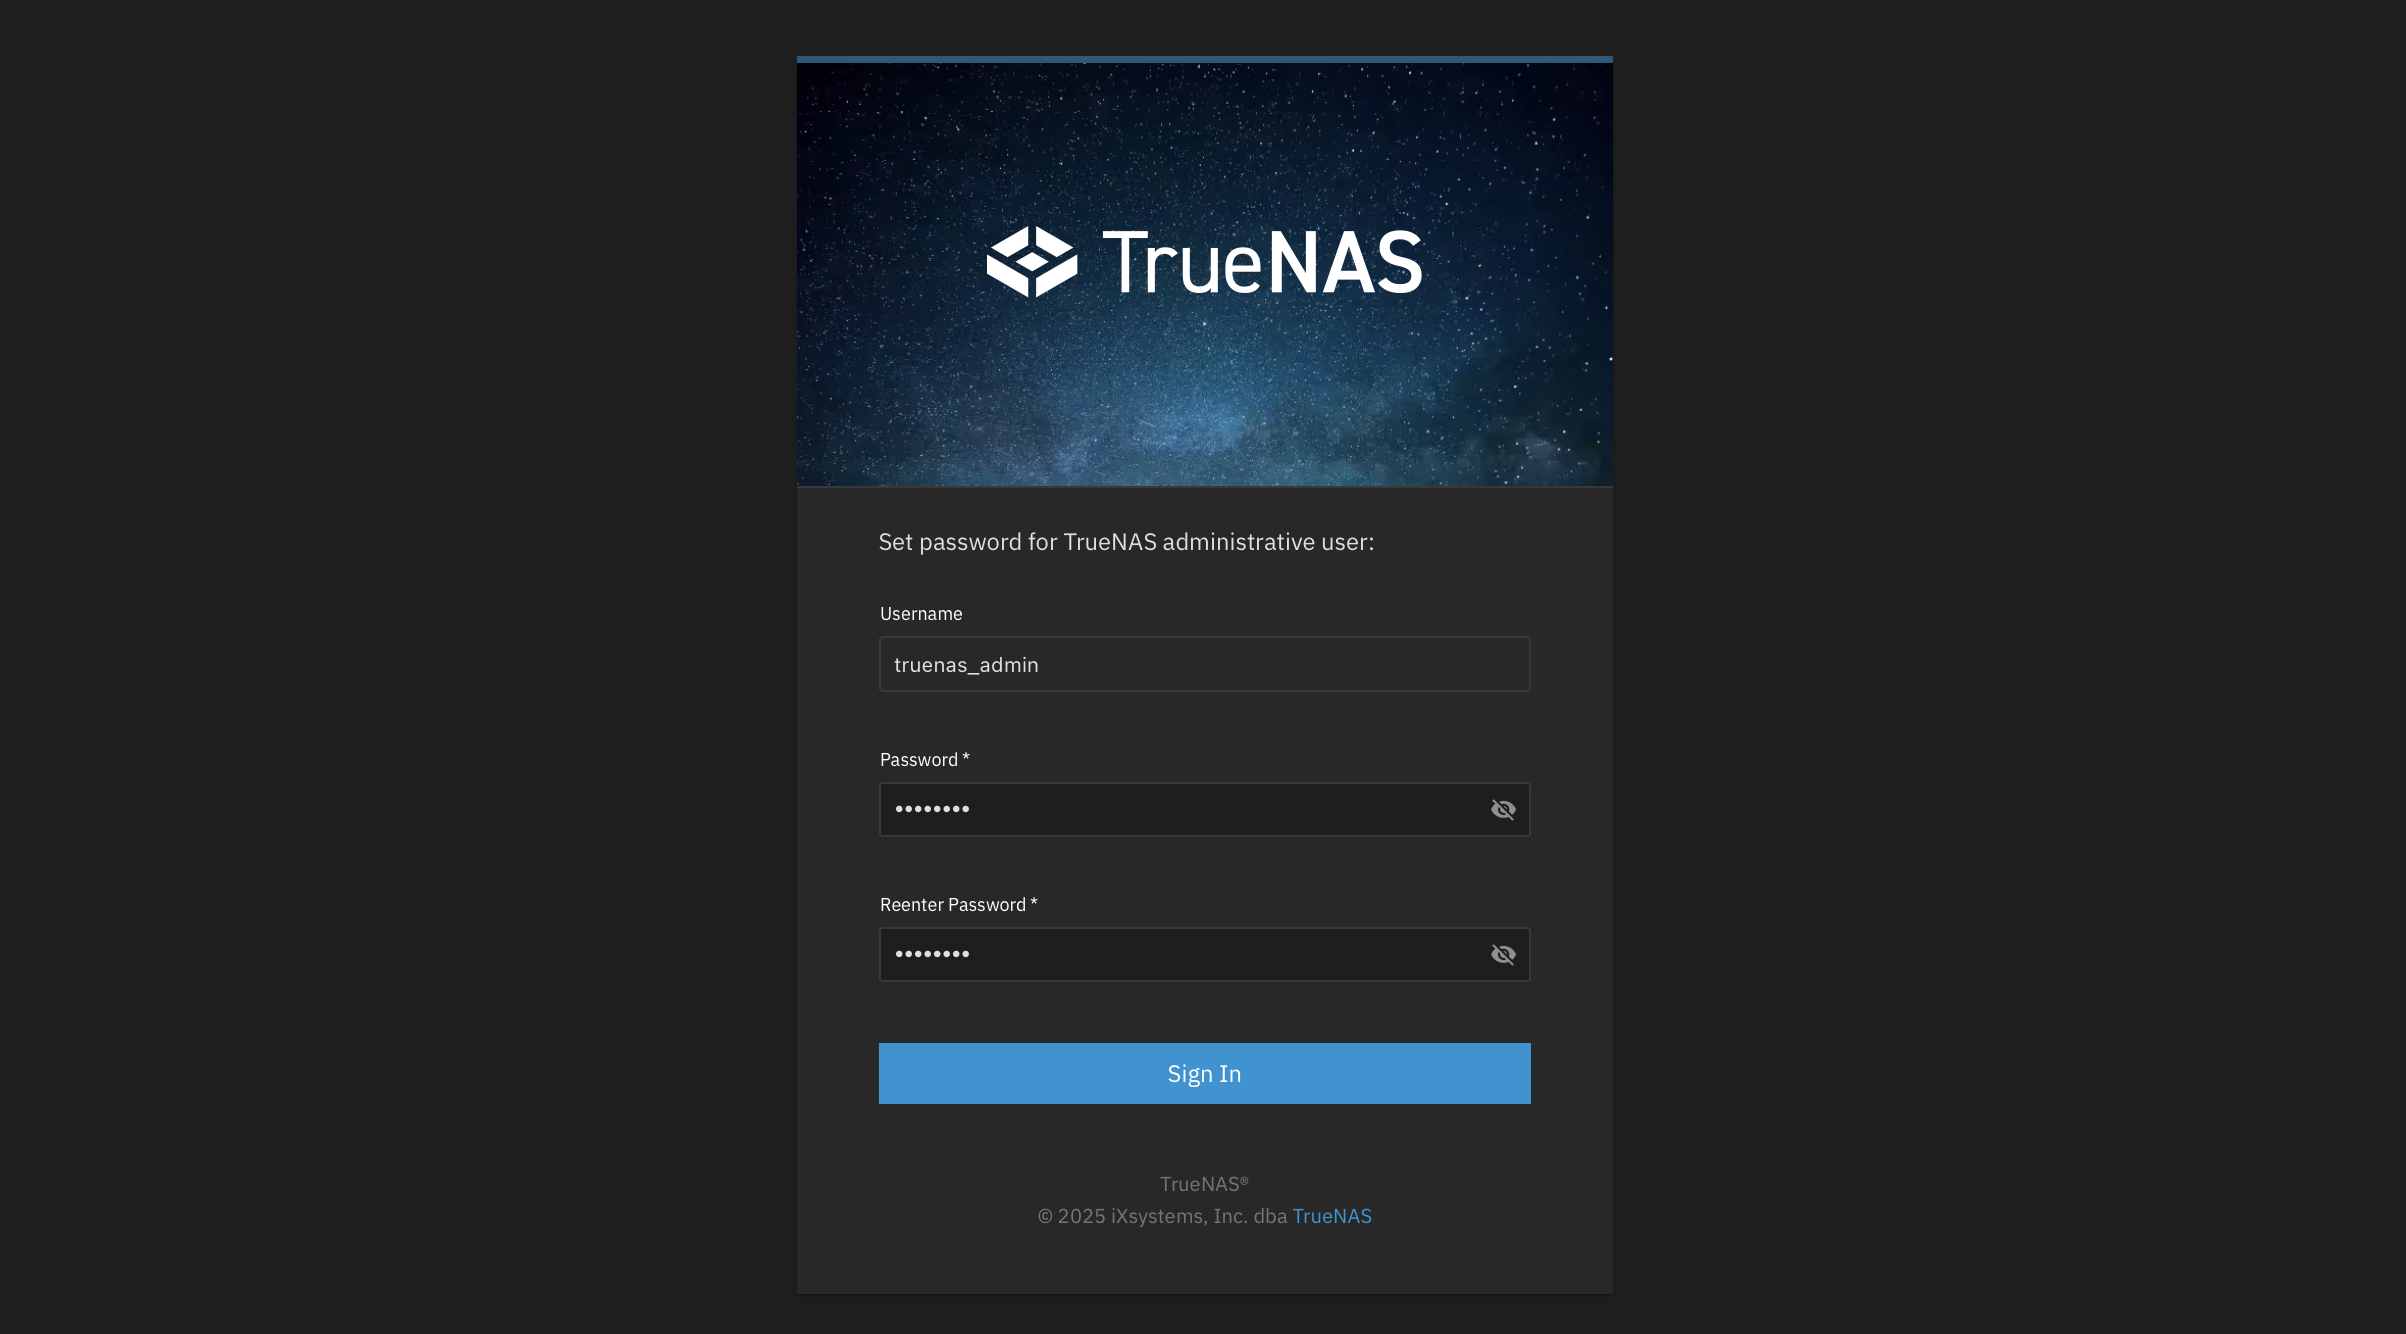
From there, it's going to ask if you want to create the admin account now or do it on the web UI. I just went ahead and set my password right here in the installation wizard. Easiest approach.
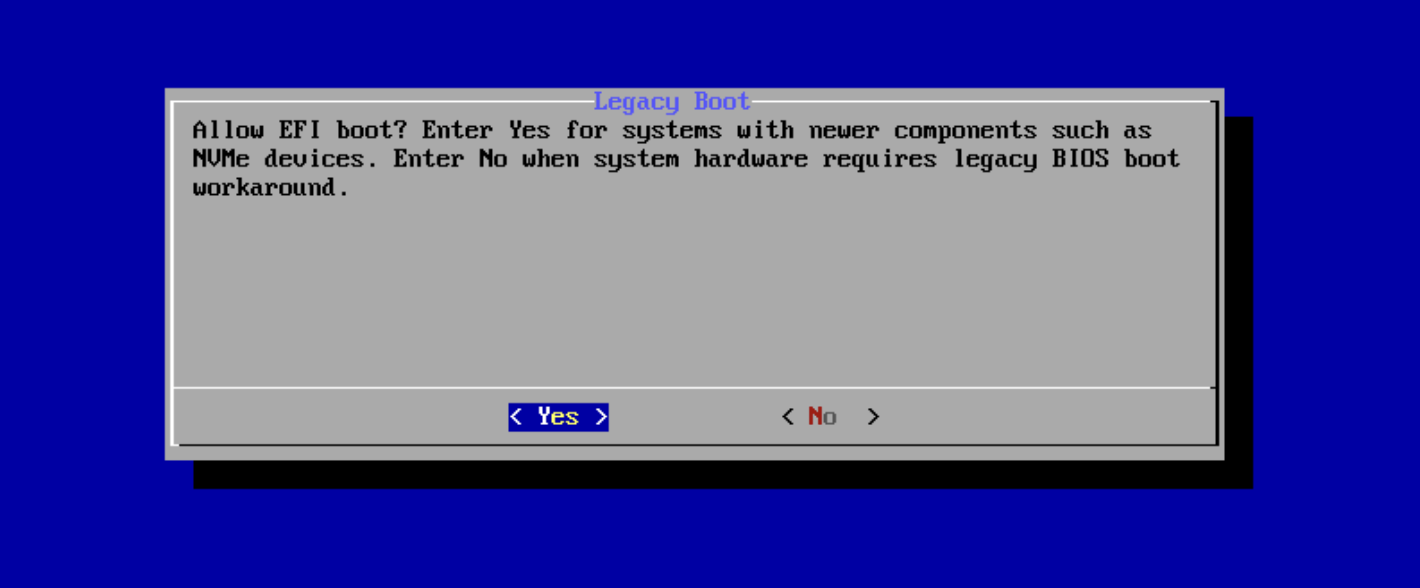
If prompted, allow EFI boot. Most modern systems use UEFI, so this should be enabled.
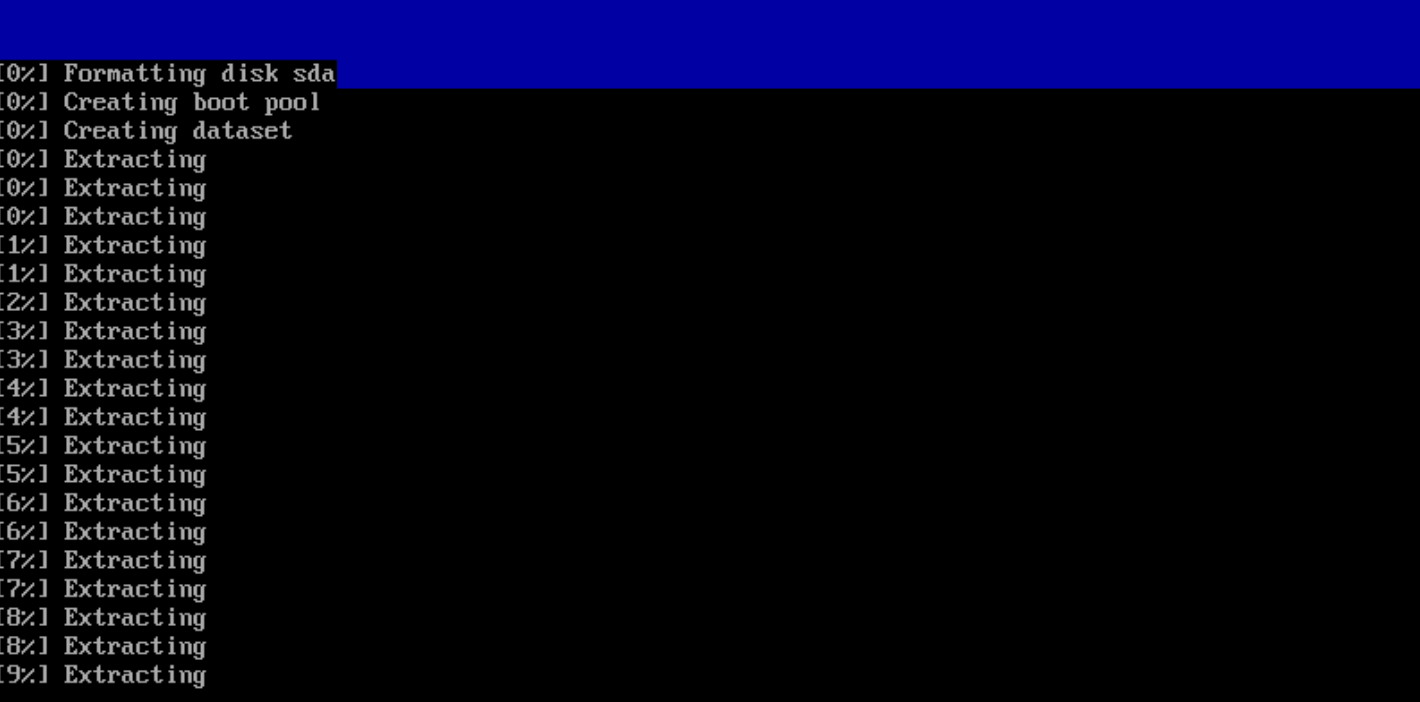
And then from there, it's going to begin actually formatting that boot drive and getting everything set up for you. This usually only takes a few minutes.
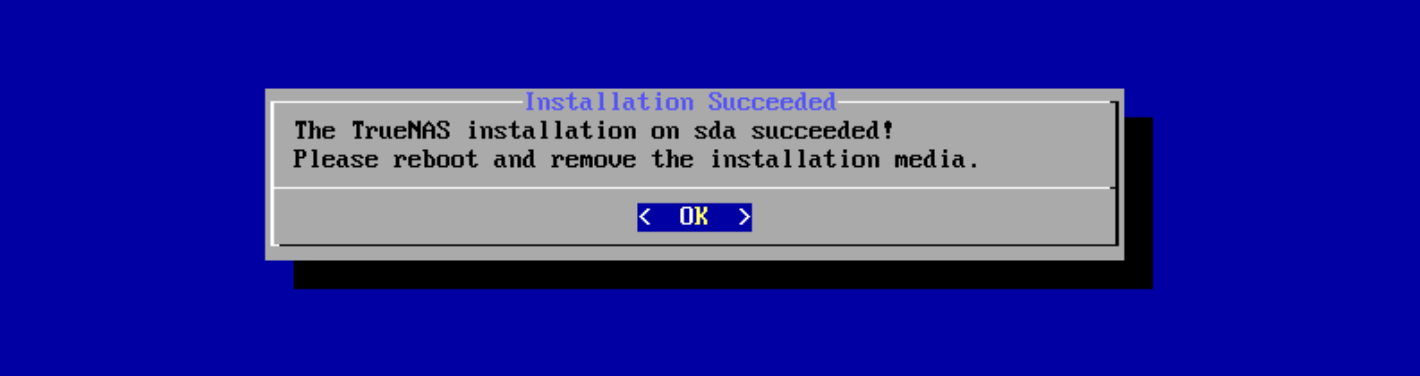
Once it's done, we're going to reboot the system and unplug that USB drive.
First Login
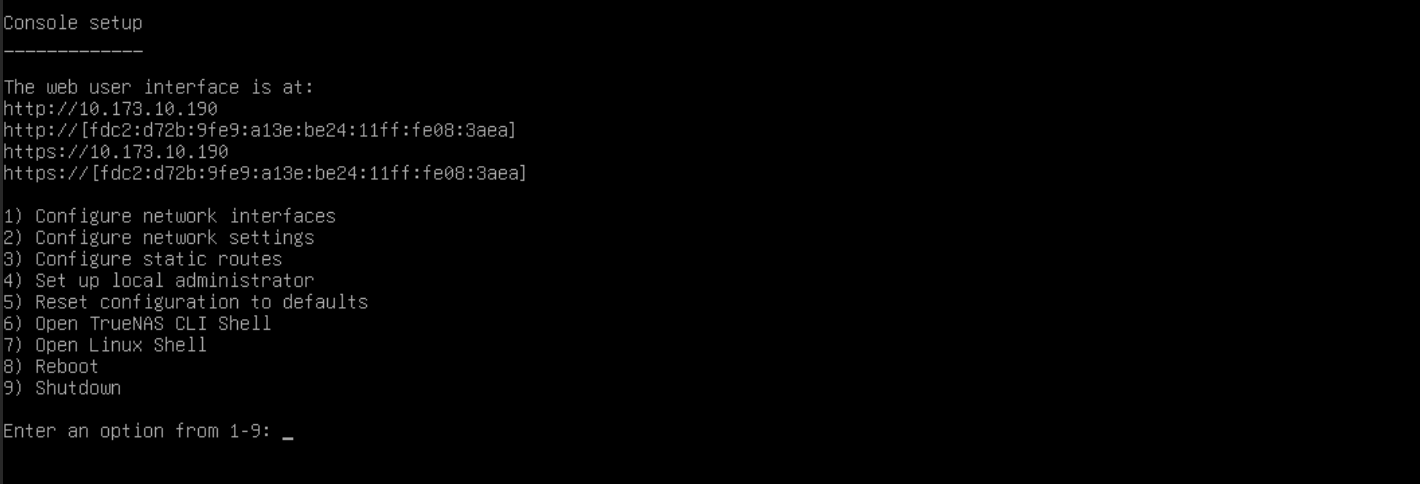
After the reboot, the shell is going to give you your IP address along with a couple options and some information. Take note of the IP address because you'll need it to access the web interface.
At this point, we're not going to need to do anything on the physical system anymore. So you can unplug the monitor, stow it in your server cabinet, however you want to do it.
What we are going to do is go over to a web browser on another computer, go to that IP address, and log in. For the username, use , and then type in the password you selected during the setup.
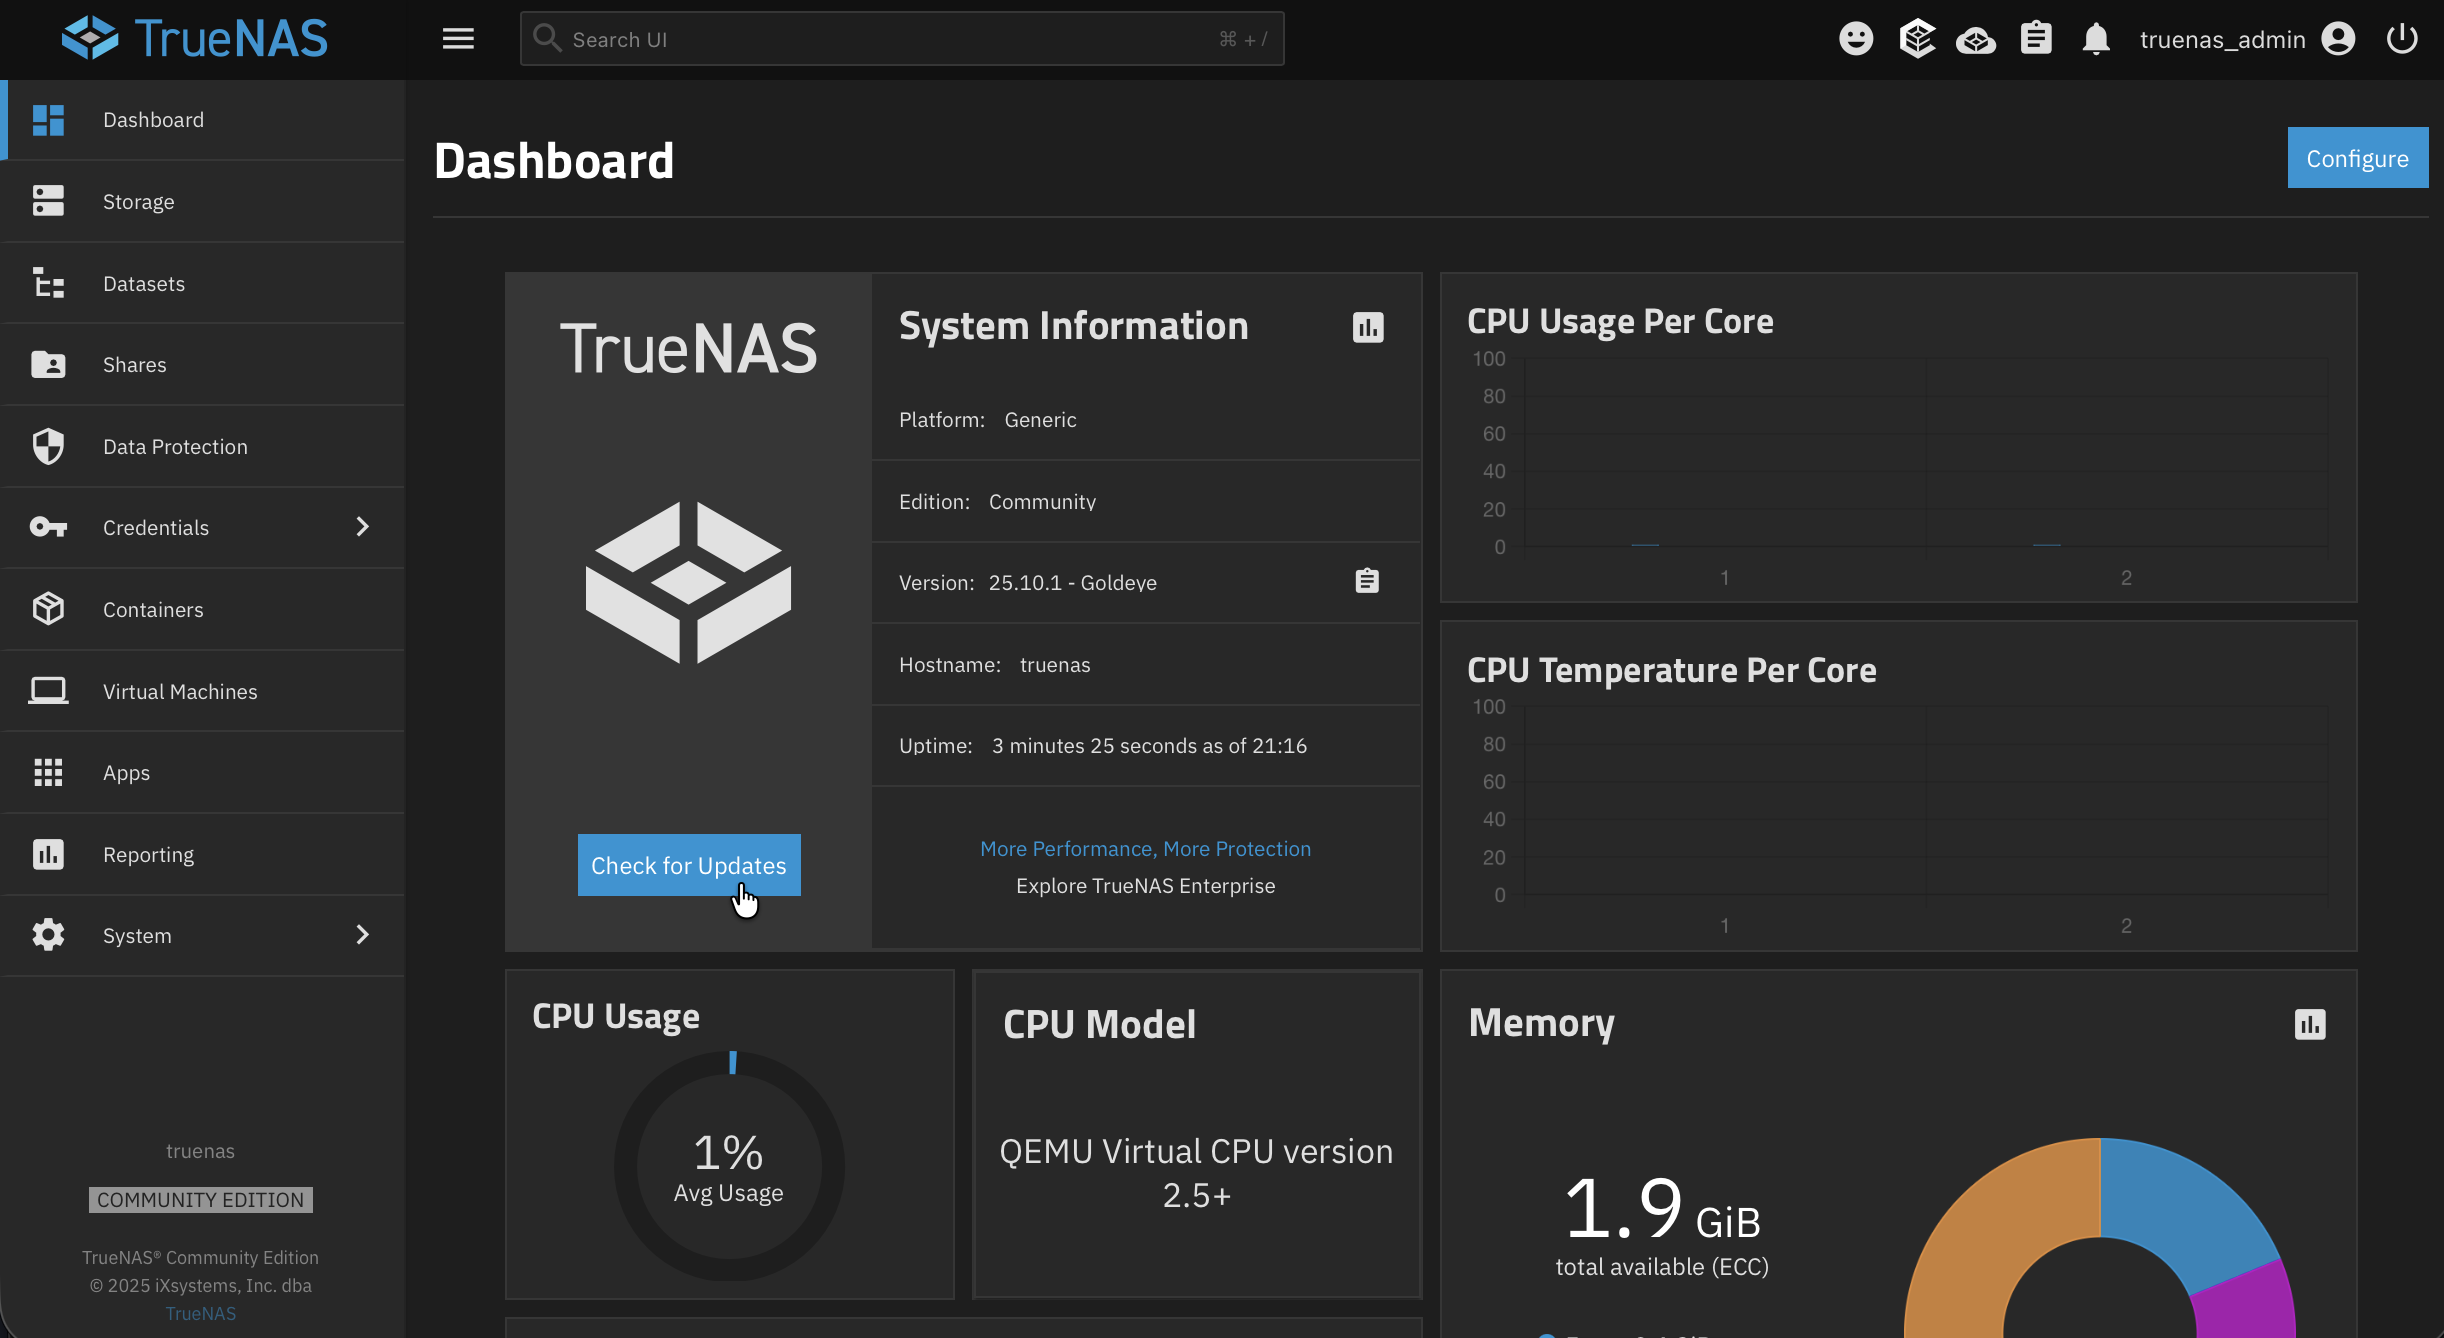
And here we are. On the first screen, you're going to see quite a few different things including your CPU usage, RAM usage, and a bunch of useful metrics and information to help you understand what's going on with your system.
One thing you can do right away is check for updates. Go ahead and click the update notification on the dashboard to make sure you're all up to date and good to go.
Creating a Storage Pool
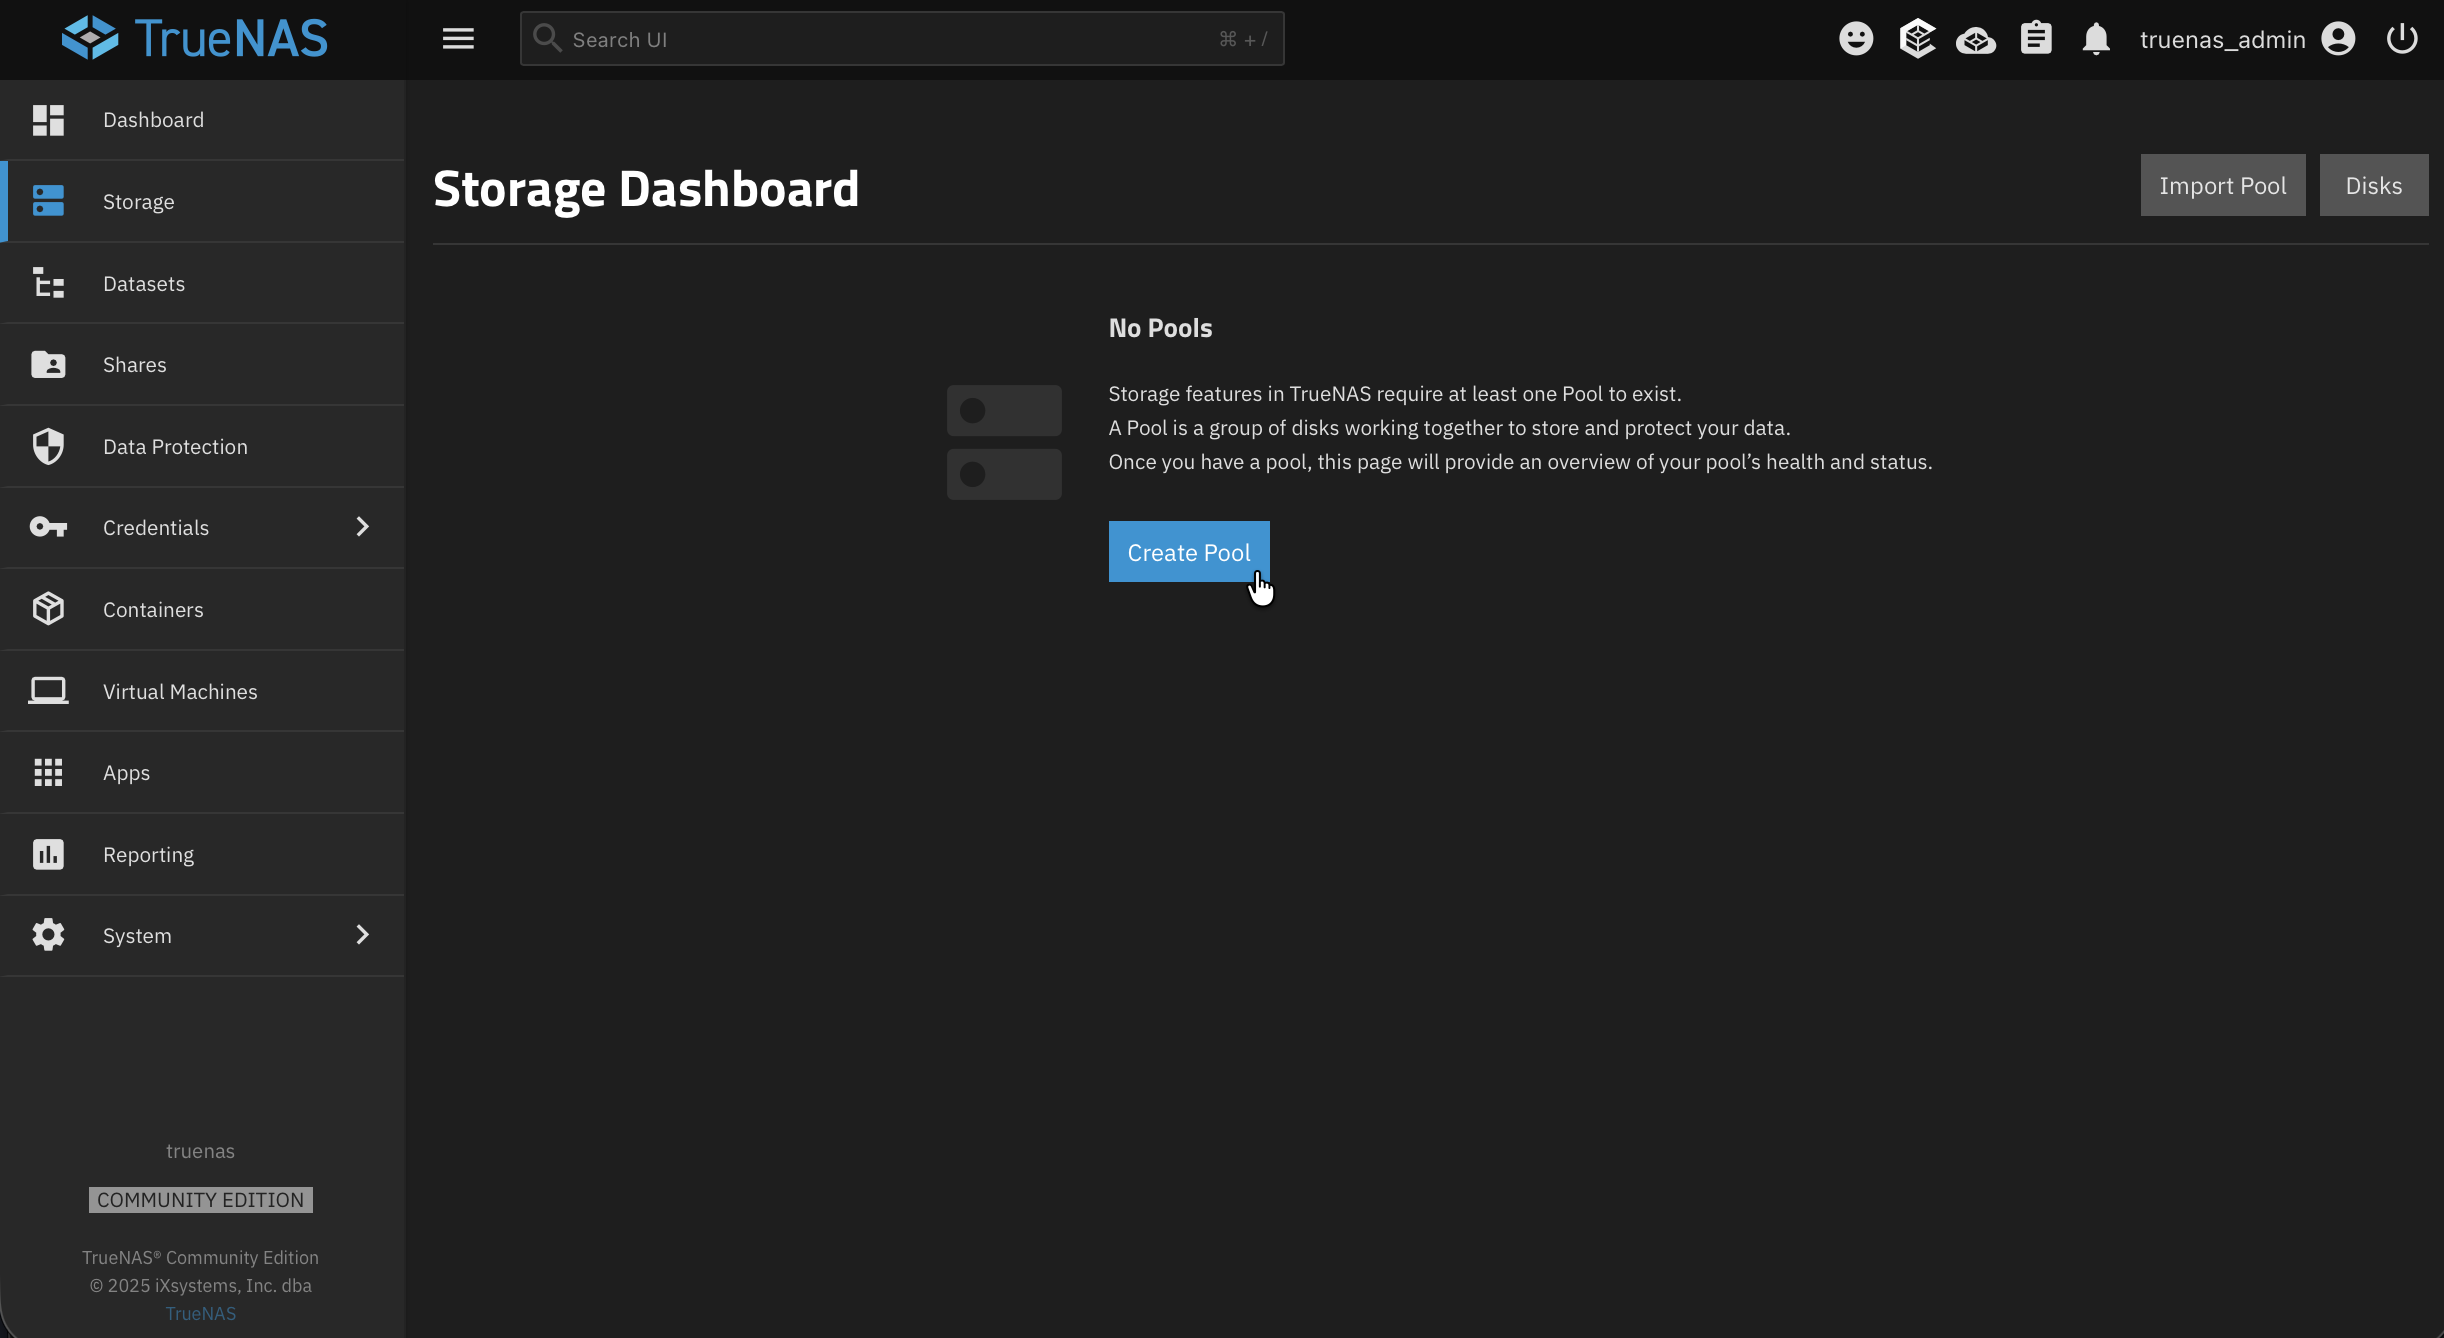
One thing you'll notice is we have no storage yet. What we need to do is create a pool. The pool is going to be our foundation for storage, actually linking all your physical drives together using ZFS. This gives you redundancy, data integrity checking, and self-healing capabilities. Then later on we'll create datasets to actually organize the data within individual pools.
Navigate to Storage and click Create Pool.
Let's give it a name. A common convention is . You can enable encryption if you want to, but for this setup I'm going to skip that.
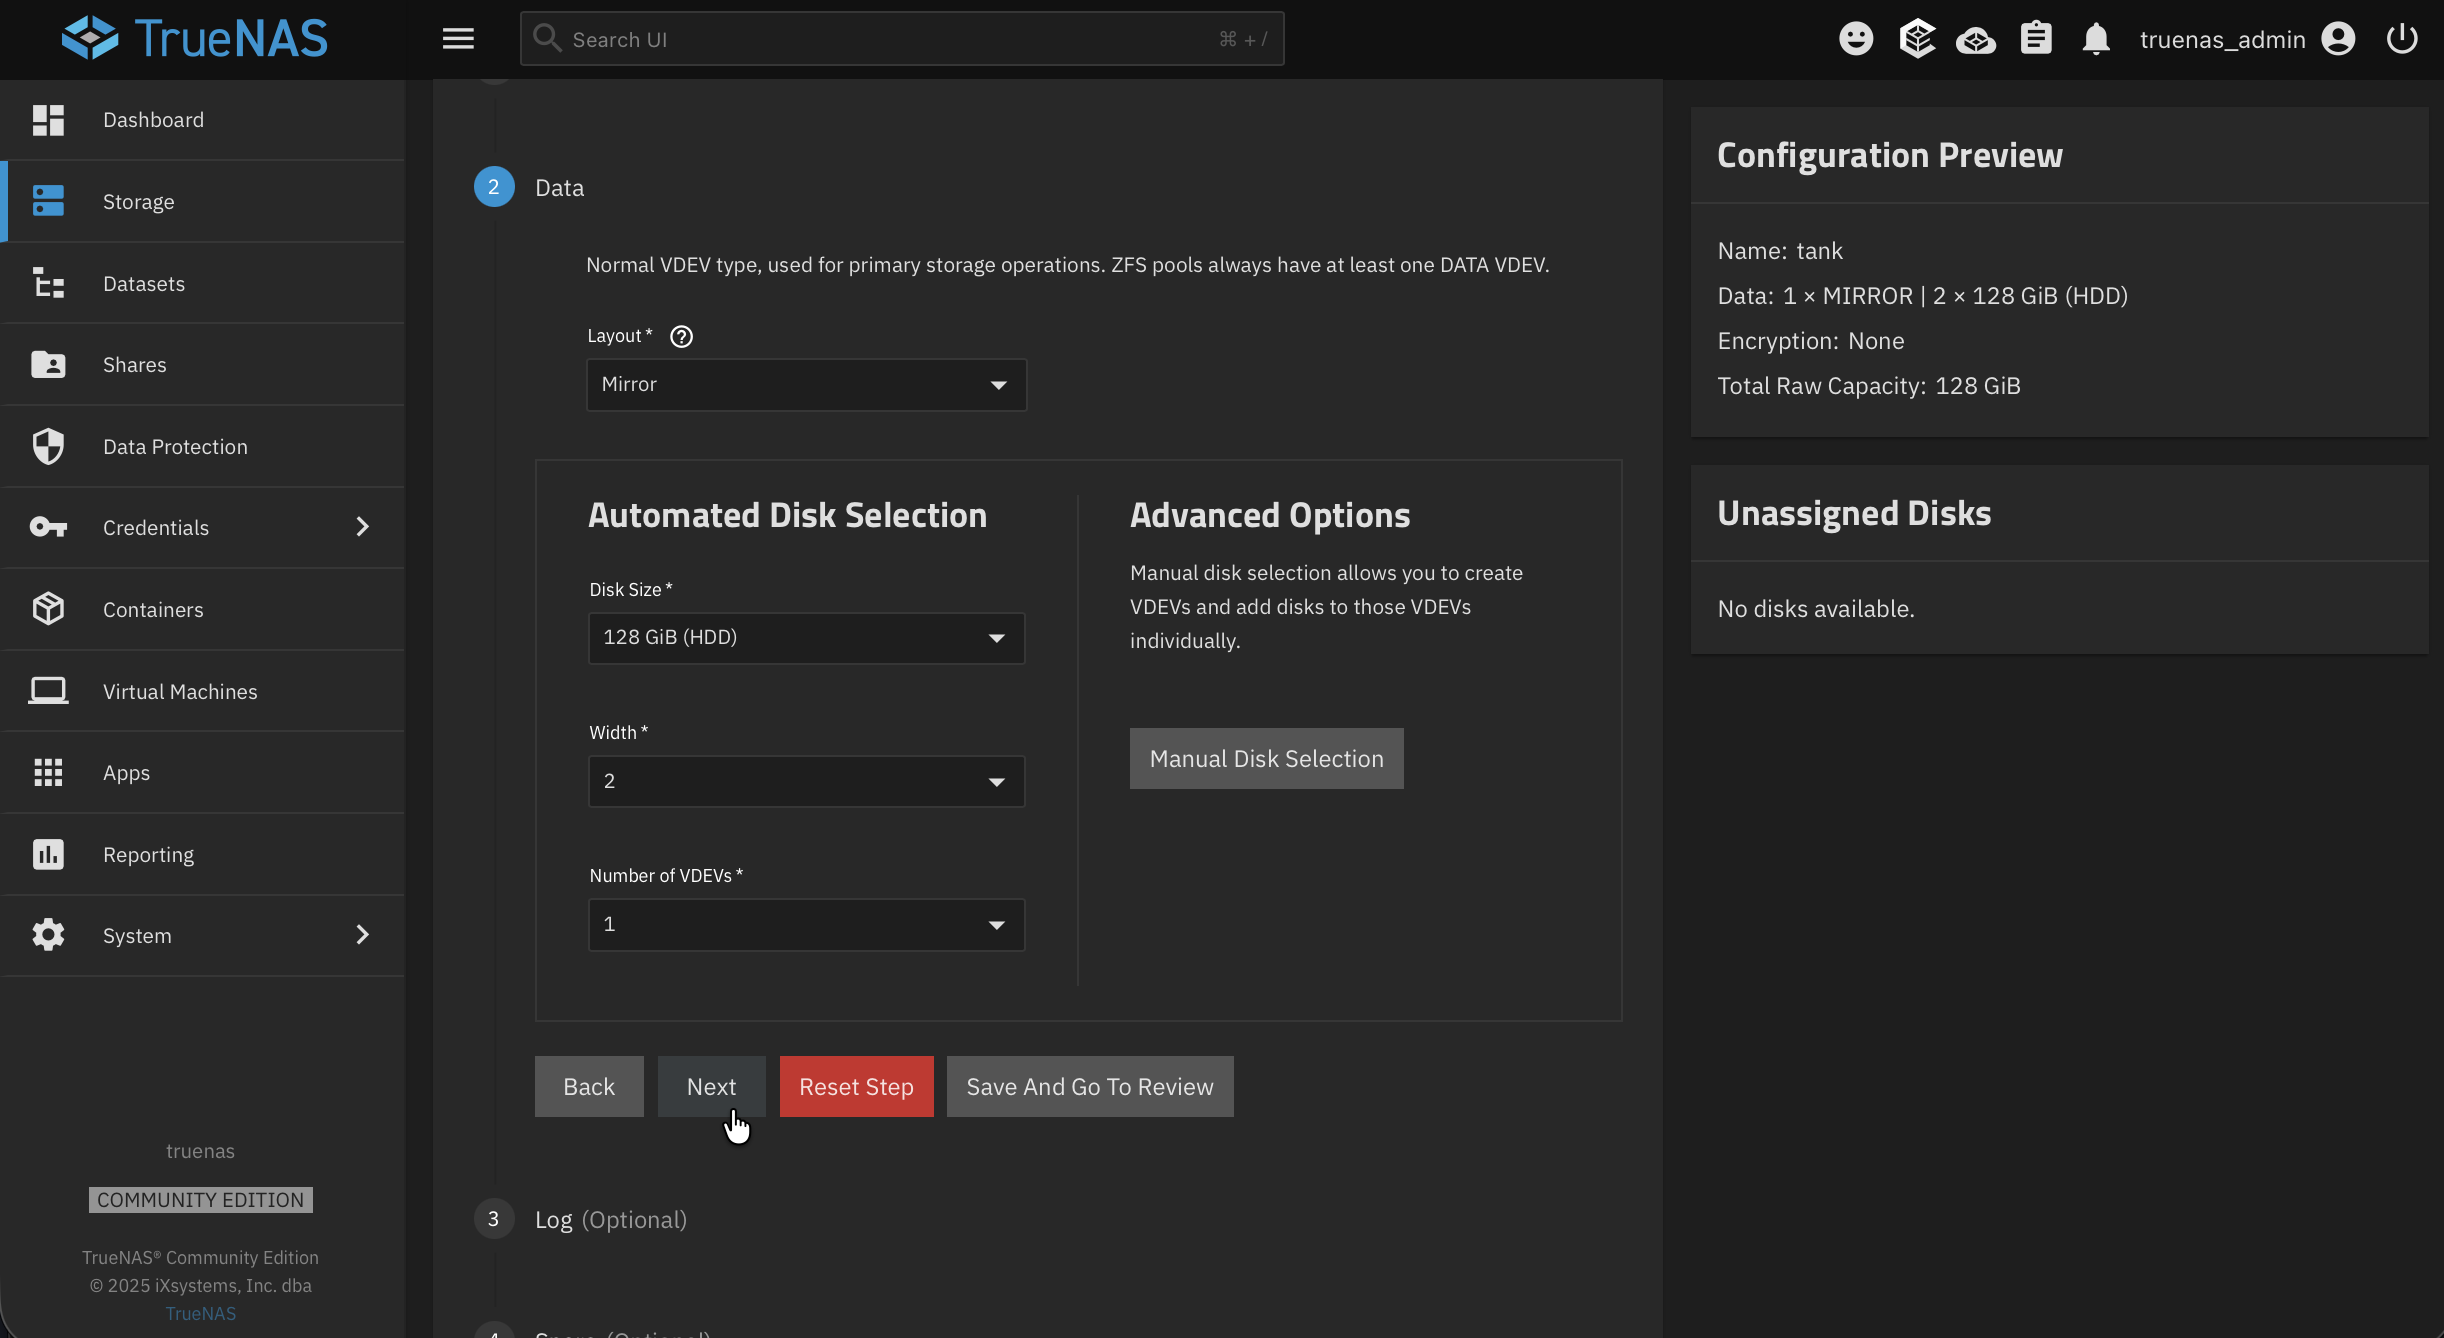
Next up is the important part: the layout. This is where you choose how your drives work together. In ZFS, these are technically called "vdev layouts," but you'll see them labeled by their RAID level:
- Stripe: No redundancy at all. If any drive fails, you lose everything. Not recommended unless you have separate backups
- Mirror: Drives are paired as mirrors. You can lose one drive per mirror pair. Good for 2 drives
- RAID-Z1: Single parity. Requires at least 3 drives and can tolerate one drive failure. A good balance of capacity and protection for most home users
- RAID-Z2: Double parity. Requires at least 4 drives and can tolerate two simultaneous drive failures. More protection but less usable space
- RAID-Z3: Triple parity. Requires at least 5 drives. Maximum protection for critical data
So weigh that with the data you're storing and use your best judgment. For example, with four drives and RAID-Z1, one of your drives is used for parity, so you can afford to lose a single drive. If you lose two at the same time though, you're in trouble.
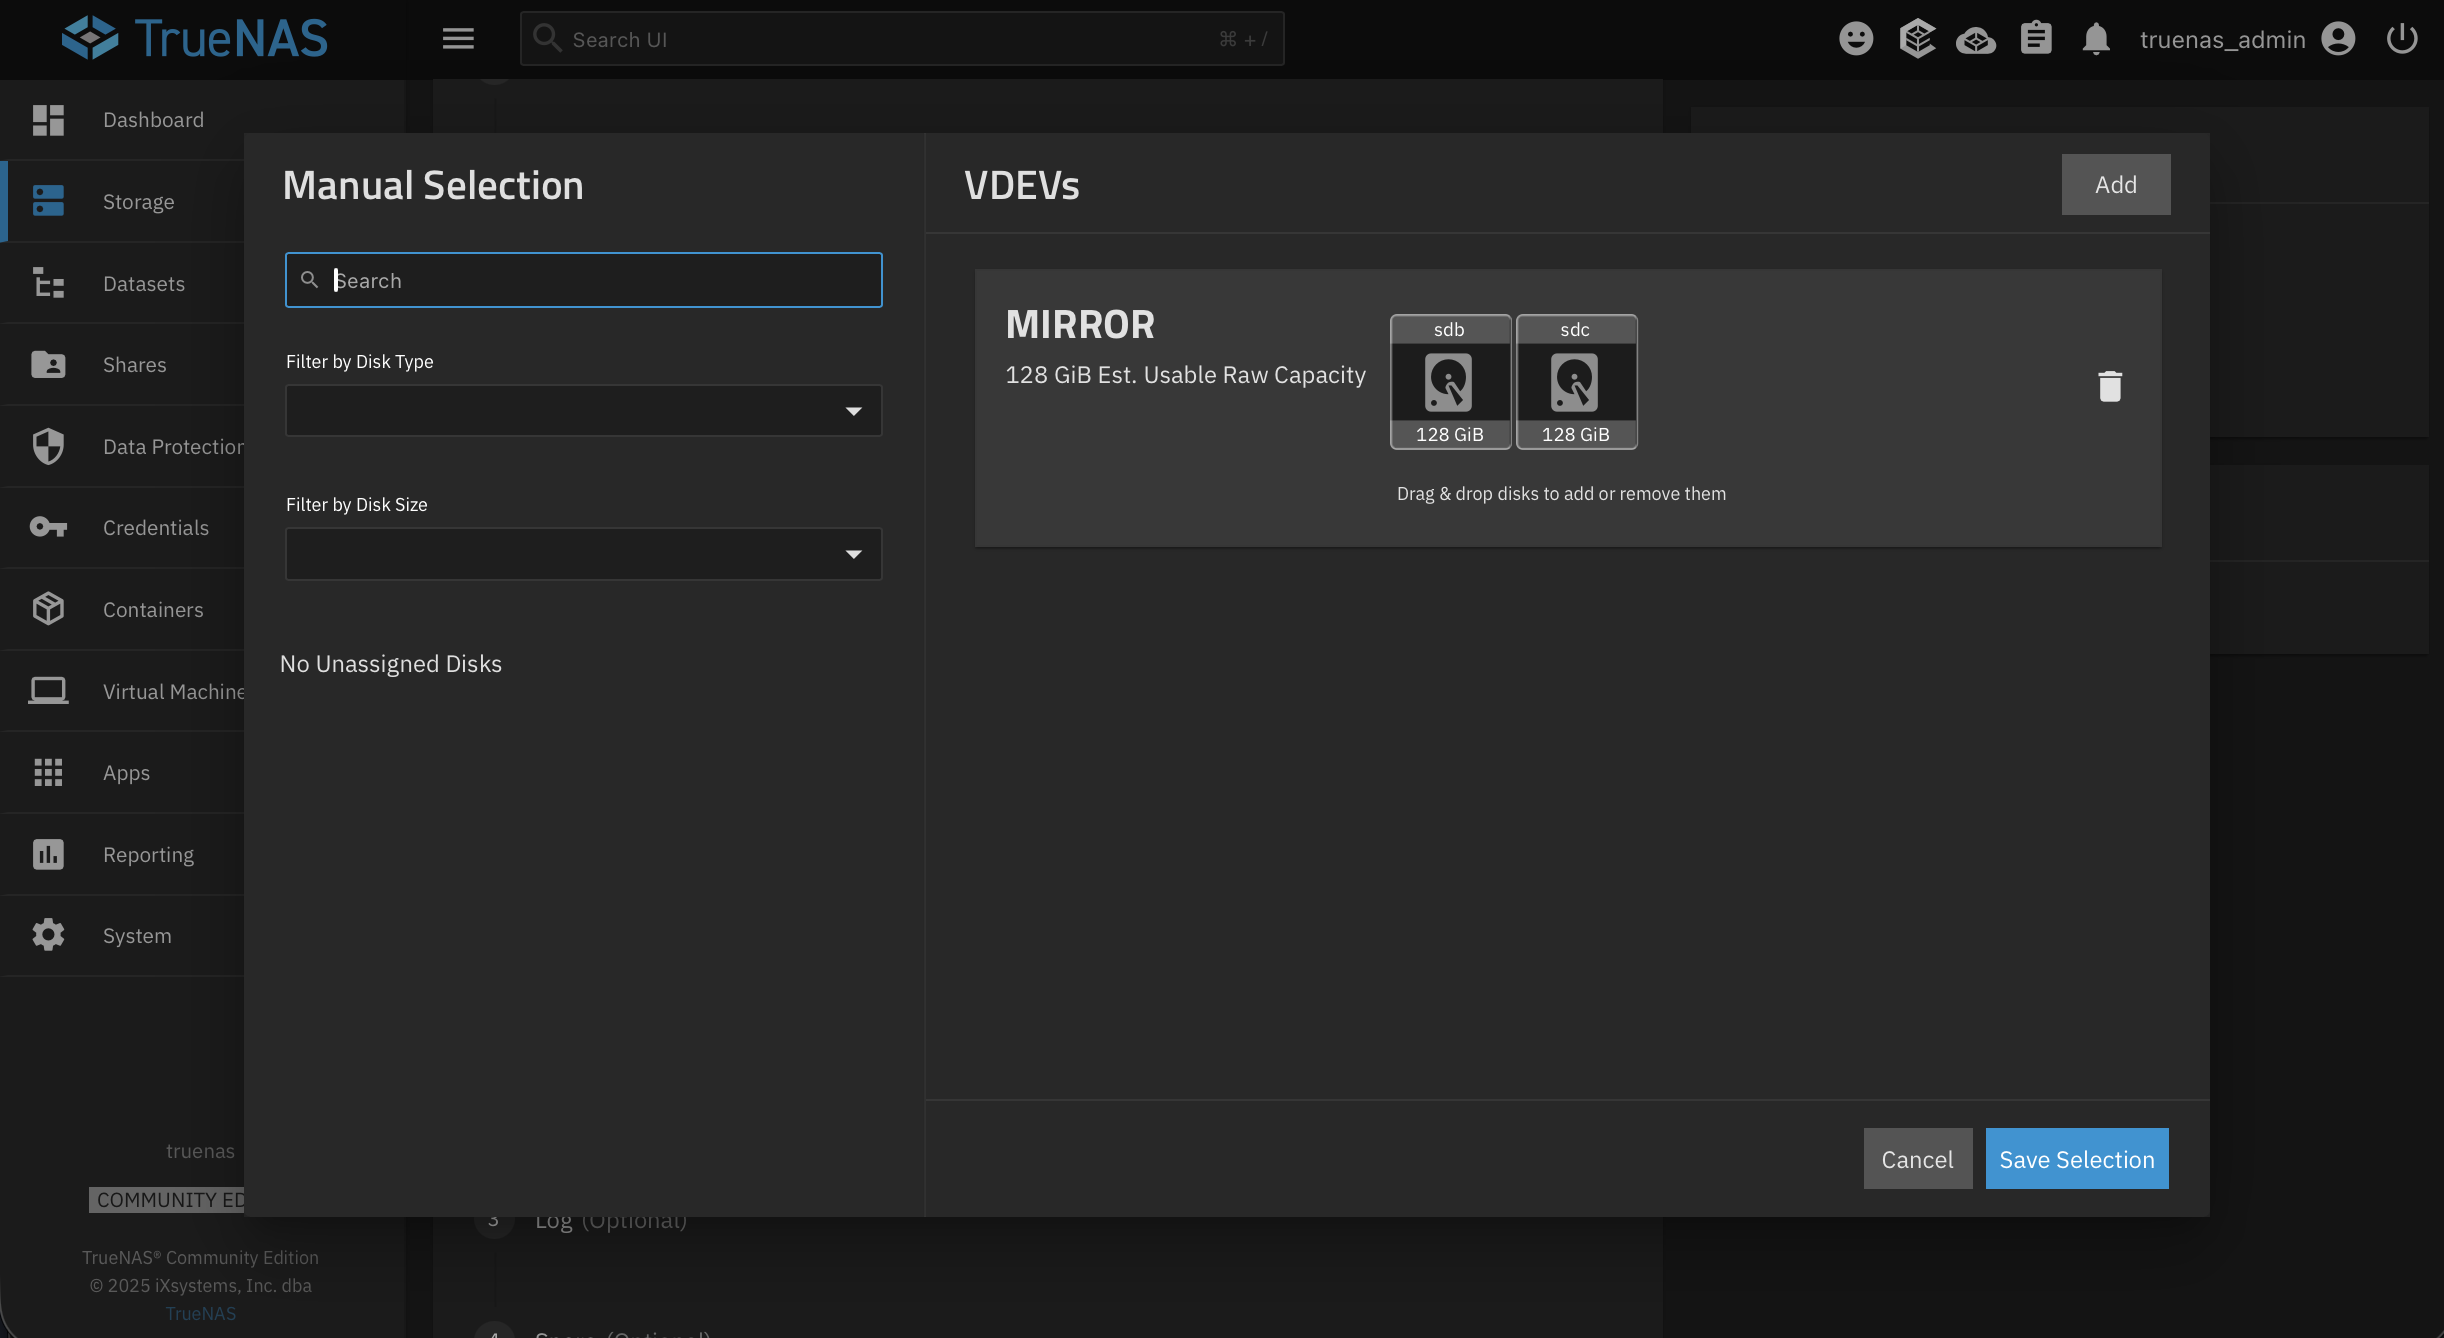
You can also go into manual disc selection if you'd like to see exactly which drives are being used and how much usable space you'll end up with.
The pool creation wizard also has some optional sections for Log, Cache, and Spare devices. If you had some additional NVMe drives, setting up a cache is a really good option. It makes reads and writes a little bit quicker, especially for commonly accessed data. A separate log device can improve synchronous write performance. For a basic setup though, you can go ahead and skip these for now.
Review everything. You should see the pool name, your RAID level, and the estimated usable capacity.
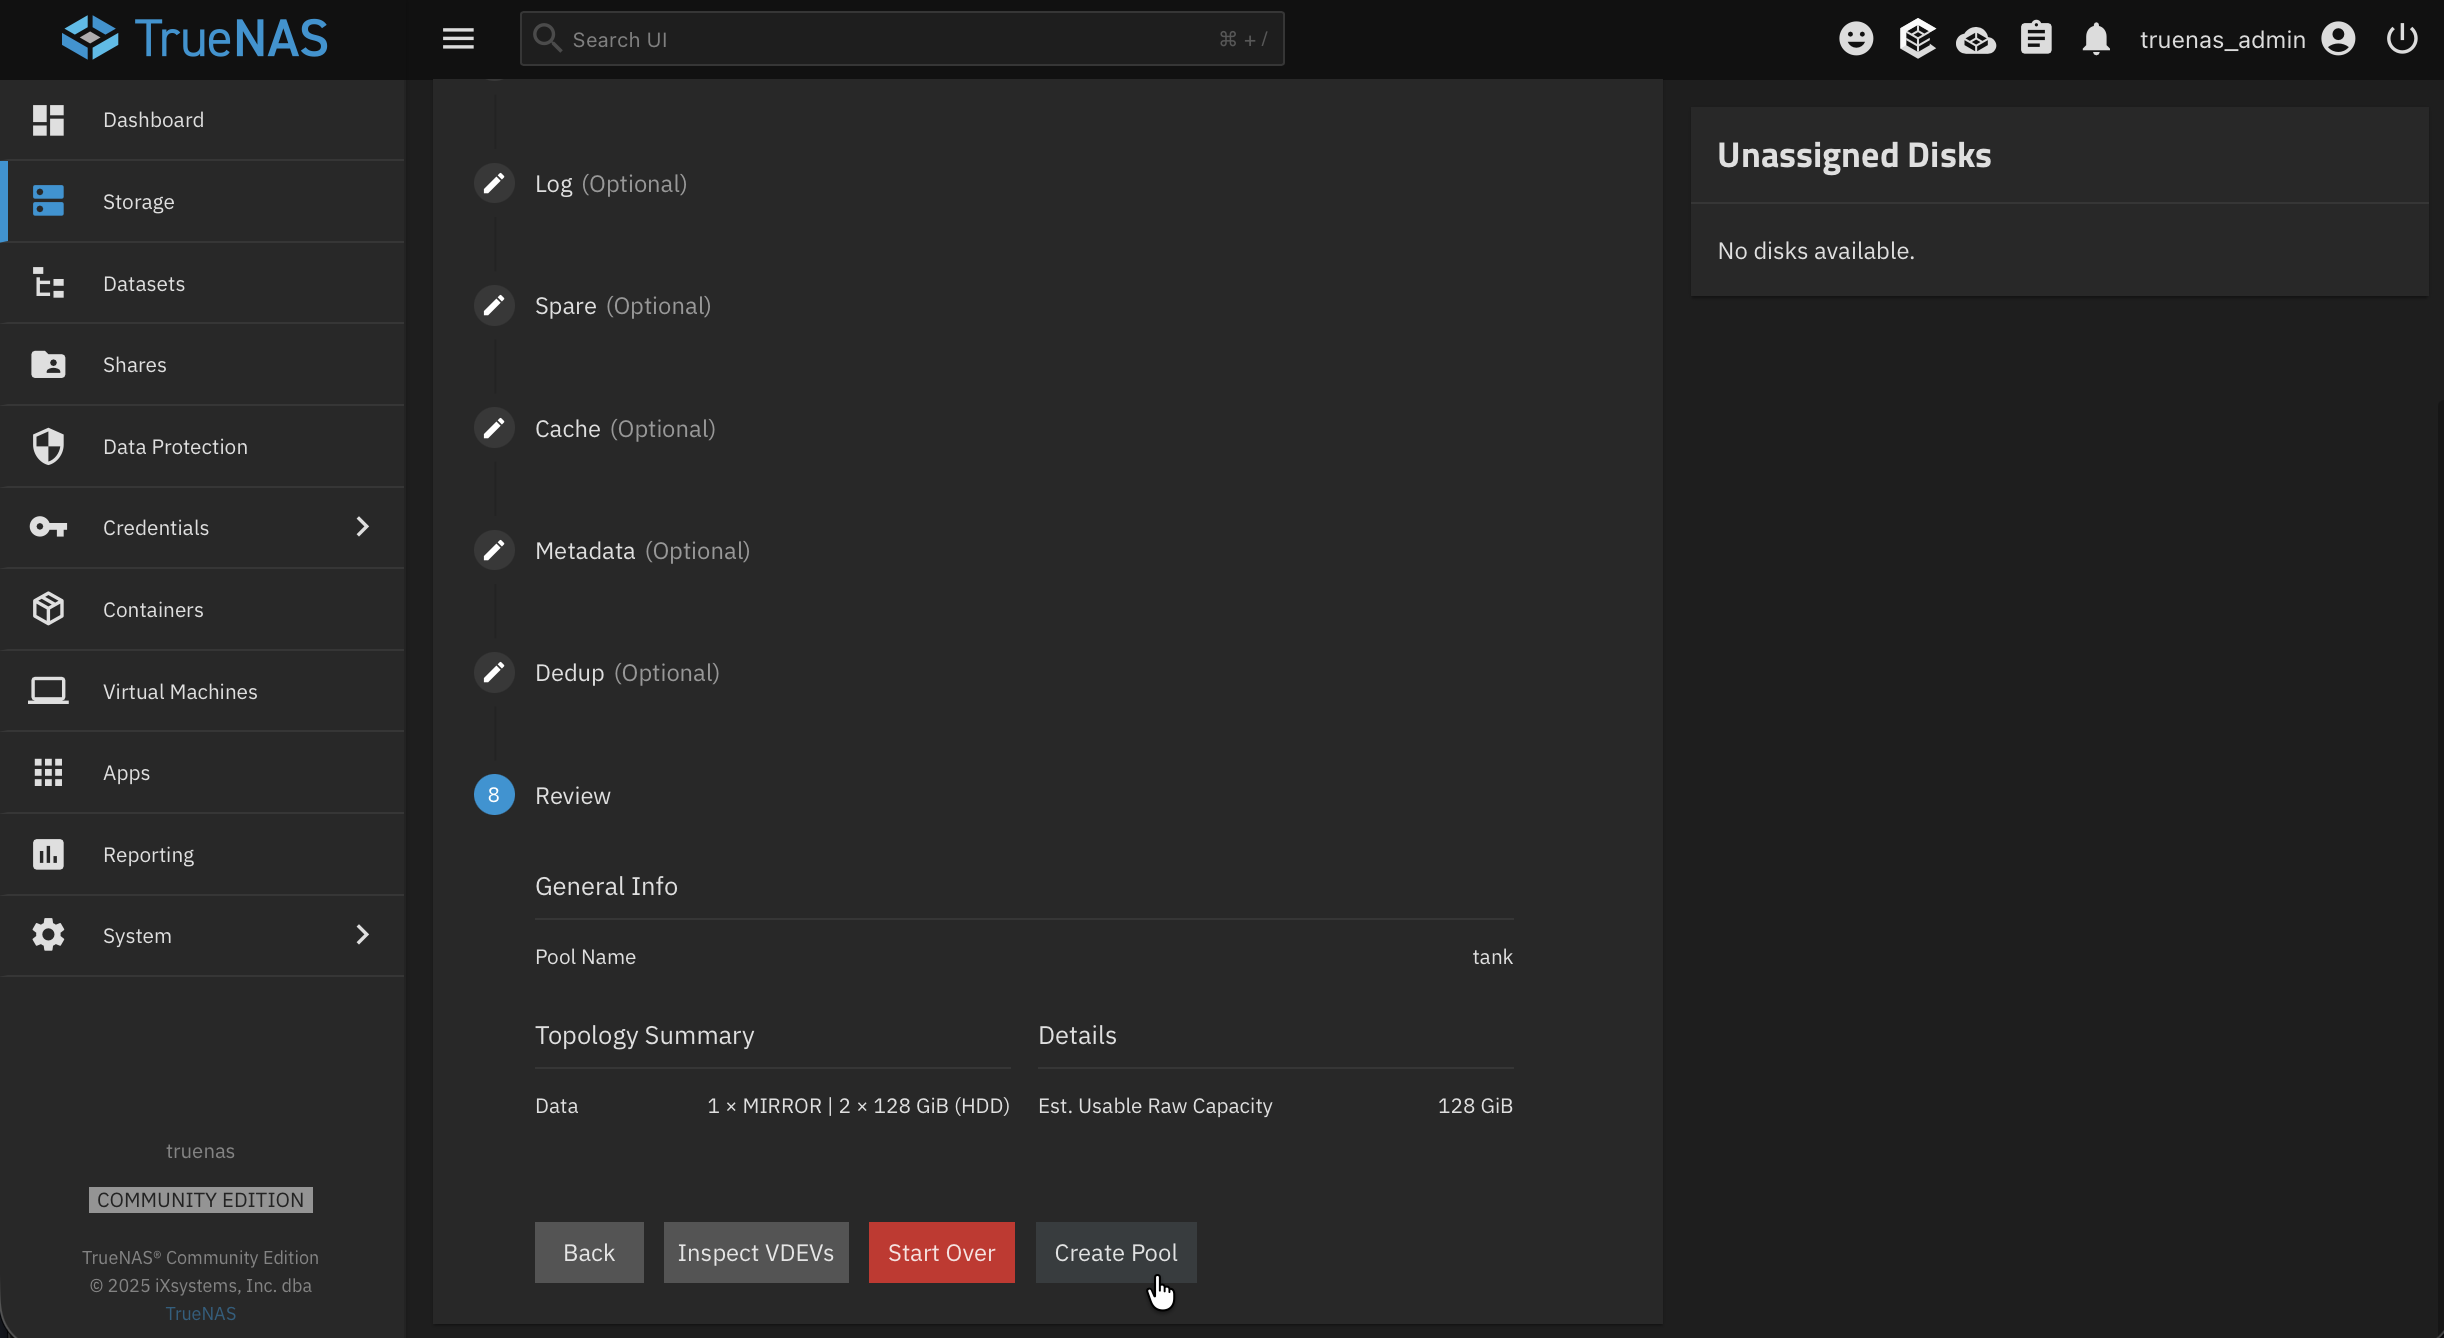
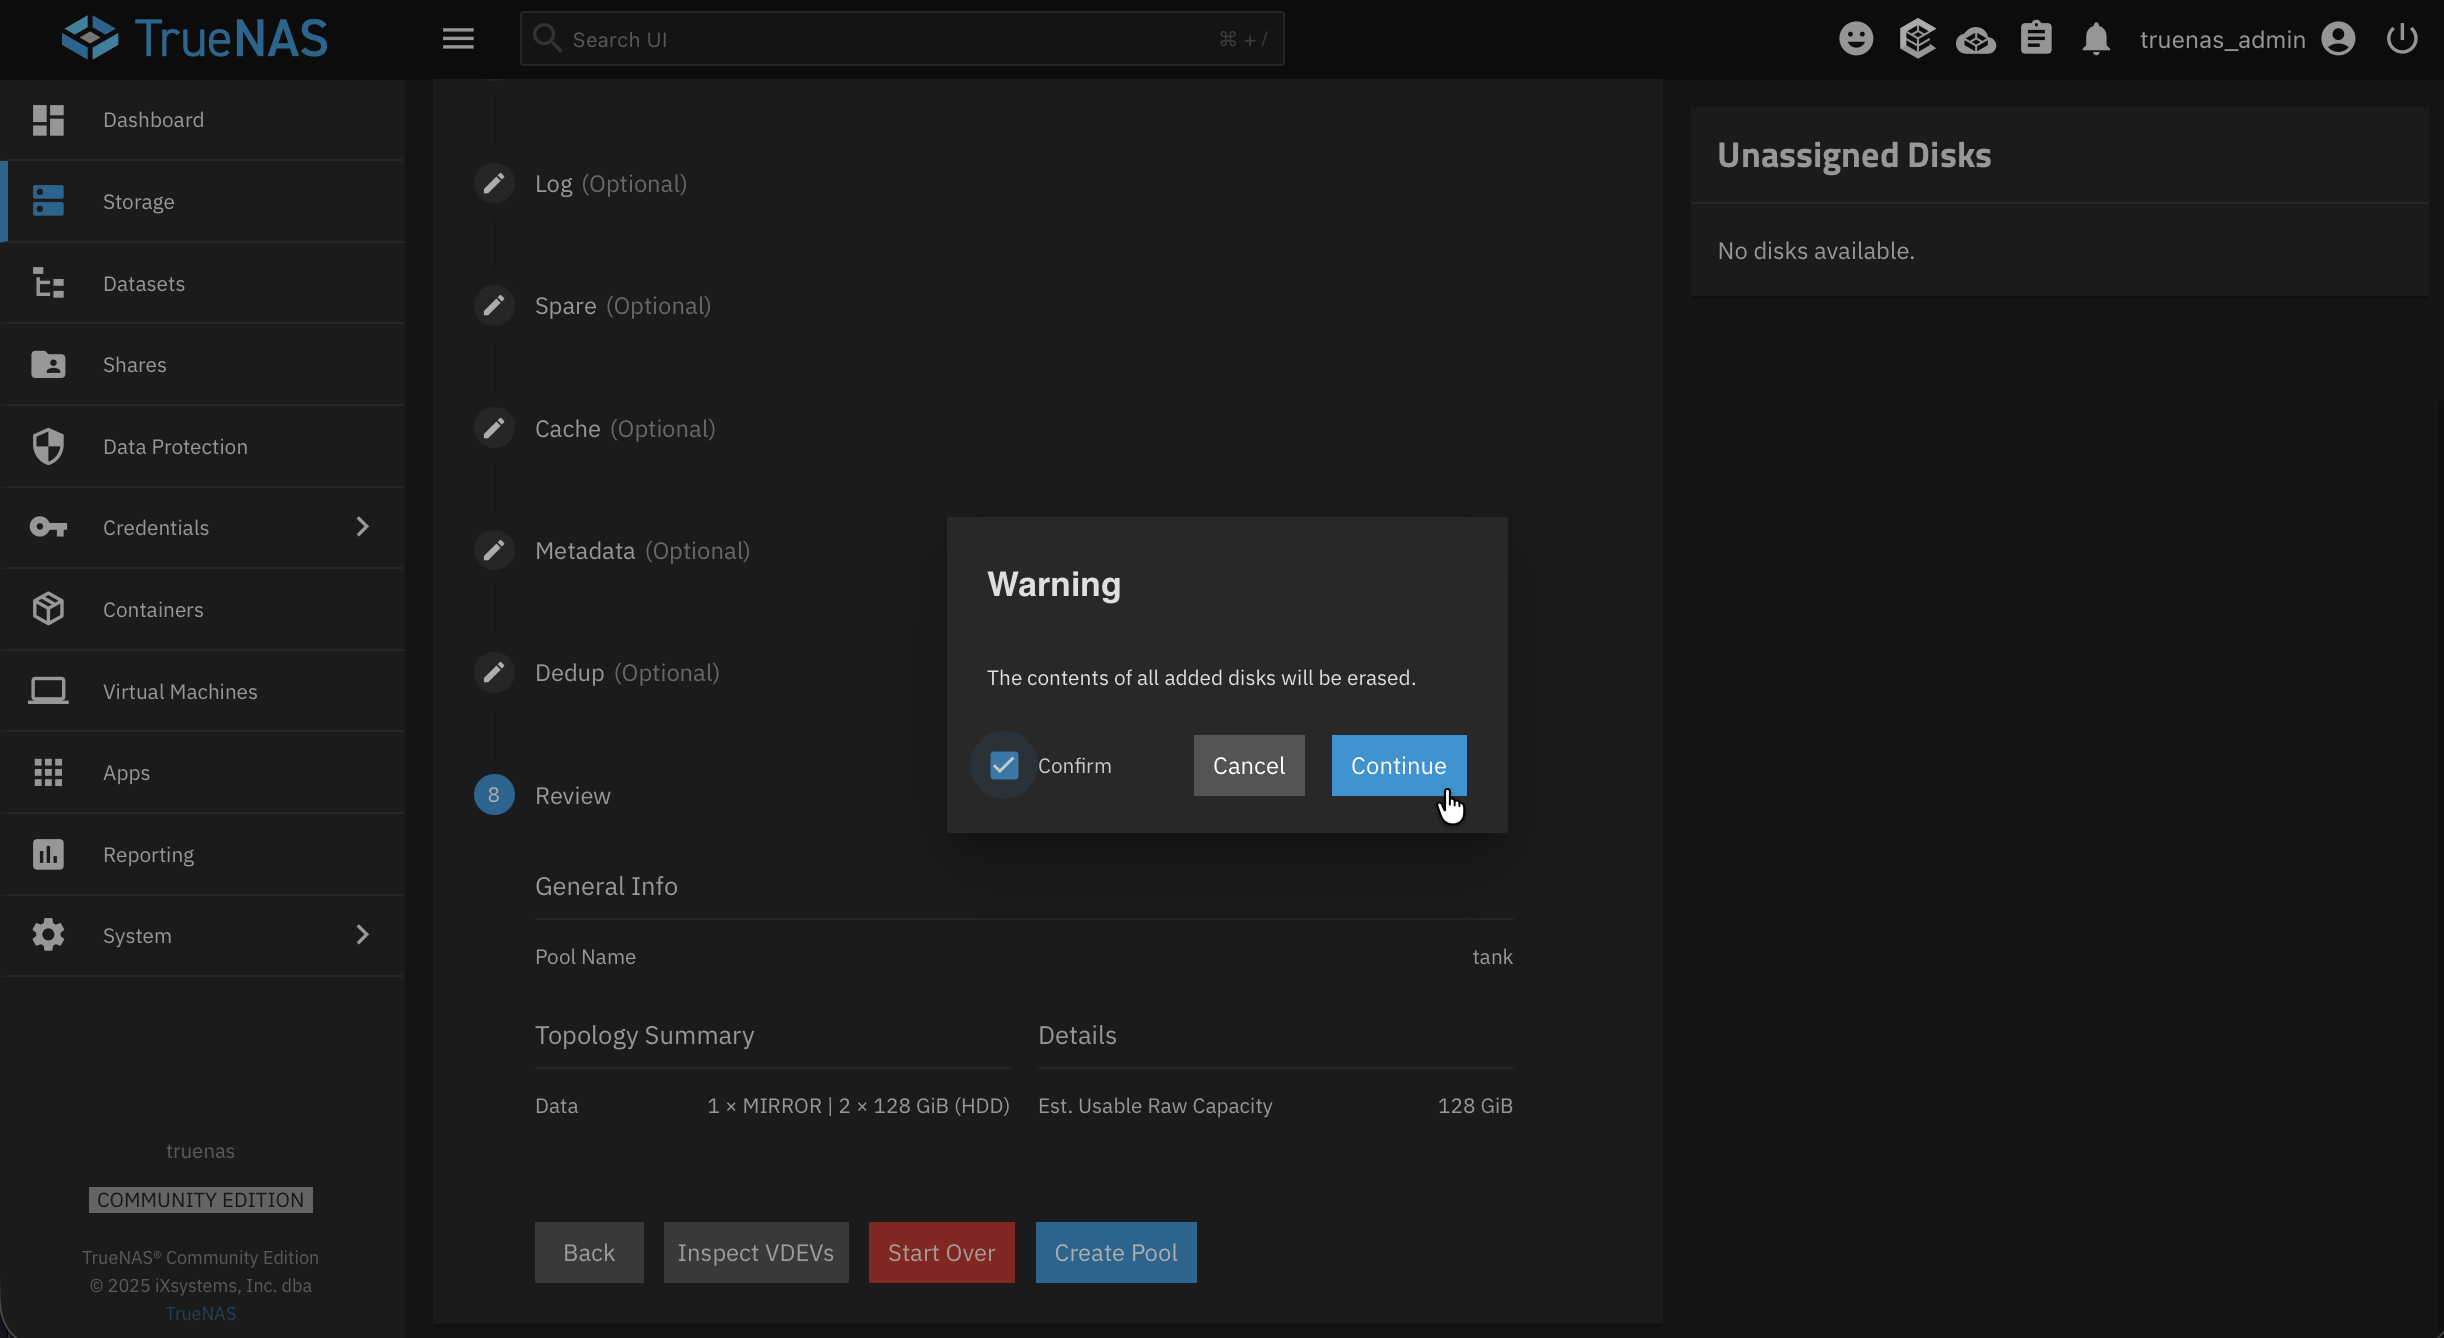
Go ahead and click Create Pool. It's going to warn you that all contents on these drives will be wiped, so hit continue and let that do what it needs to do.
There we go. We now have access to this nice little storage dashboard. You can see it's all healthy, good to go. One of the cool things about this is if a drive fails, it's going to let you know and help you switch it out. It's really going to do its best to make it so you don't lose any data.
Creating Datasets
So now this is just raw storage. We can't really use it until we create some datasets. Think of datasets like folders with superpowers. They support individual permissions, quotas, compression settings, and snapshot policies.
We're going to create two datasets real quick. One for personal data and one specifically for apps.
With your pool selected (e.g., ), click Add Dataset and name this one . This will be your general purpose storage.
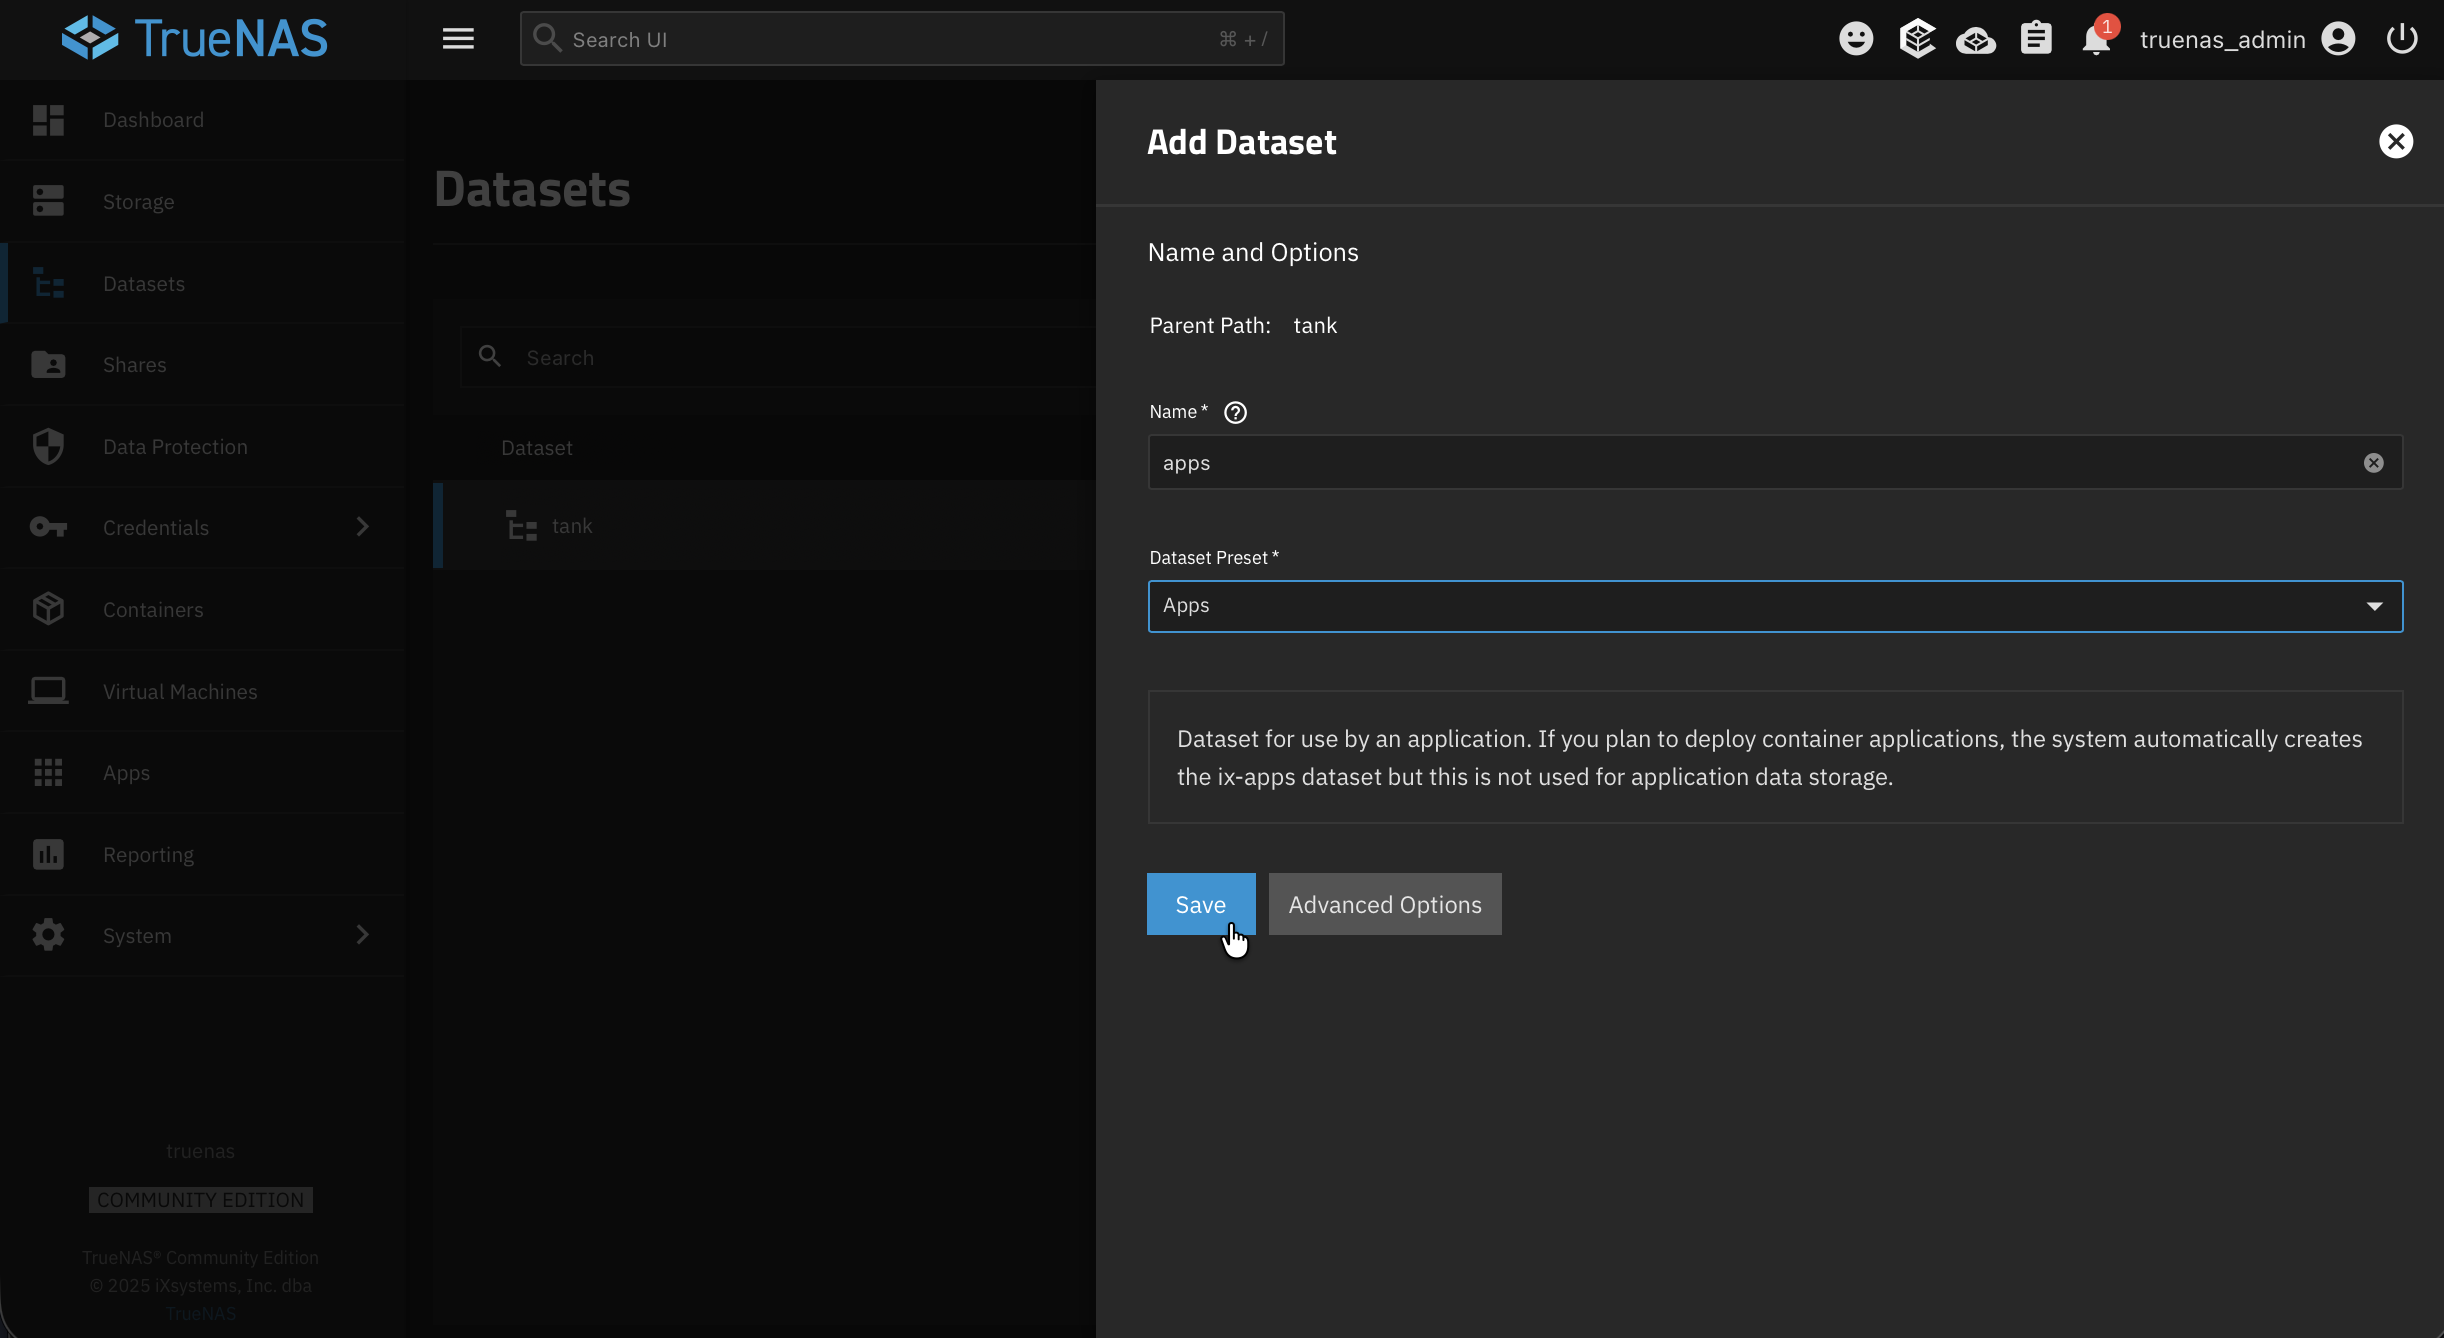
Now here's something important: select the pool root () again before creating the next one. If you kept selected, it would make the new dataset within that dataset. That's something you could do if you'd like to, but for this we're going to select , add another dataset, call it , and set the preset to Apps so TrueNAS knows what it's going to be used for. Hit save.
There we go. We have and . If you look under each one, you're going to see details about protection, usage, and permissions.
Creating a User Account
By default, only root and the account exist. For everyday use, especially for file sharing, you're going to want to create a dedicated user.
Navigate to Credentials > Users and click Add. Here you'll want to fill out:
- A username (your first name works great)
- A strong password
- Enable SMB access so you can use Windows/Mac file sharing
- Set your User ID to something like 1000. I do this very commonly because that's the standard first user UID on Linux systems, and it matches up well with Docker containers, which is the back end of the apps within TrueNAS
- Create a home directory under your dataset (e.g., )
- Set up group memberships and permissions as needed
- Paste in your SSH public key if you want SSH access. You really should be using a key for this, especially if you're giving yourself a higher level of access
- Enable sudo access with a password if you need administrative commands
Of course, you can set all of this up however you want. It's all up to you.
Setting Up SMB File Sharing
With a user created, let's get shares set up. Navigate to Shares and you'll see a few different options. None of these shares are running at the moment, so what we're going to do is set up a Windows SMB share.
First, turn on the SMB service. There we go, it's running. Now click Add to create your share:
- Path: Select your data dataset (e.g., )
- Name: Something like
- Purpose: Default is the option, and let's just keep it as that
Hit save, and now you can access your NAS from any computer on your network:
- Windows: Open File Explorer and type in the address bar
- macOS: Open Finder, press Cmd+K, and enter
- Linux: Use your file manager's "Connect to Server" option with
Connect with the user you just created, type in your password, and just like that, you have access to your data.
Setting Up Apps
TrueNAS has a built-in app catalog, and apps are going to be the easiest way to go ahead and get some services spun up. Under the hood, it's all Docker containers.
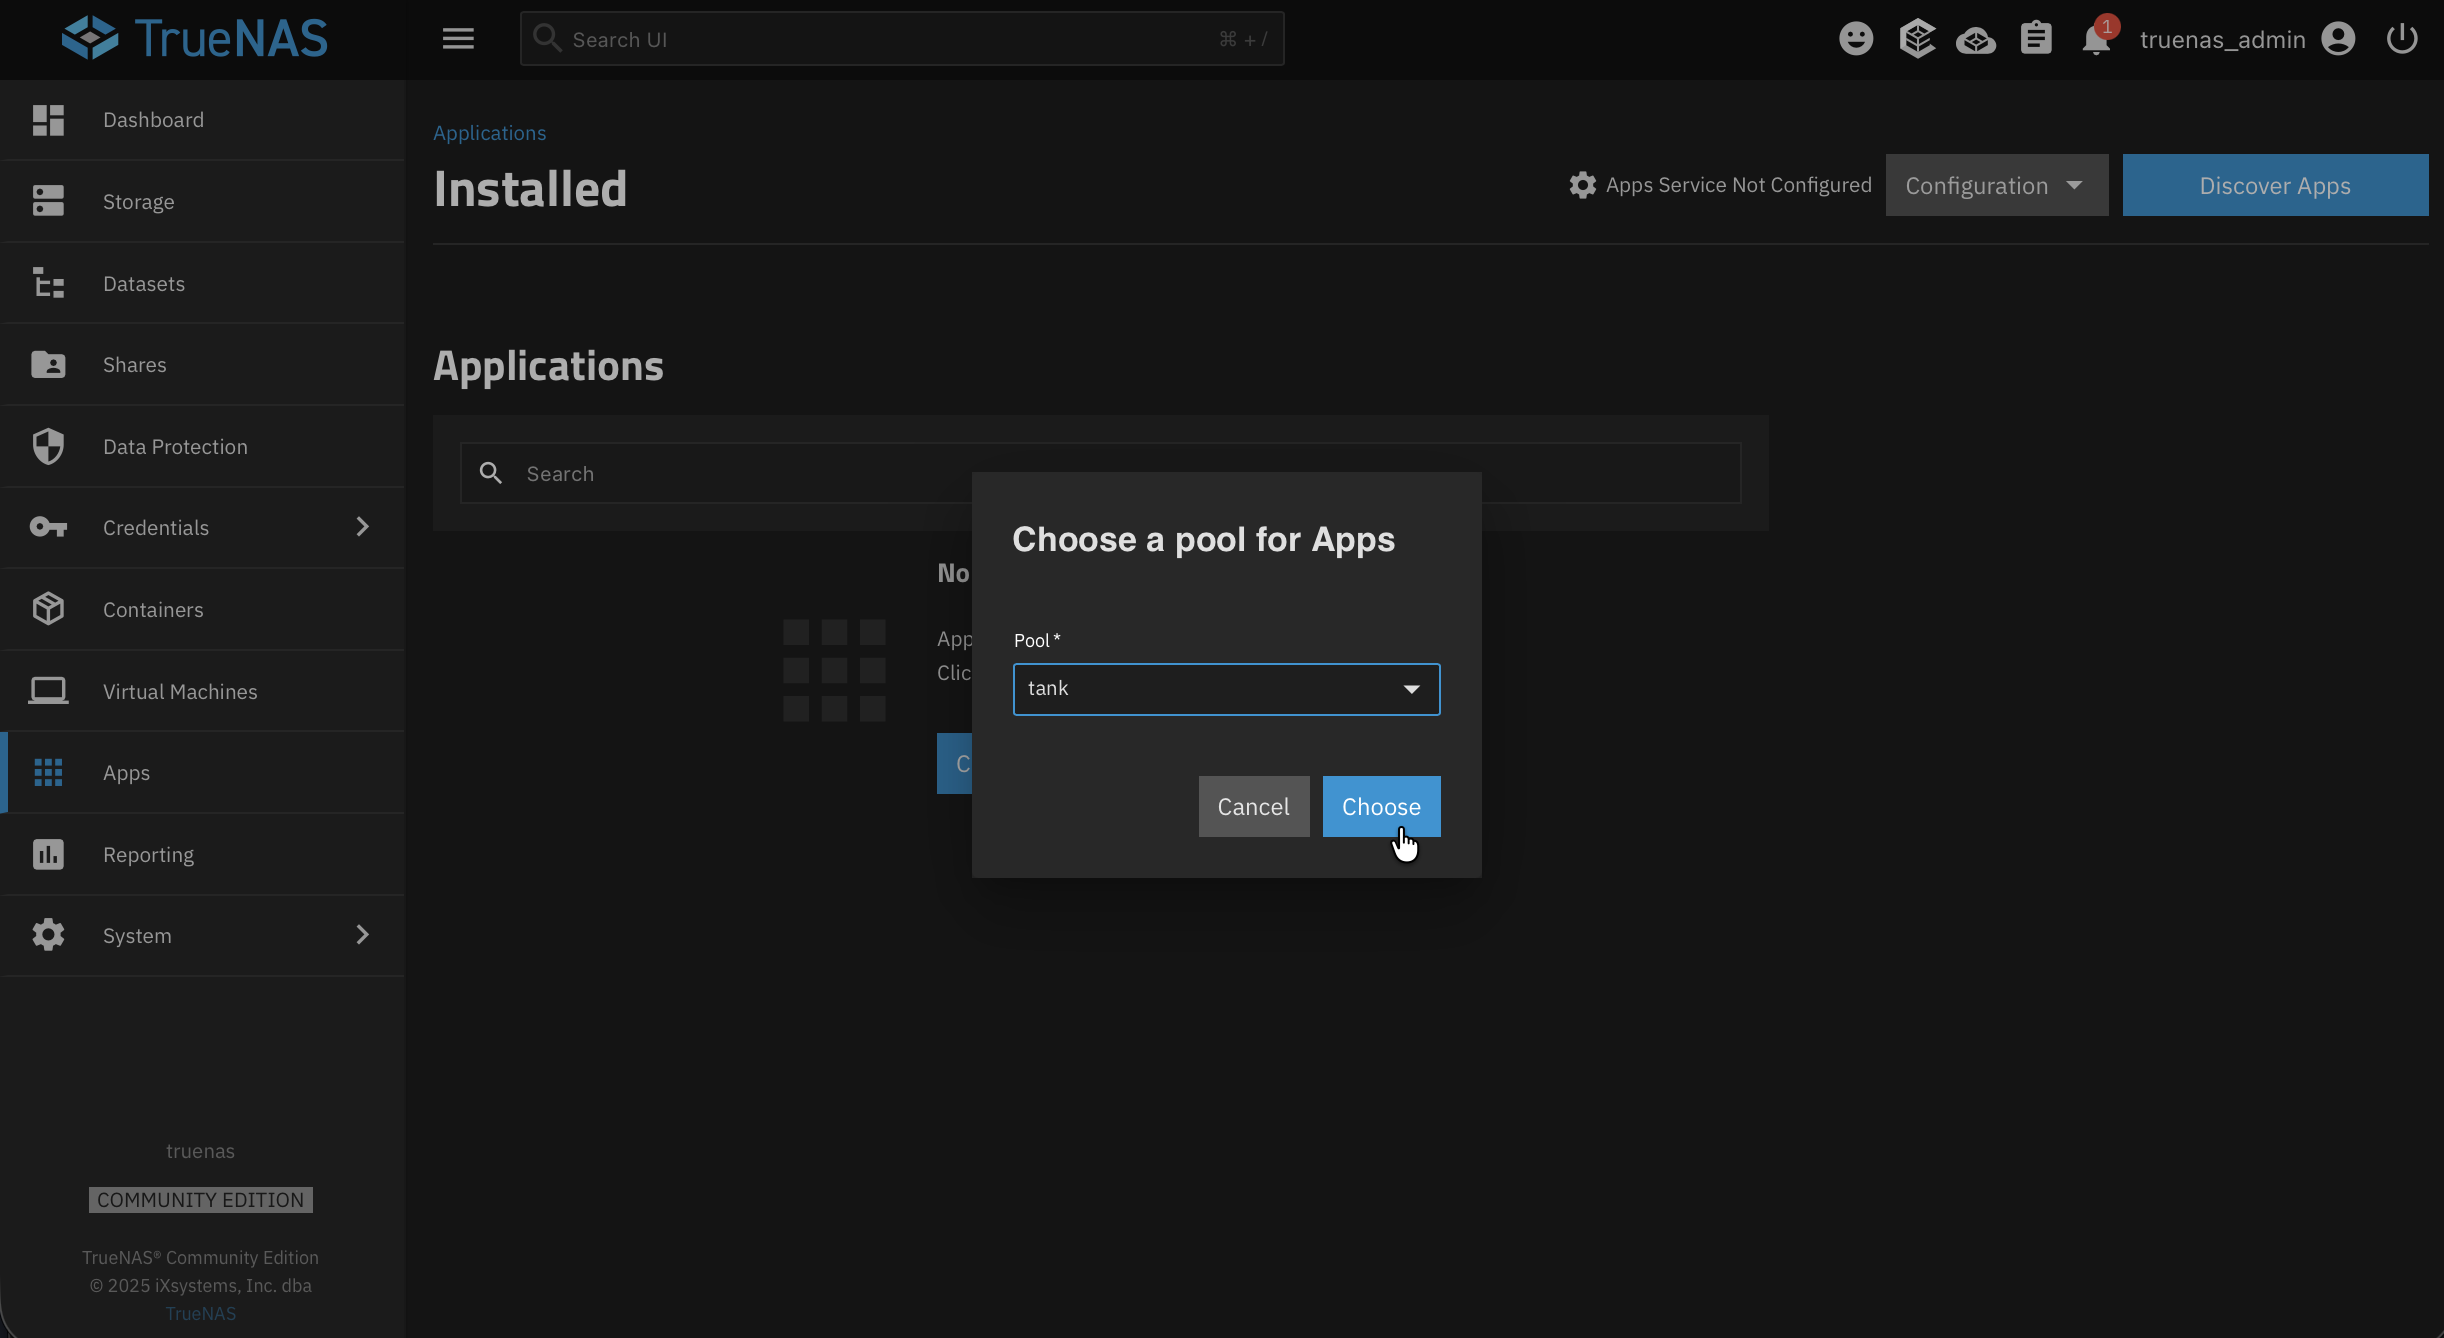
Navigate to Apps. You'll see that the app service is not configured yet. What we're going to do is go to Choose Pool and select your pool (e.g., ). It should automatically realize that it needs to use the dataset you created. If you didn't create one, it'll do it automatically.
And look at that, the app service is running. Let's discover some apps.
If you search for something and there are no results, try refreshing the catalog. New apps get added regularly, and sometimes you need to pull the latest listings.
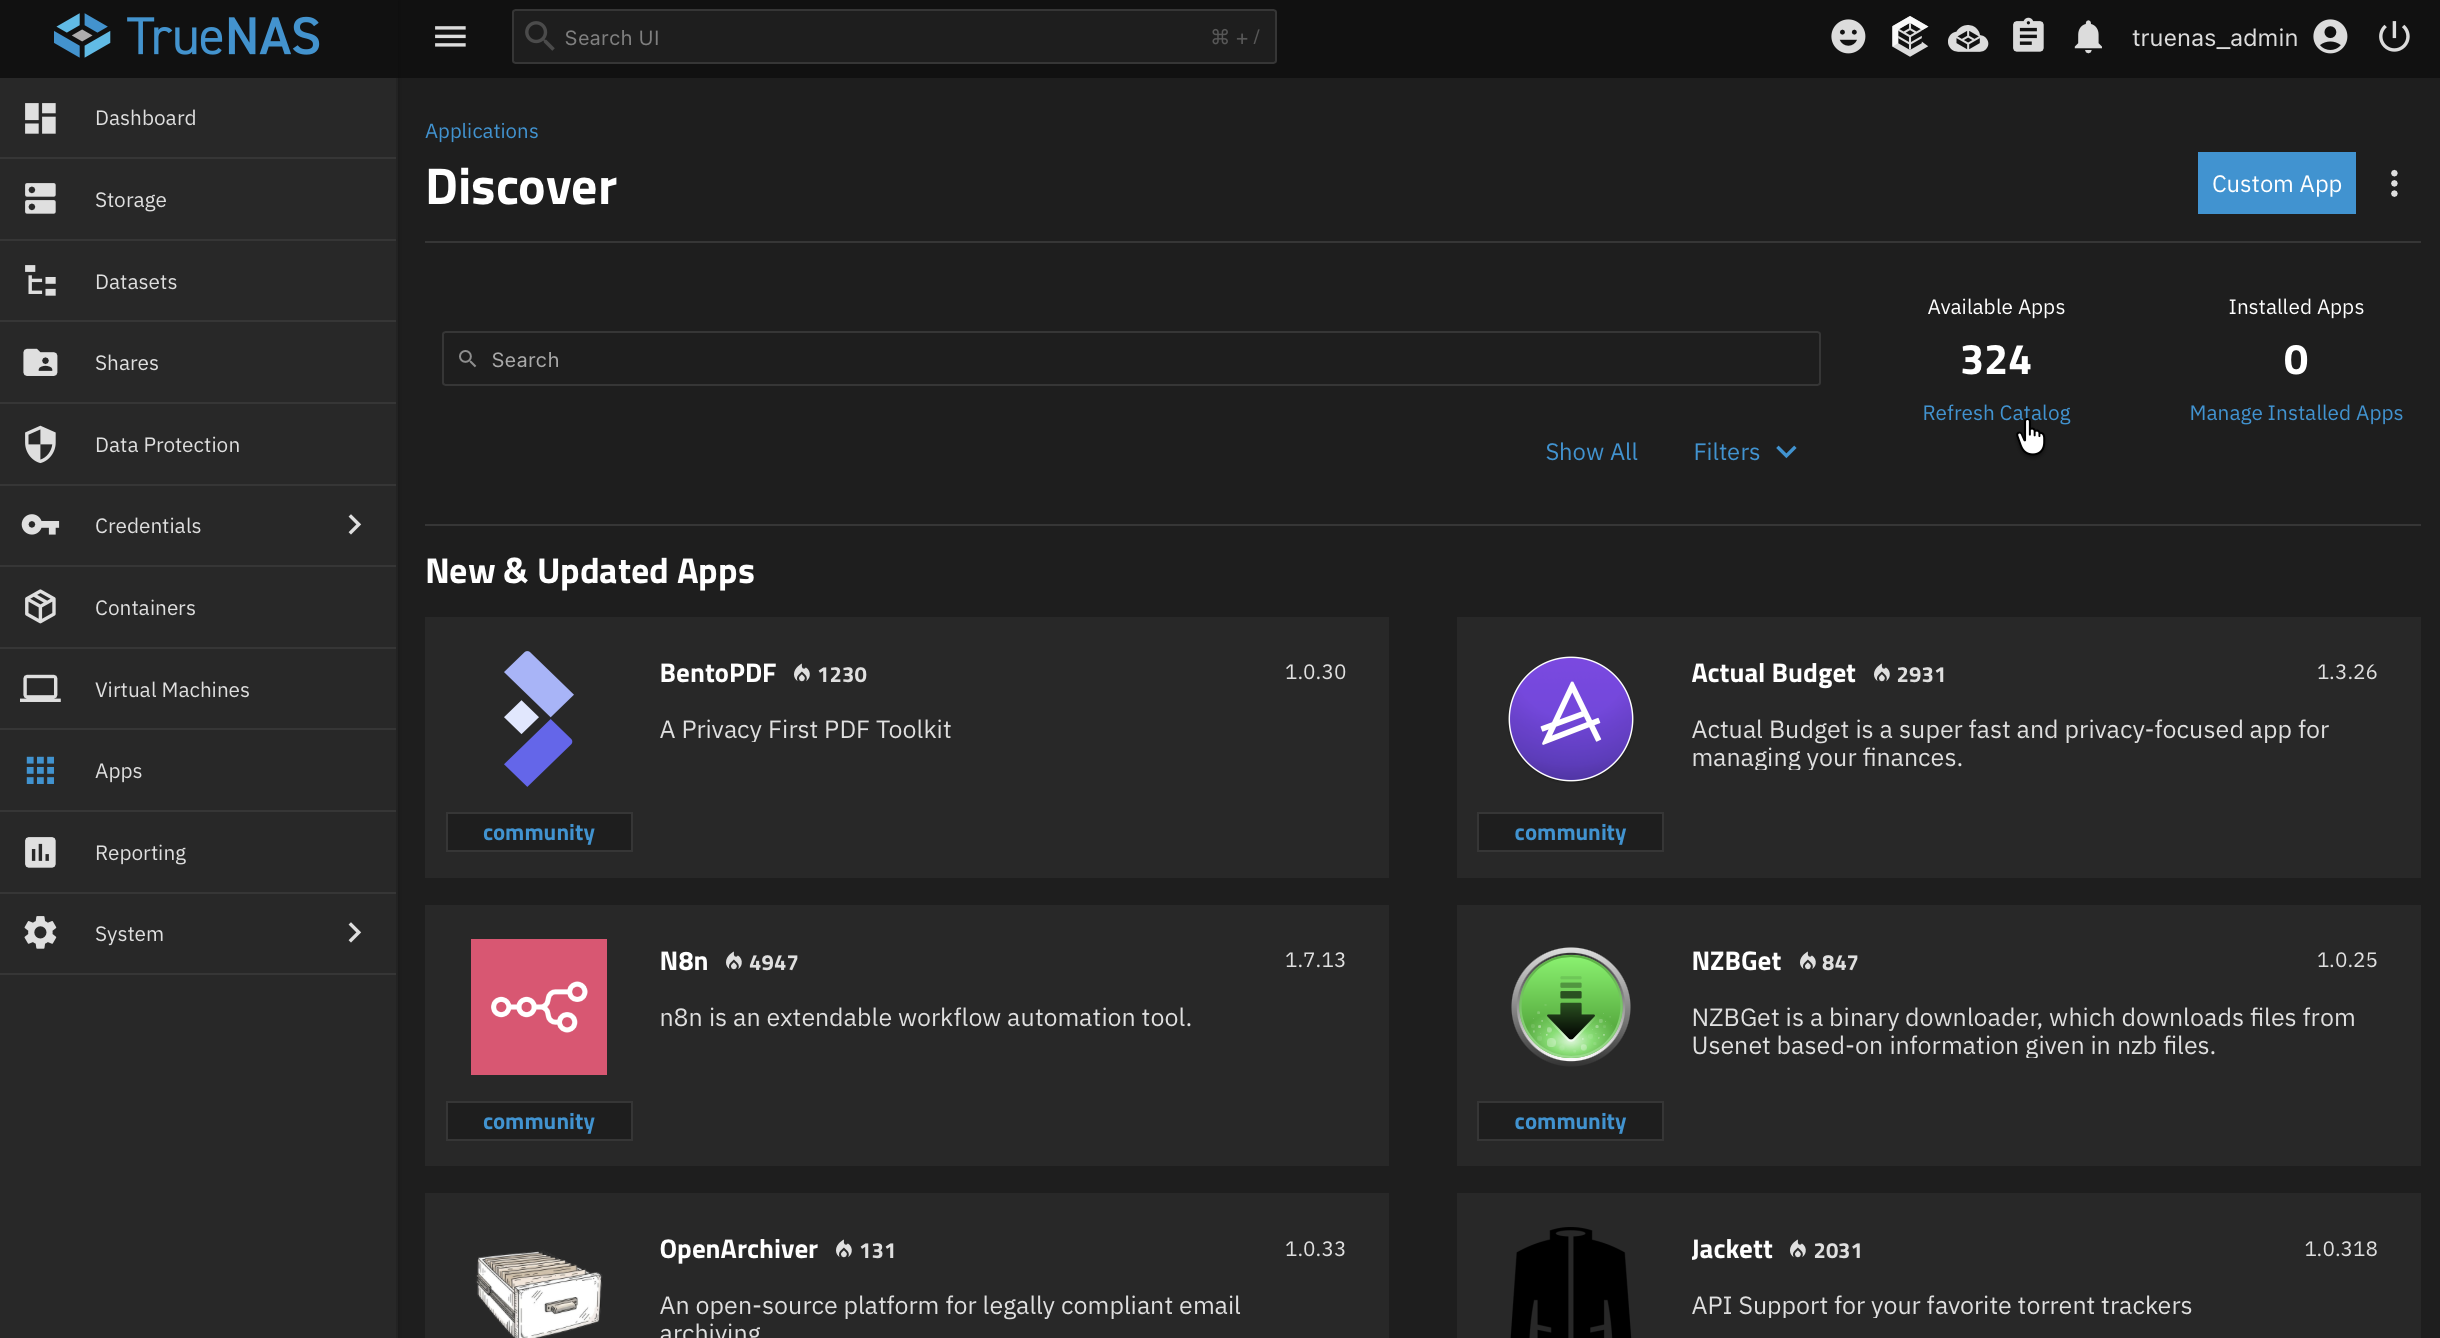
You can see there's a lot in here. Media servers, backup tools, AI applications, databases, file browsers. There's a lot in here to help you get started.
Installing NetBird for Remote Access
Now let's set up some remote connection. Instead of exposing your NAS directly to the internet (which is a serious security risk), we can use NetBird. It's an open-source, zero-trust networking platform that actually uses WireGuard on the back end, but gives you a really beautiful user interface with a bunch of different features like SSO, multi-factor authentication, and depending on your setup, a lot more.
Why NetBird?
Other options in the TrueNAS app catalog like Tailscale or ZeroTier can serve a similar purpose, but a lot of these are proprietary, lack robust user interfaces, or are missing important security features. NetBird is open source and gives you full control. It also requires no port forwarding or changes to your router, works across all major platforms including mobile, and can be self-hosted or used with the cloud service .
Step 1: Install the NetBird App
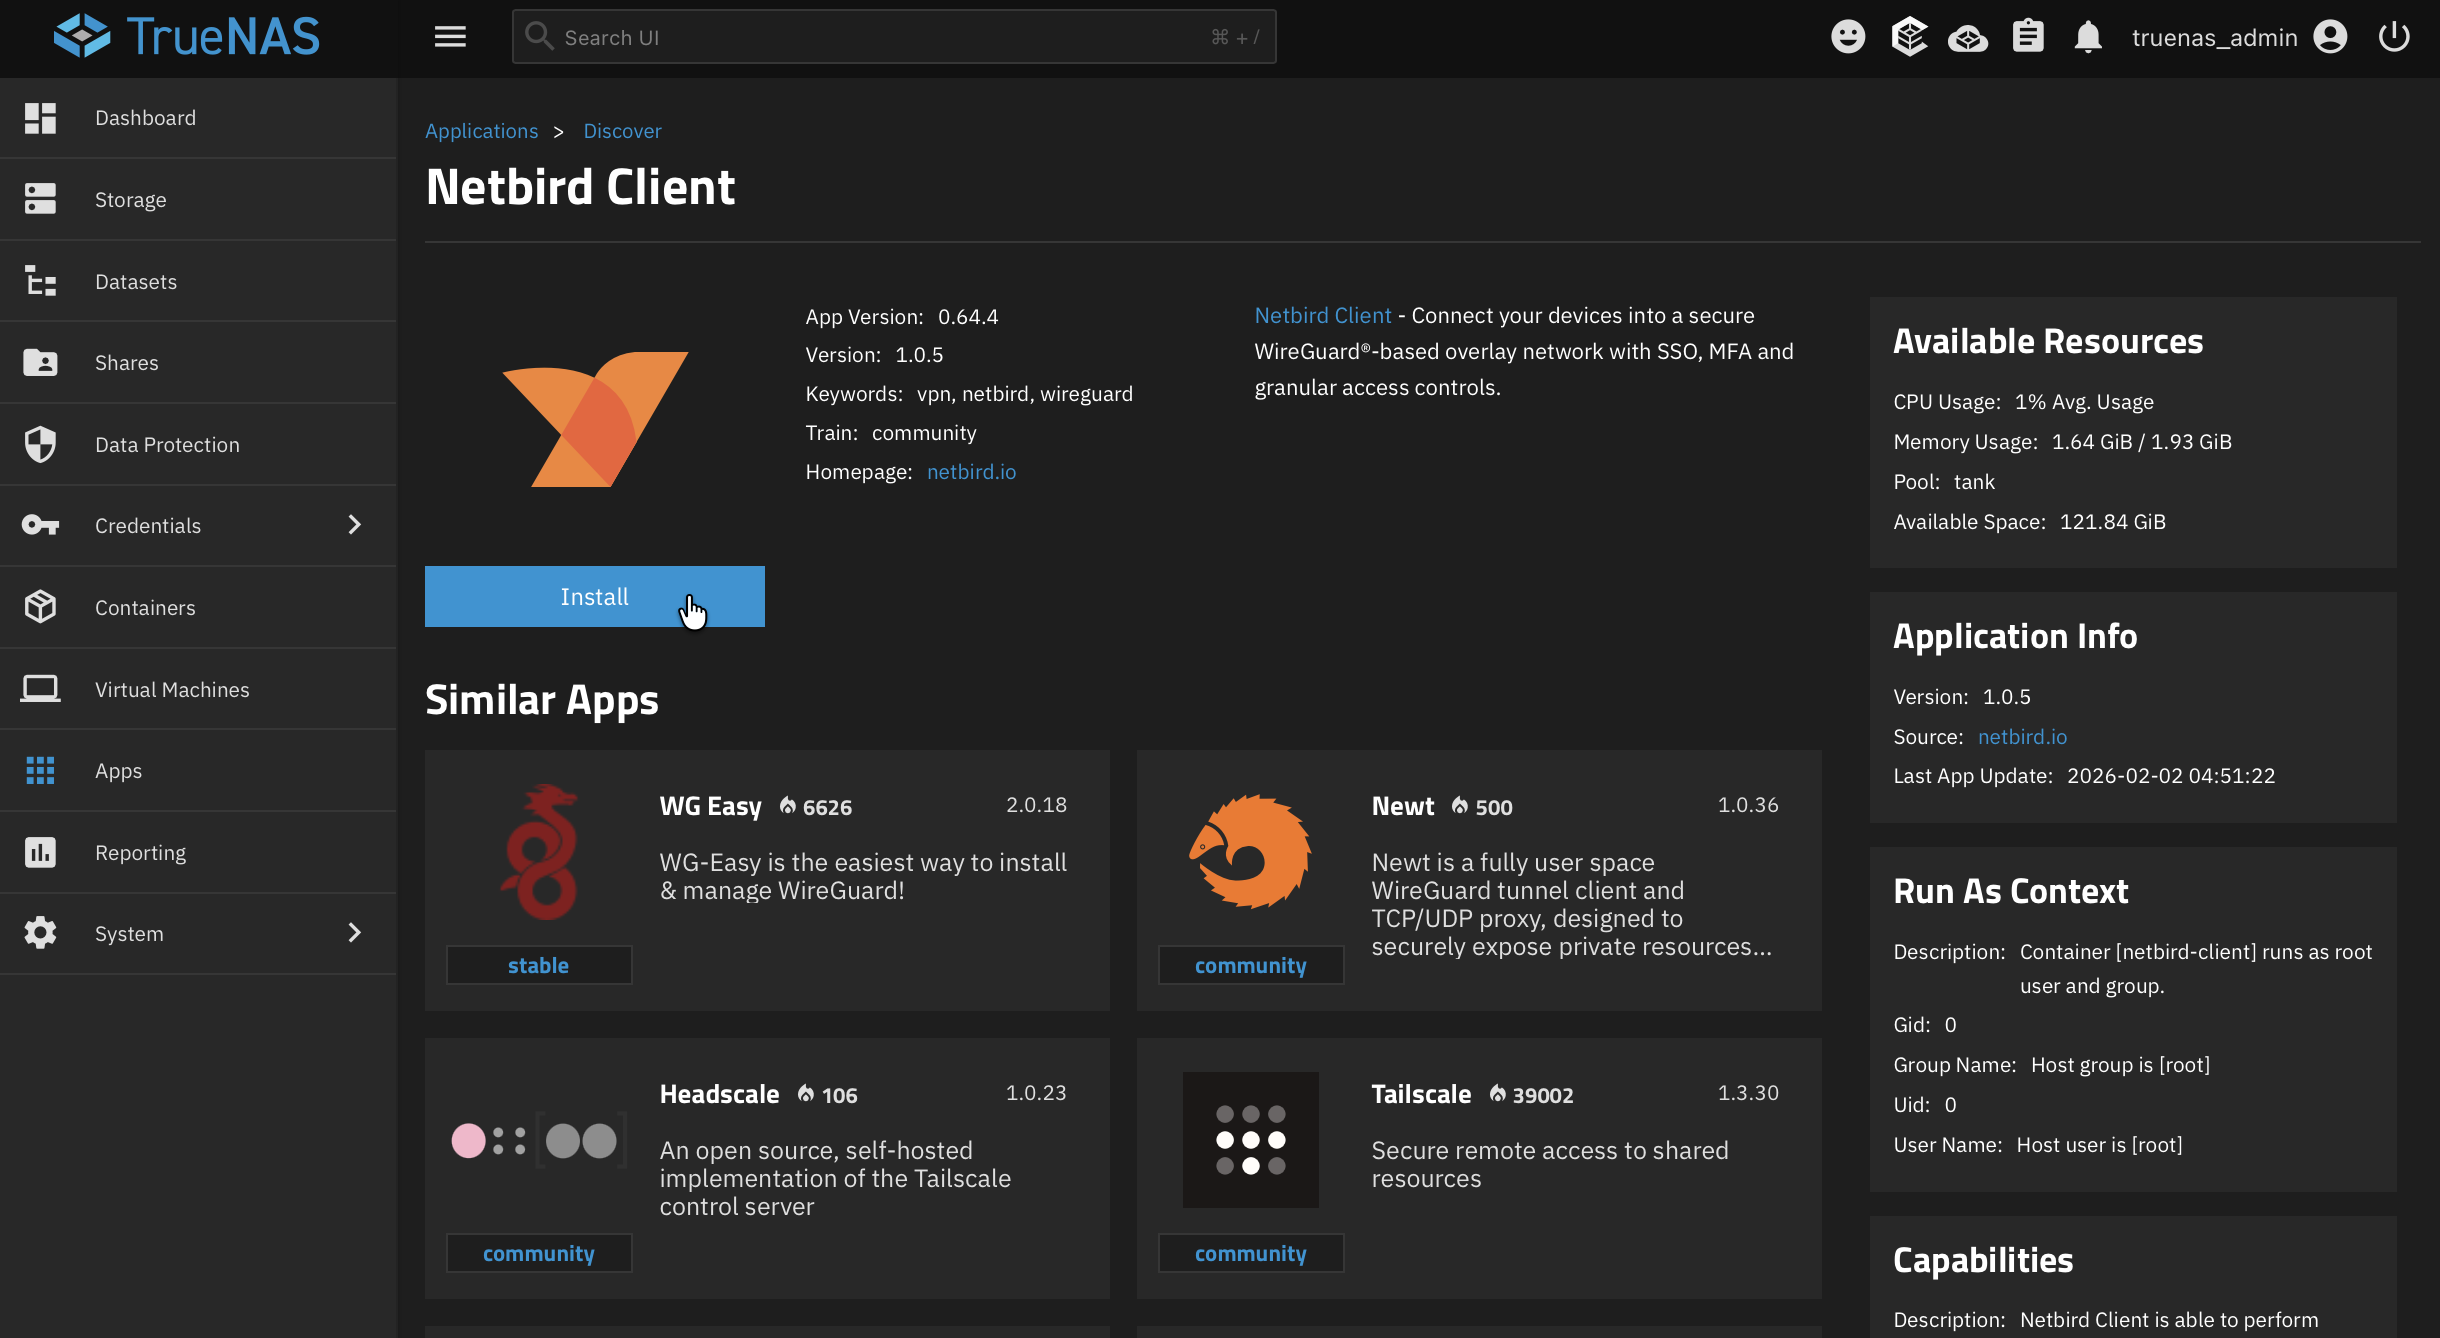
In the TrueNAS app catalog, search for NetBird. If it doesn't show up, go ahead and refresh the catalog since it's a newer addition.

Click Install and confirm the third-party app notice. We know it's a third-party app, so let's agree and move on.
In the configuration screen, you're going to want to:
- Pick your time zone
- Set a hostname. This is what's going to display in the NetBird dashboard (e.g., )
- Keep "Host Network" checked. This is important. Since NetBird is running in a Docker container, you're not going to be able to use the NetBird IP address to access TrueNAS directly because it's technically a separate container. We're going to set it up as a network route instead, so keeping host networking on is required for that to work
Step 2: Create a Setup Key
Now we need to actually get our setup key. Head over to your NetBird dashboard at app.netbird.io (or your self-hosted instance).
Go to Setup Keys and create a new one. Give it a name (e.g., ) and assign it to the appropriate group, like your homelab group.
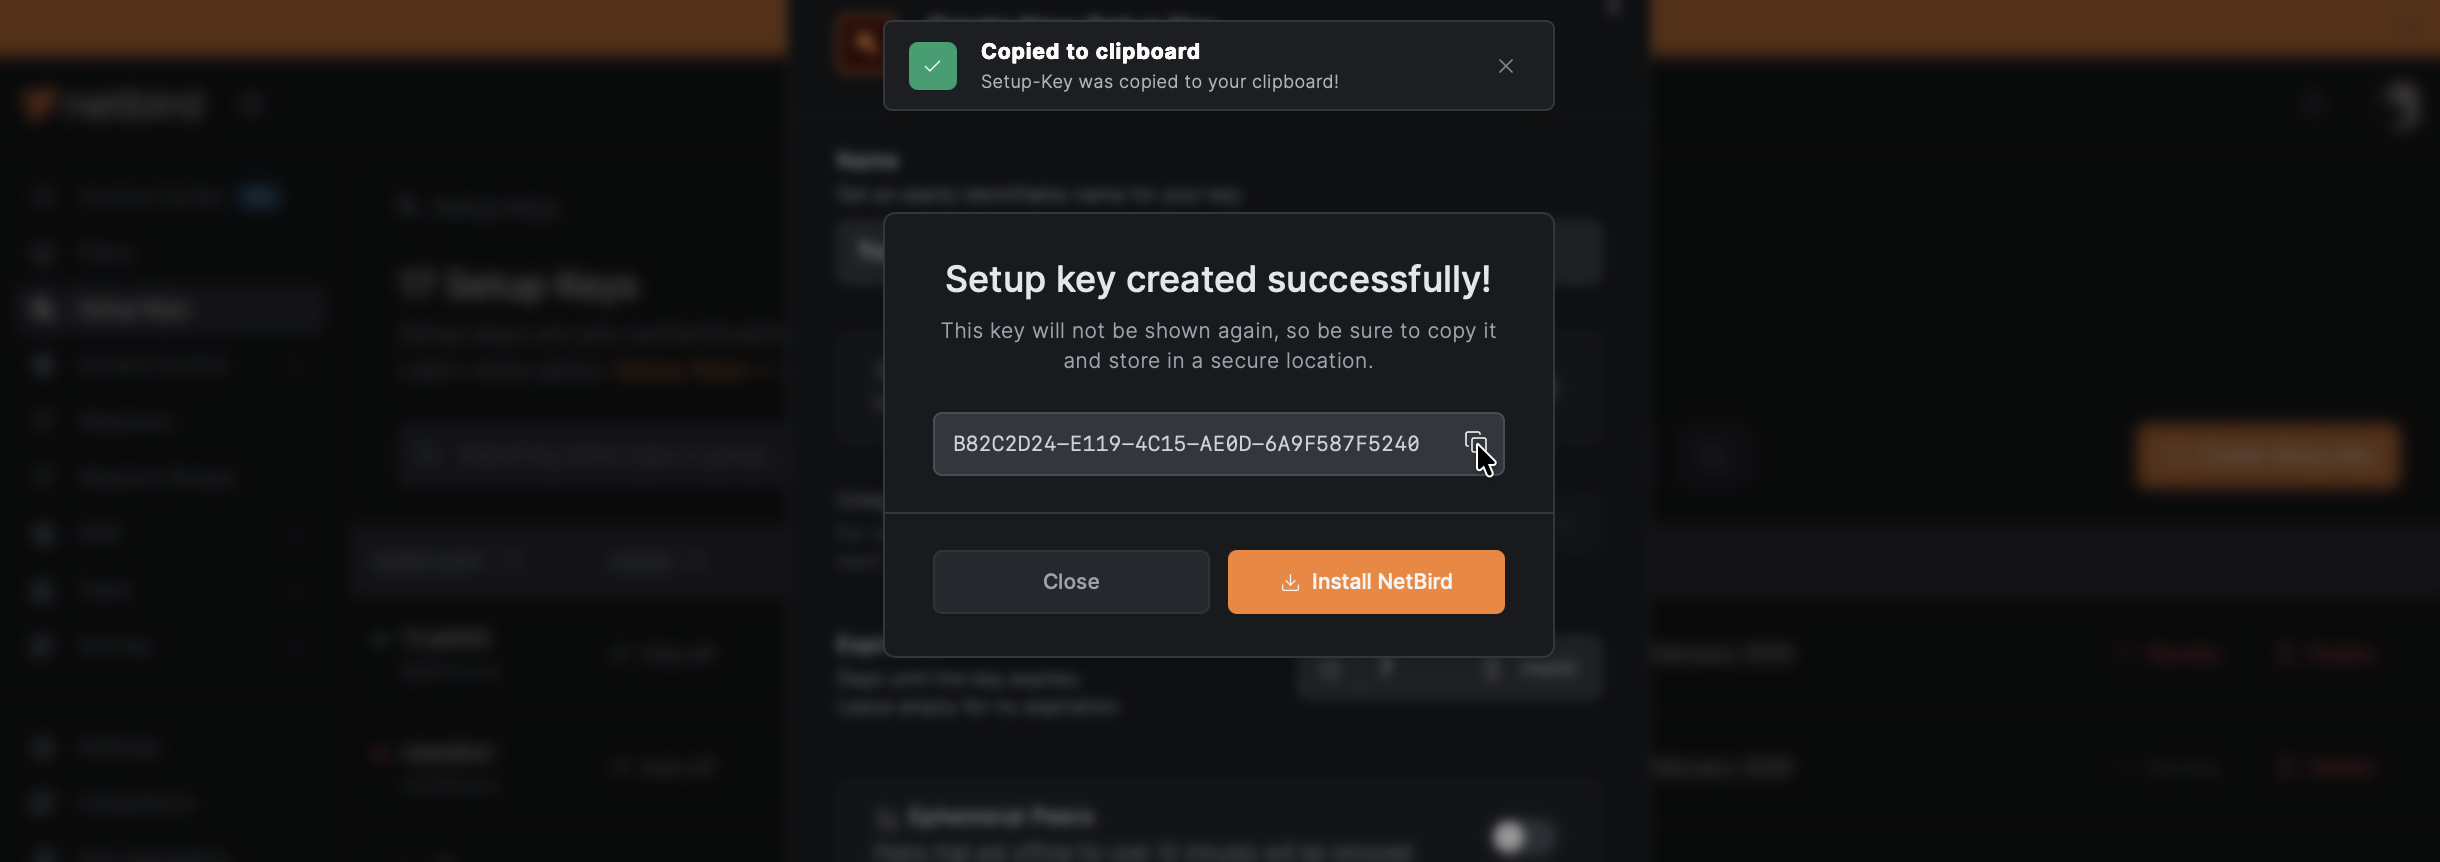
Give that a copy.
Step 3: Configure the App
Head back over to TrueNAS and drop in that setup key.
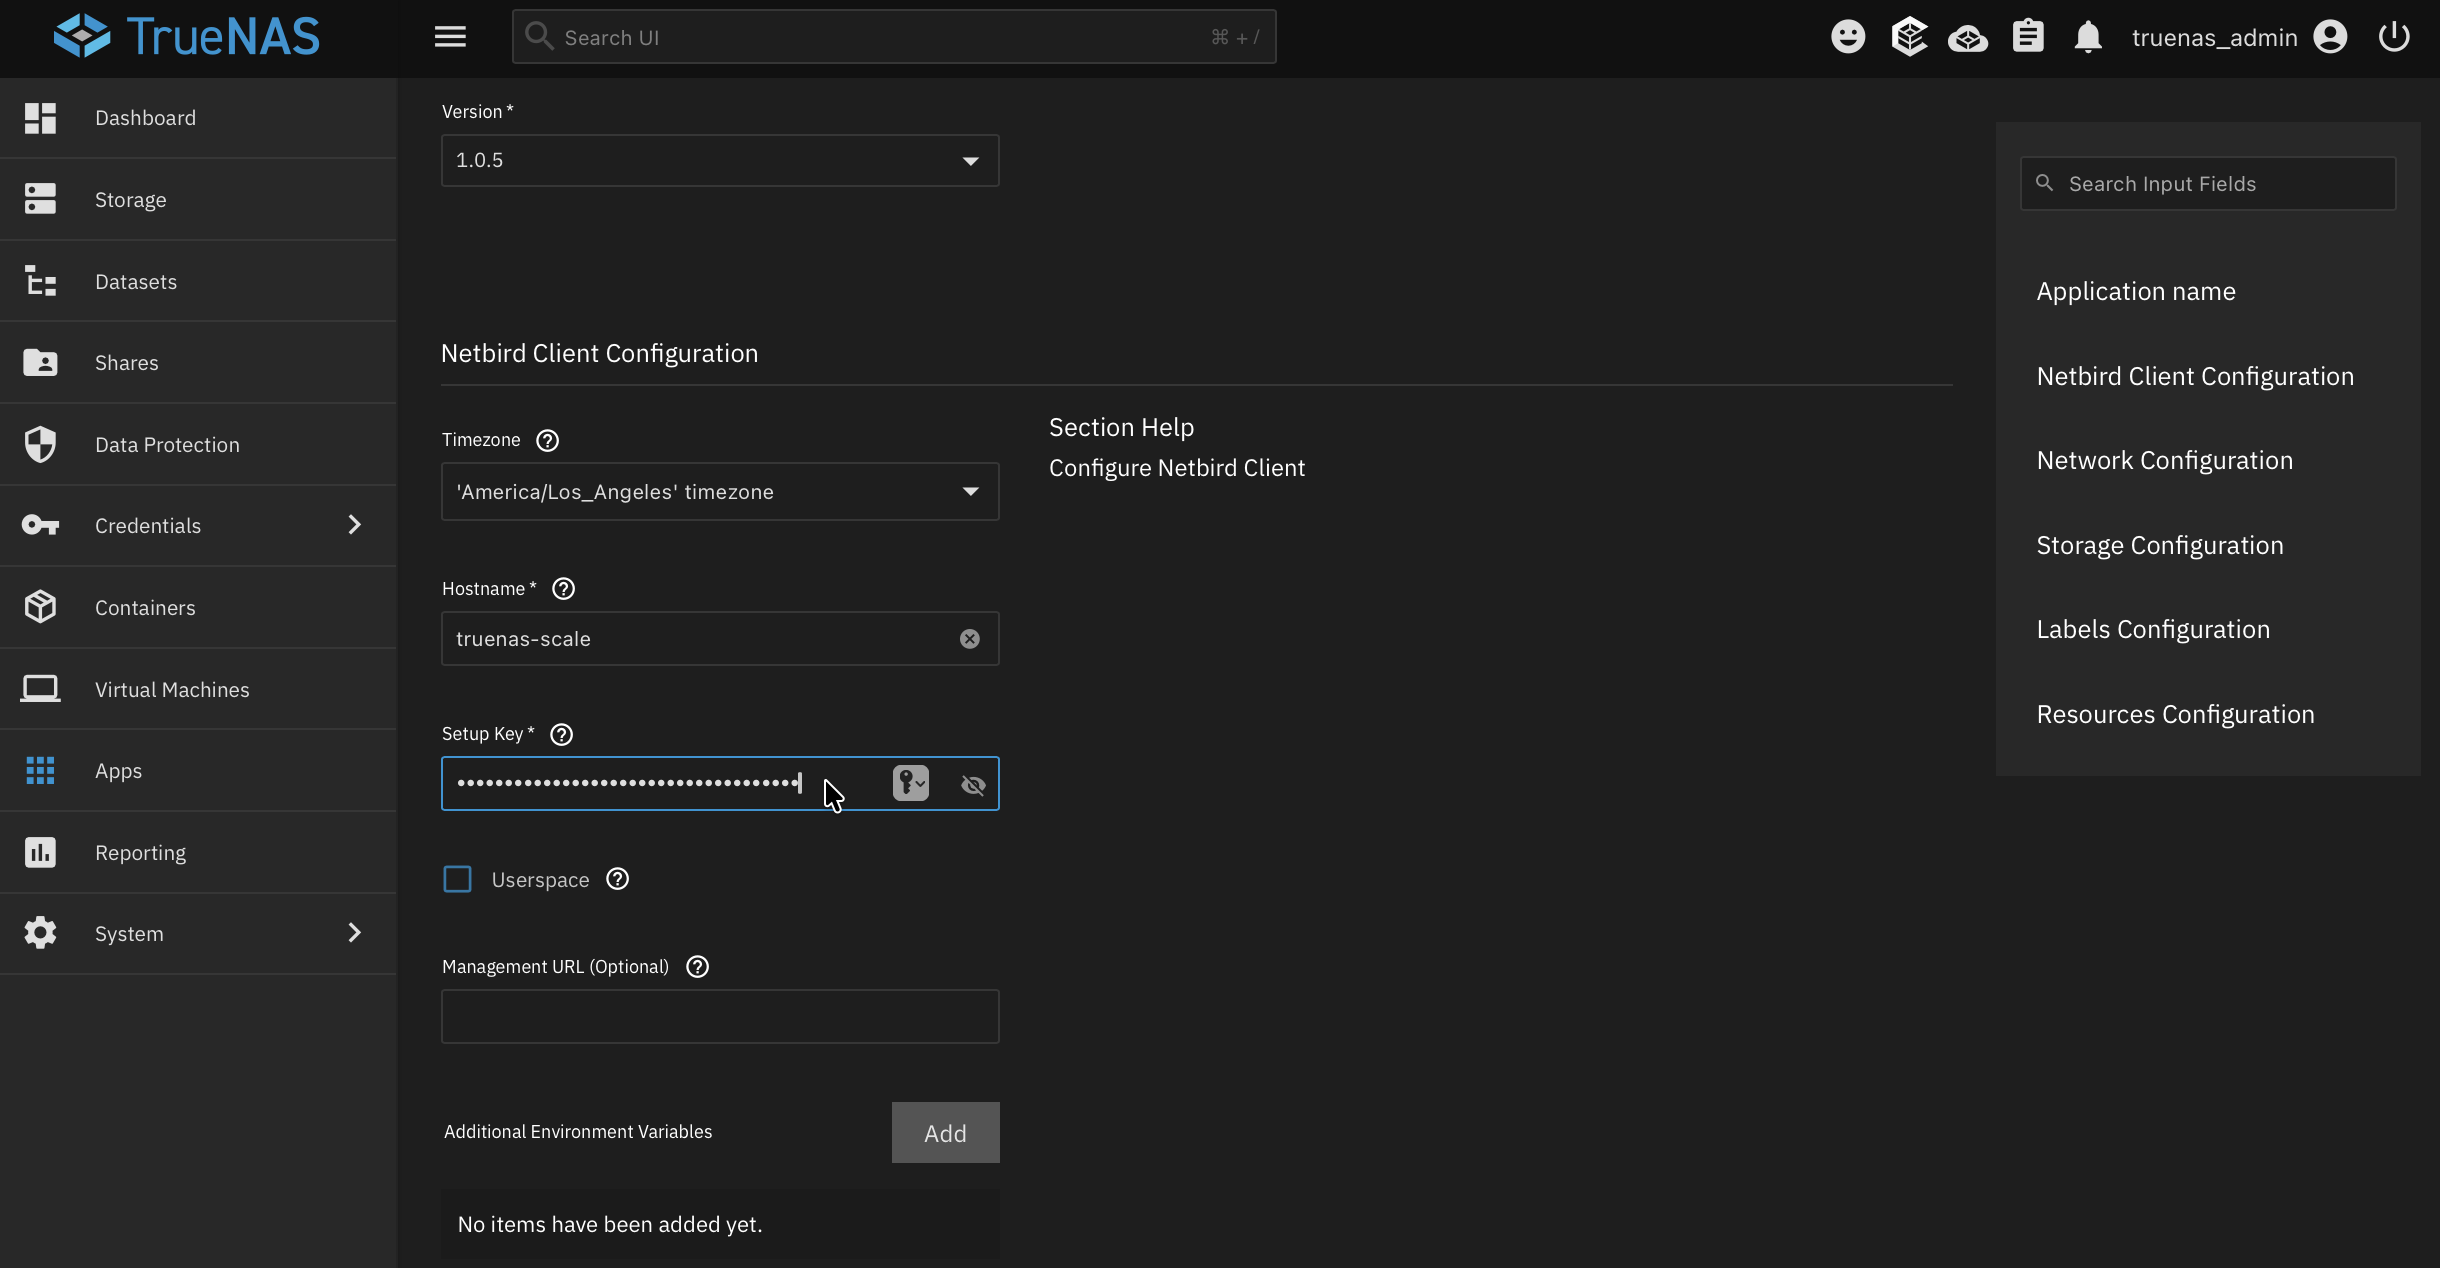
If you're using the cloud service, leave the management URL as the default. If you're running a self-hosted instance, go ahead and put your custom URL in here.
We have the option to add environmental variables, but we're not going to need any for this case. For the storage, we can just use the volume. That's where the config is going to be stored. Leave the resource limits as they are (honestly a little overkill for this, but it's fine). Let's hit Install.
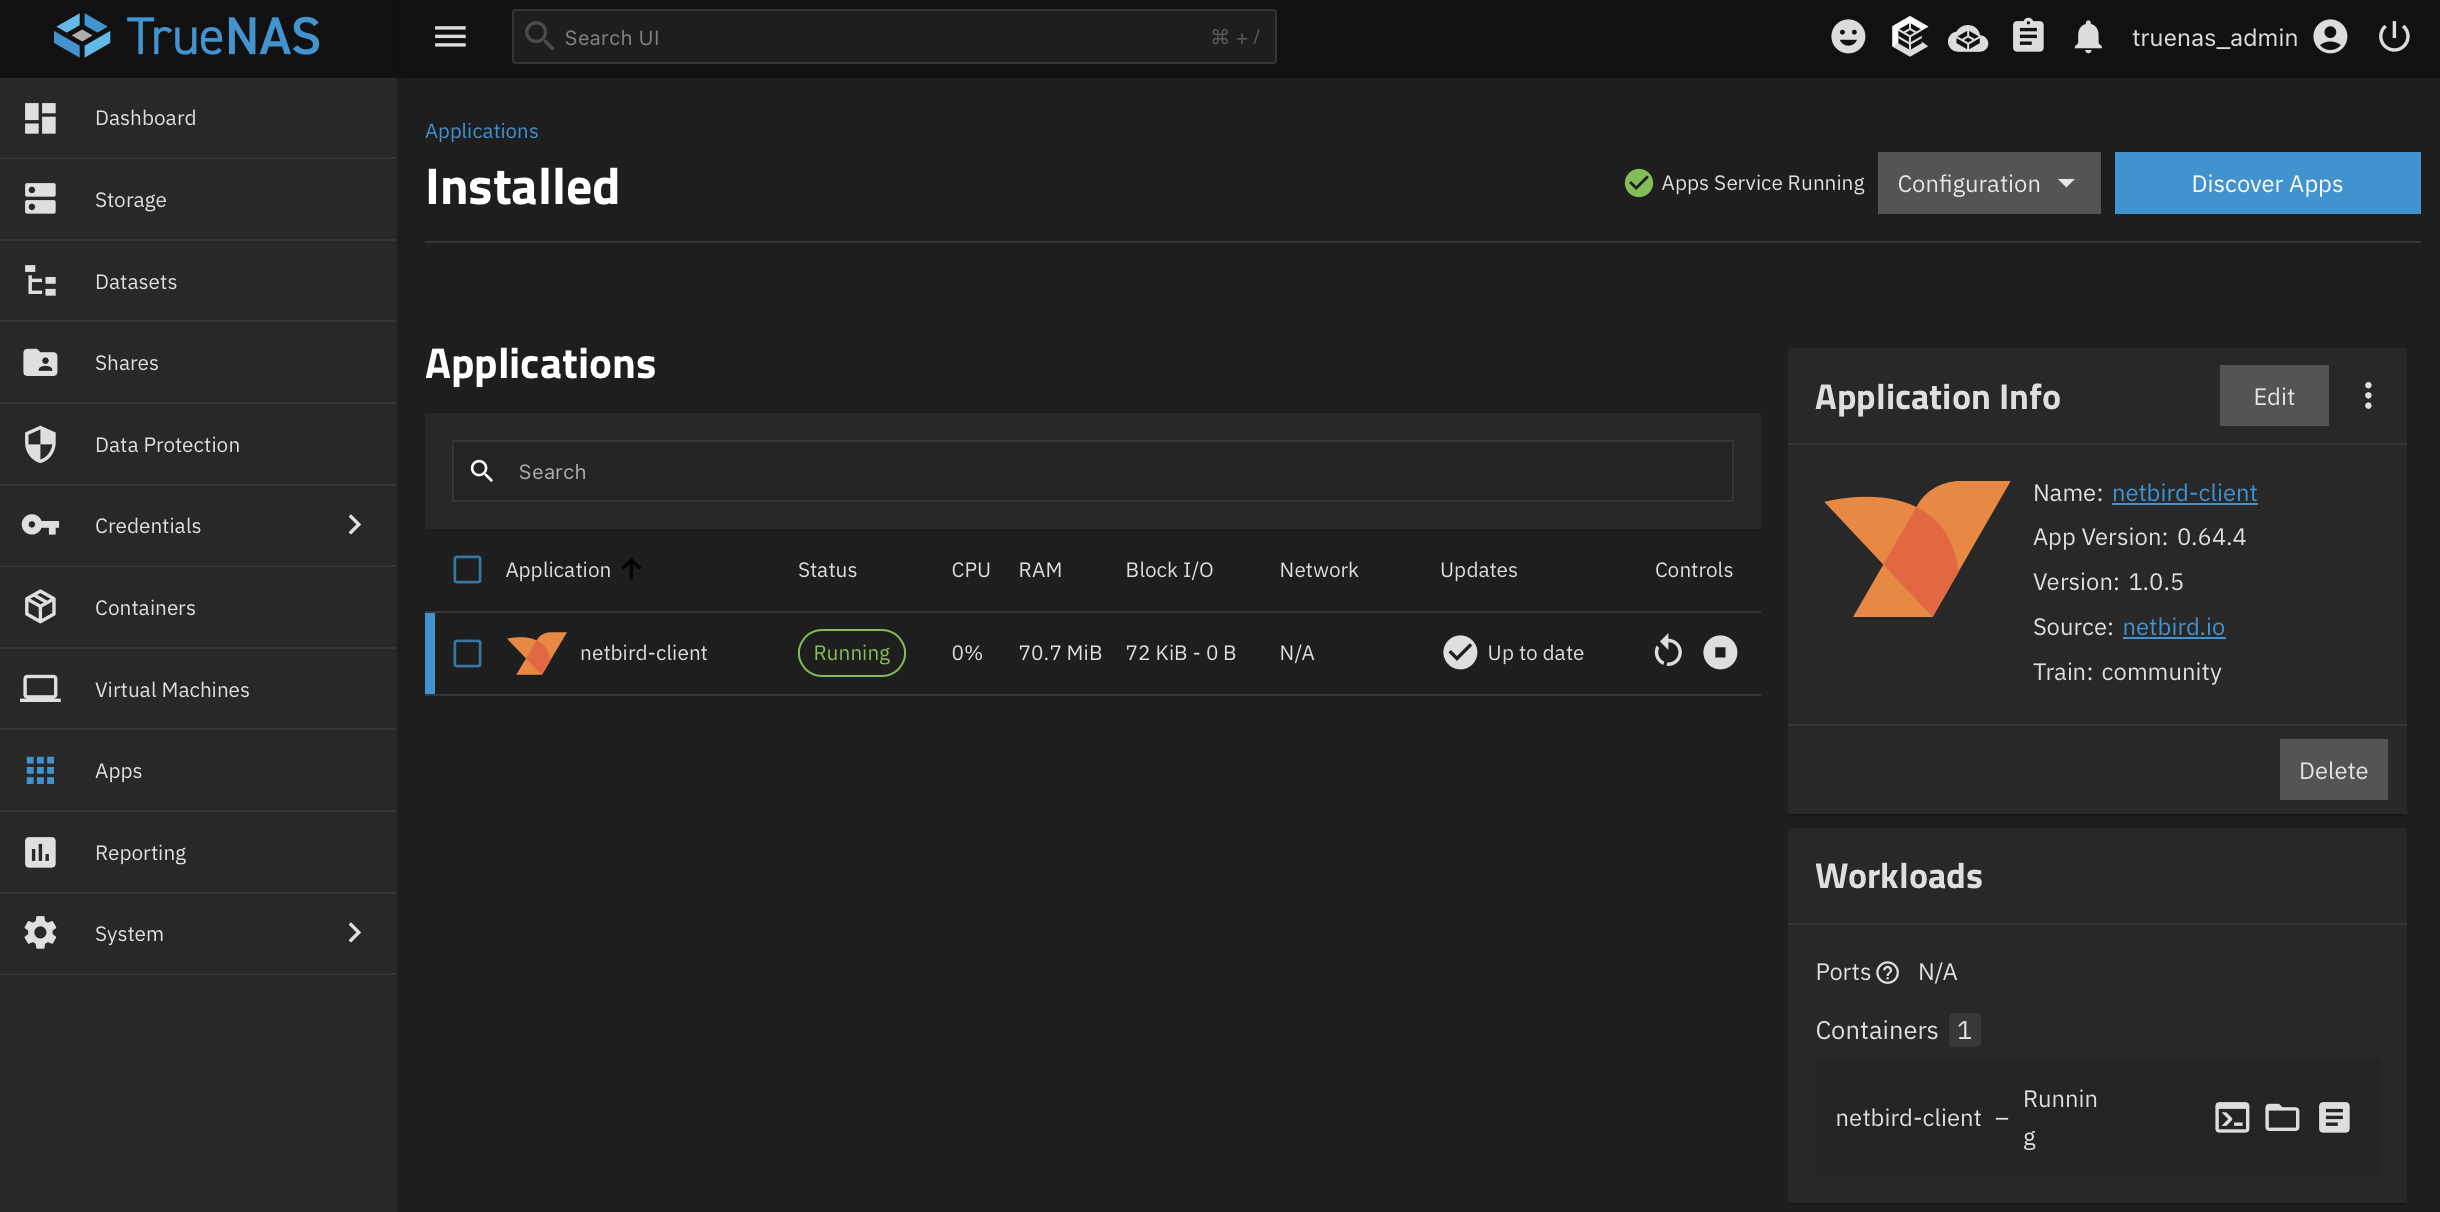
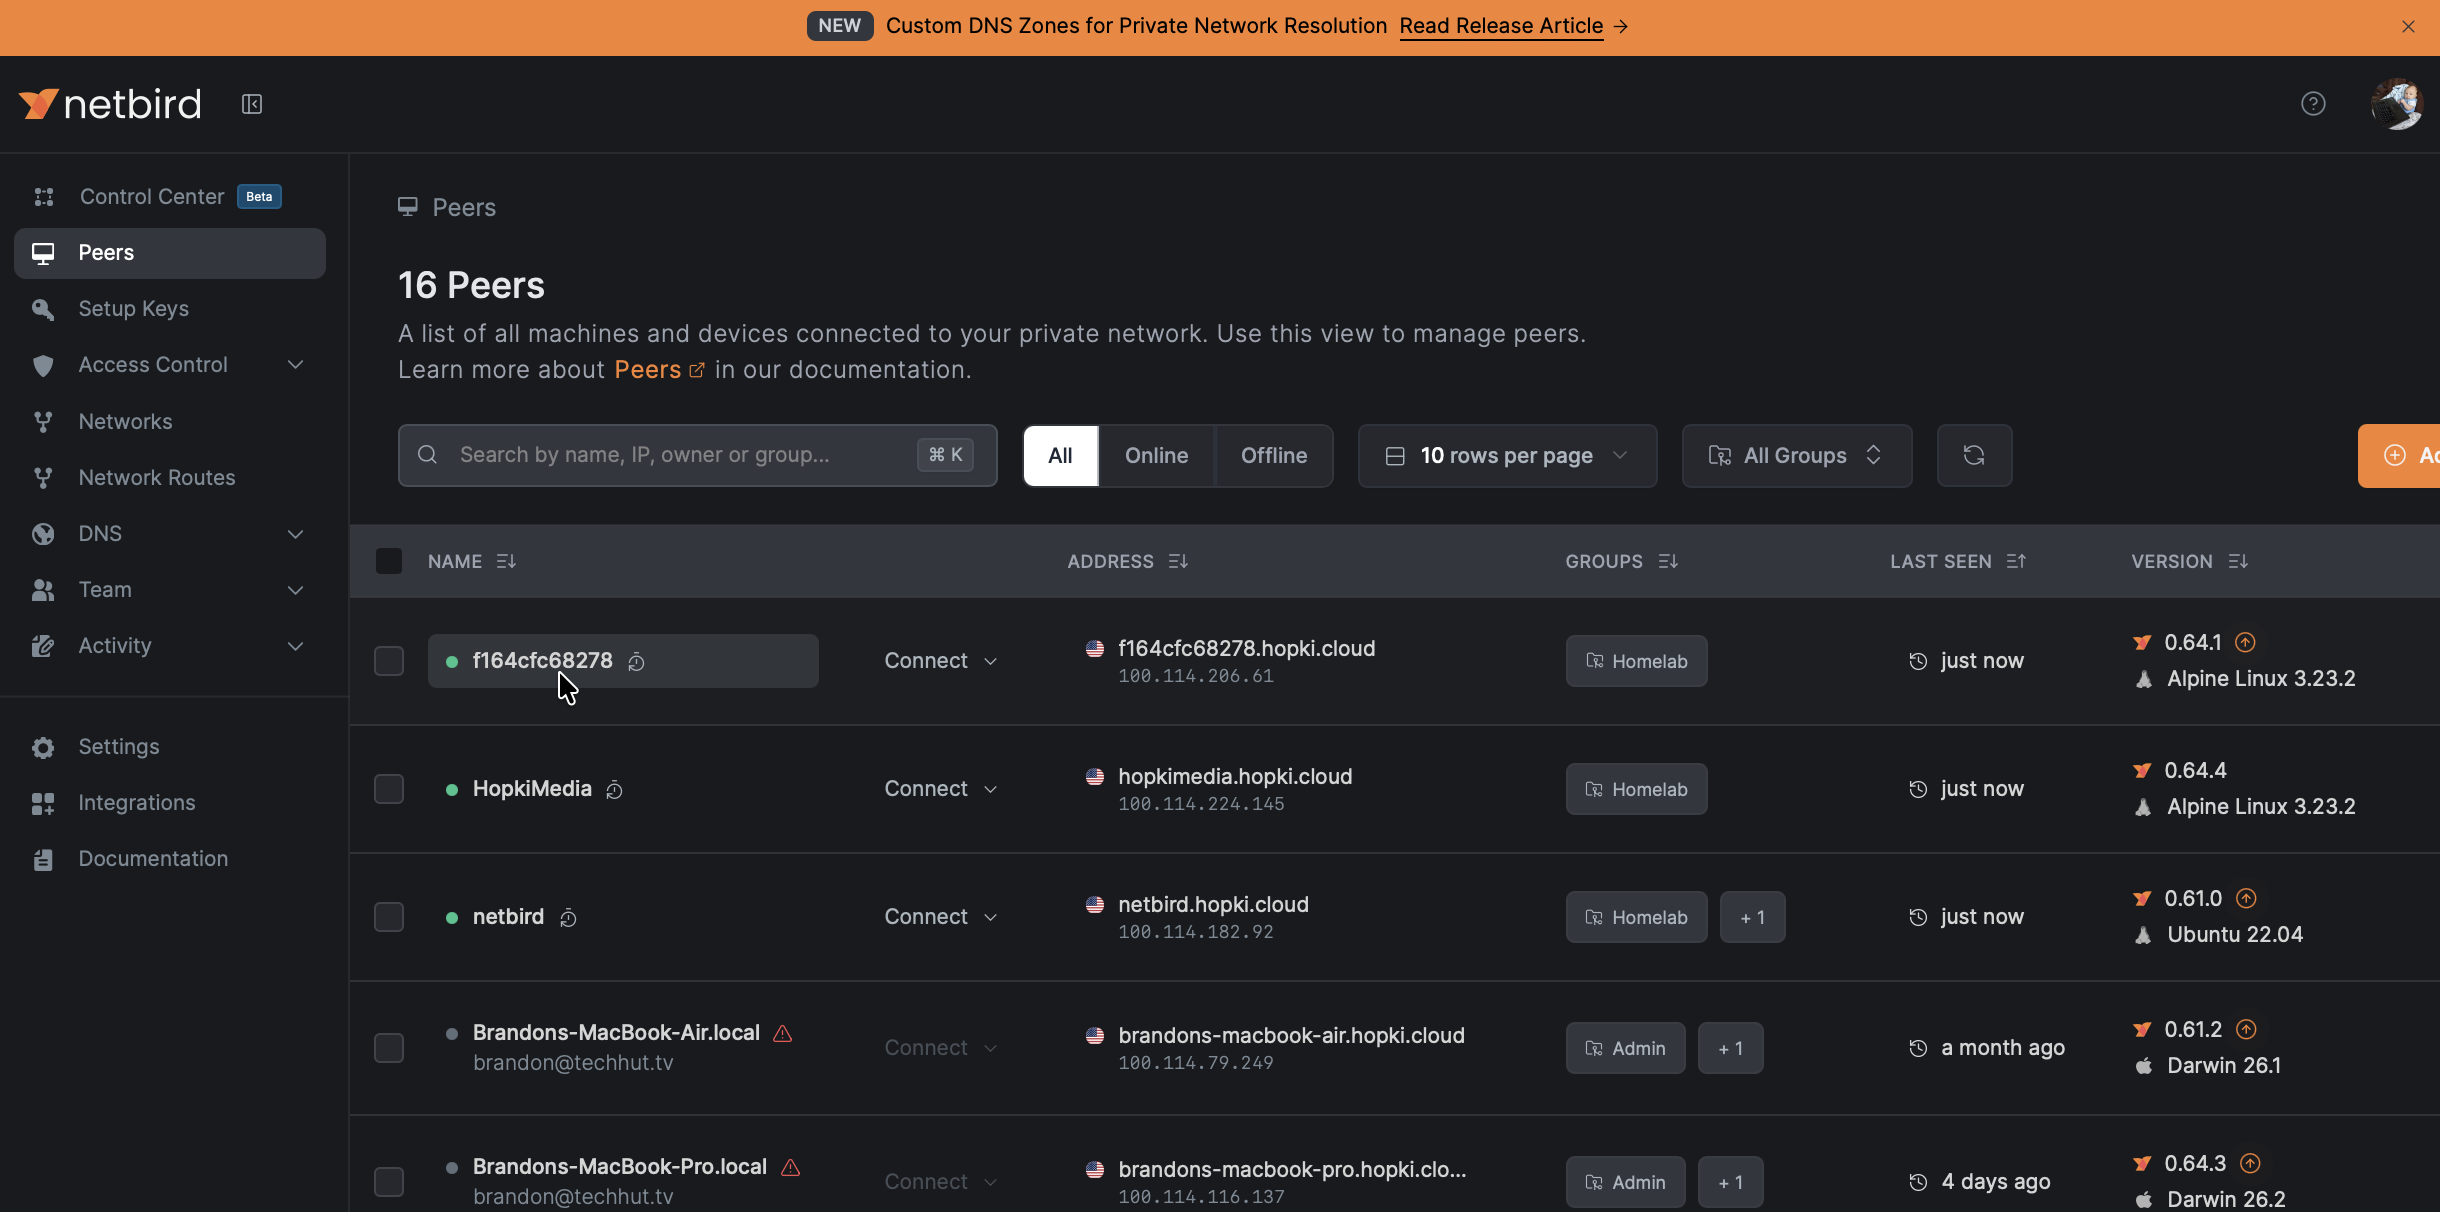
Step 4: Verify the Connection
Head back over to the NetBird dashboard. If you check the setup key, you can see it's been used. Go over to Peers, and we now have our TrueNAS peer right there, ready to go.
Step 5: Set Up a Network Route
Again, since it's running in a Docker container, the best use case here is to set up a network route. That way we can access TrueNAS and anything else on the local network through this peer.
In the NetBird dashboard, go to Networks and add a new network:
- Add a resource. This is what you're accessing. Enter your local subnet in CIDR notation (e.g., ). This gives access to your entire subnet. If you only want to give access to a specific resource, you could do something like instead
- Create a policy. Define which groups can access this network. For a home setup, allowing your admin group is typically enough
- Add a routing peer. Select your TrueNAS peer (e.g., ). This is what's going to handle the traffic and route it to your local network
- Posture checks (optional). These are really cool. You can check country, region, network range, whether a certain process is running on the back end of your computer. You can get really granular and specific with how secure you want these connections to be
Step 6: Test Remote Access
To test, switch off your home Wi-Fi. I switched to my iPhone hotspot, then fired up the NetBird app and authenticated.
Once connected, you should be able to navigate to your TrueNAS web interface using its local IP address, just as if you were sitting at home. This would work whether you're in your office, at a coffee shop, on a plane, anywhere with an internet connection. That's how you enable some good old remote access.
Bonus: Installing More Apps
Of course, you can add more. If you go to Discover Apps, you'll see a lot of options. Here are some popular ones worth exploring:
- Jellyfin / Plex for media streaming
- File Browser for web-based file access without needing SMB shares
- Duplicati for automated encrypted backups
- Mattermost for self-hosted team communication
- Nextcloud as a full self-hosted cloud suite with file sync, calendar, contacts, and more
- Home Assistant for home automation
When installing apps, the main point of contention is usually the User ID. If the app interacts with your shared files, make sure the UID matches the user you created earlier (e.g., 1000). For apps that need access to your data, you can add additional storage by setting up a host path mount (e.g., ) into the container.
Pro tip: If you were to set TrueNAS up as your primary home server, I'd probably spin up an Ubuntu Server VM and run various Docker Compose stacks through that instead of using the app dashboard for everything. Save the app dashboard for lighter use cases like NetBird or maybe a single instance of a media streaming server. But for getting started, the built-in app catalog makes things really easy.